

Hey Everyone, welcome back to Technique Tuesday.
Last Thursday I introduced you to the Jelly Pointer Template from Sew Easy as my cool tool of the week. Today I am going to show you how it works.
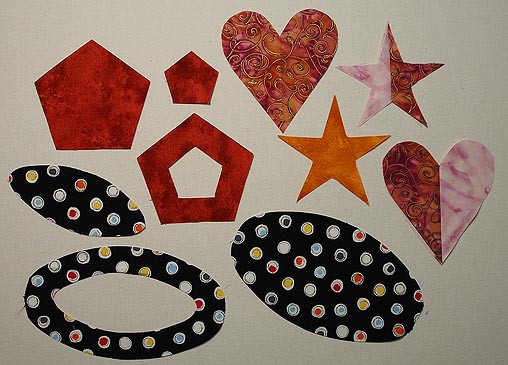
How many shapes does it make?
The Jelly Pointer makes 4 different shapes – star, heart, oval and pentagon. Each shape can be made with a solid fabric or two fabrics. Two of the shapes can even be made into rings of that shape.
How does it work?
To start you need either a 5 inch piece of fabric folded in half or 2 – 2 ½″ strips of fabric sewn together along one side.
Lay the template on the fabric with the solid line on the fold line if using a 5 inch strip of fabric.

Template on 5″ folded fabric
And if using two fabrics then place the solid line of the template on the stitching line.
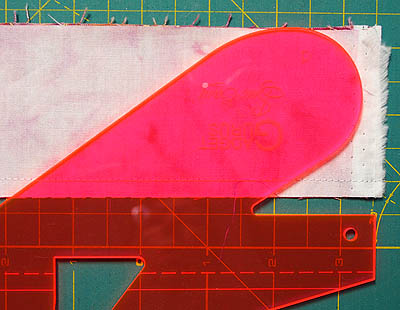
Template lined up with sewing line
It is recommended to use a 28mm rotary cutter to cut the shapes – this is one of the smaller cutters.
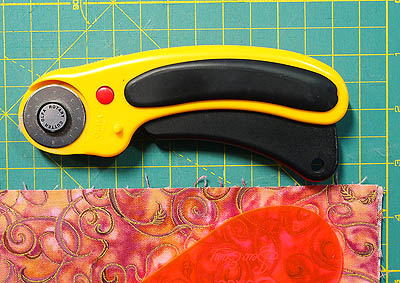
28 mm rotary cutter
Heart shape cut.
Heart shape cut out
One fabric heart

A heart
Two fabric heart
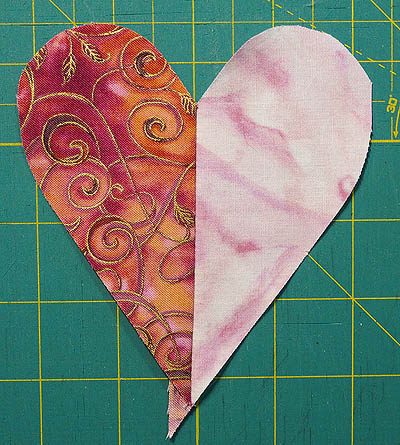
Two tone heart
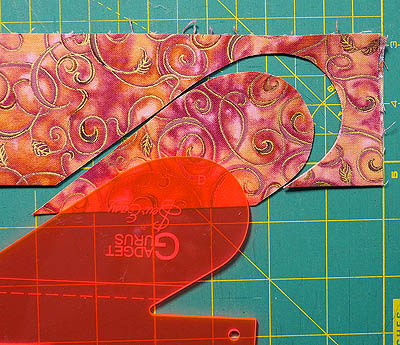
Cutting rings
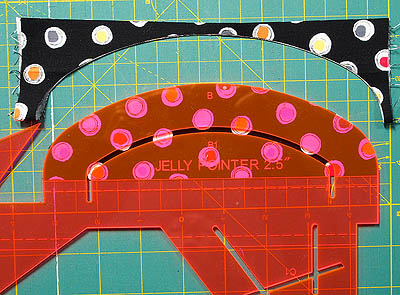
The shapes that can be made into rings are the pentagon and the oval. I found with both of these shapes that it was much easier to draw a line in the groove of the template instead of cutting in the groove. I used a Frixion pen for this as it disappears with heat but any marking tool would work that has a sharp point such as the fabric pencil from Sewline.
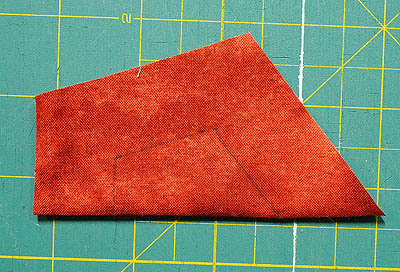
Lines drawn from groove area
After removing the template I then cut on the line with a rotary cutter. If your free hand rotary cutter skills are not up to it then scissors would also work.
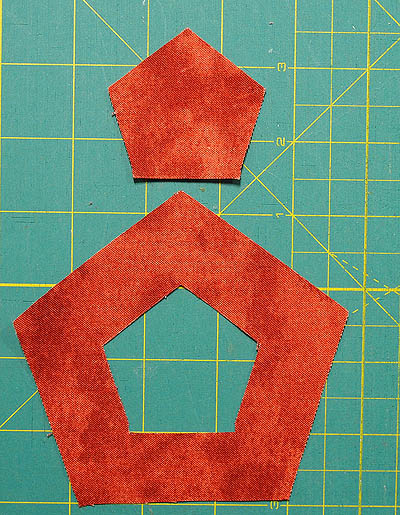
Pentagon ring and centre piece
The oval ring
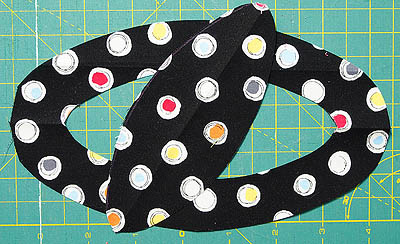
Oval ring and centre piece
Star shape
The star was tricky with it’s corners and I couldn’t get into them at all with the rotary cutter when the template was in position. I ended up drawing in the bits that I missed and free hand cutting them afterwards.
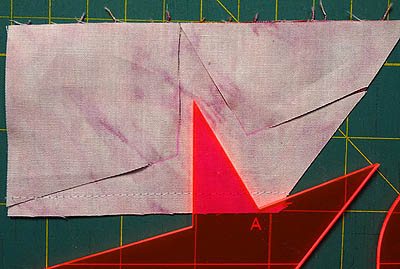
Star partially cut out with lines for further cutting in corners
I decided that it would just be much easier to trace around the shape on the template and then cut the shape free hand with either a rotary cutter or scissors.
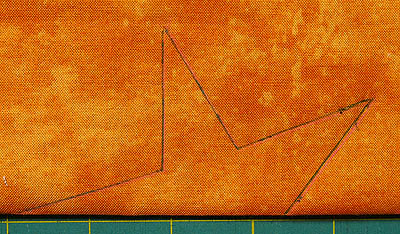
Star shape traced on folded fabric
Half & half star
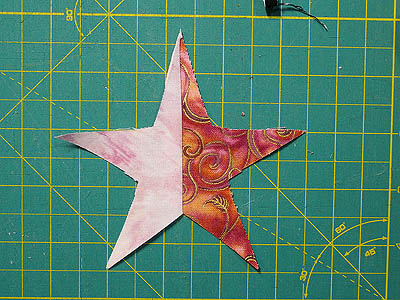
Two tone star
Pentagon & Oval
These two shapes were very easy to cut around to create a whole piece shape of each.
Dotted oval
Oval cut out
Sienna pentagon

Pentagon cut out
All in all the template is straight forward to use but it does have some issues when it comes to cutting some of the shapes as I outlined above and how I overcame those issues.
I like the tool as it does create nice even shapes and they would be great for appliqué. When using the shapes for appliqué I would recommend putting fusible web on the back of the fabric before cutting the shapes out. That way the fusible will be right up to the edge of the shape to help prevent fraying.
They would also work well for needle turn appliqué – but not my cup of tea and I do so admire you who do this gorgeous form of appliqué.
There is another template in this series of templates called the Jelly Monster which makes 5 more shapes and it looks just as funny as this one – I’ll show it to you another day.
Happy Quilting!


Trackbacks/Pingbacks