

Hey everyone! Welcome to another Technique Tuesday.
To pin or not to pin – a quandary all quilters have probably struggled with at one time or another.
My thoughts on pinning is that there is absolutely nothing wrong with it – go right ahead and pin. That said, there are other quilters who would say it is far too time consuming. Yes, it is time consuming but after I experienced many times the hard way, I learned that reverse sewing (ripping out) is also time consuming and if only I had taken the time to pin then I would not have had to reverse sew, then pin and sew everything all over again.
I no longer pin small pieces together as I once did when I first started out and couldn’t keep everything lined up nicely but I do still pin the majority of my work. Mostly, I pin rows together in blocks especially when I need to make sure that the points on the star are perfect and that all of my seams match. I am a bit of a fanatic (some of my friends would use a different word) about my seams matching. [Editor’s Note: Fanatical? Is that what you call it? Let’s just say, if the points aren’t perfect, and I mean PERFECT, it gets ripped out re-sewn until it is perfect.]
My favourite pin for this job is Clover’s Fork Pin. This is such a great little pin but watch out, you don’t want to poke yourself as they are extremely sharp. The two tines on these pins let’s you pin the piece on either side of the seams thus holding the two pieces together and producing perfectly matched seams. I sew right up to the pin, stop with my needle in the down position so that it holds the two pieces together, remove the pin and keep on sewing.

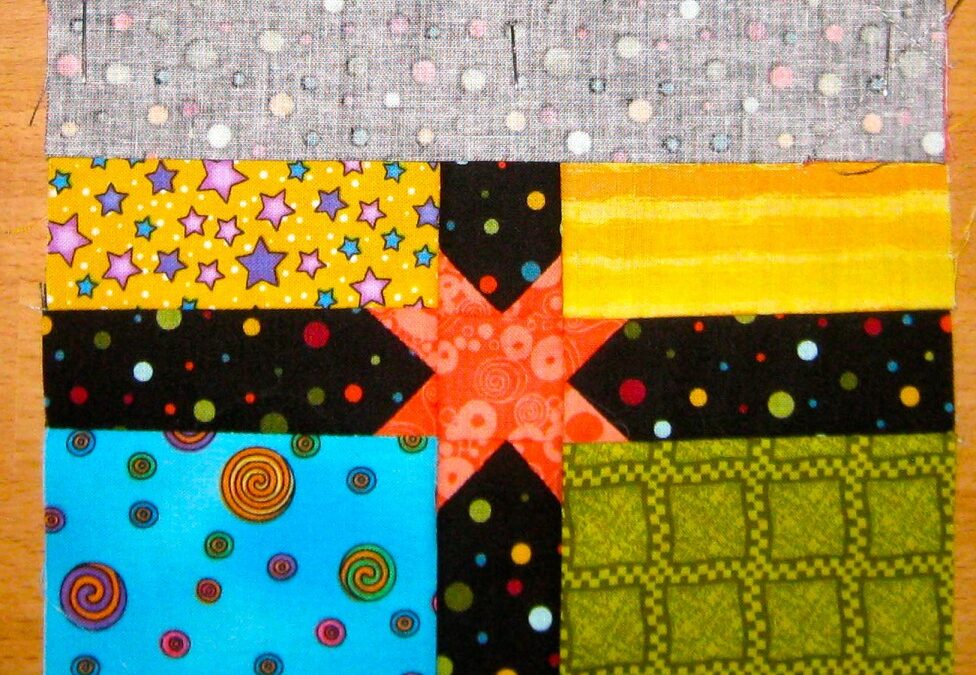
Fork pins holding butted seams together.
Not only do I pin the seams together but I also pin between the seams using the flower head pins which are flat. Long pieces such as borders and rows I pin by securing each end with a pin, then the middle and then keep adding pins in the middle of sections until the piece is secure. By pinning in this manner it will ensure that borders lie square to the quilt.

Pinning with fork and flower head pins
Remember, never, EVER, sew over a pin. The results could be hazardous to the health of you or your sewing machine which then may require a trip to the local hospital for you or the sewing machine repair man for your machine. [Editor’s Note: The editor has been permanently banned from using the main production machine in our house after smashing a needle into a pin. It was TRAUMATIC to say the least!]
One last tip – if you like to iron your fabric with the pins in then I recommend using the glass headed pins as they won’t melt like the flat flower head pins.
In the end, it is your choice whether you pin or not, however, would you rather take the time to pin or spend your time reverse sewing. I know what my answer is.
Until next week, happy quilting.
![]()
Disclosure Note: I buy and use the products mentioned in this post and write about them without influence from the designer or any other commercial interests. I have included links to the products on Amazon.com and may receive a small commission if you purchase from these links. This doesn’t cost you any more to purchase these items but it does help me maintain this website, so I hope that you will please use these links.


Trackbacks/Pingbacks