

Hey Everyone, welcome back to Stash Blasting Wednesday.
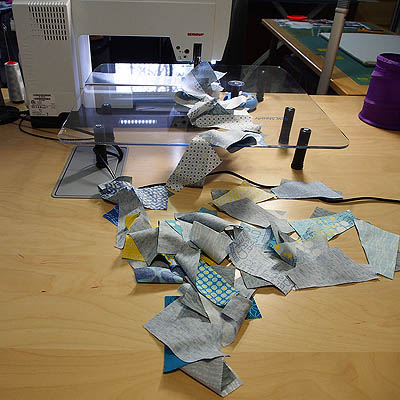
Back in January I was playing with the Whirligig Template from Creative Grids and had some off cuts from those blocks that I need to do something with. Today is the day to sew them up and see what I can create with them.
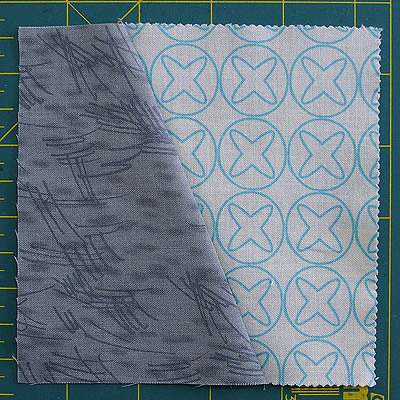
The off cut is the discard from the template. They look like this – a background piece and a feature fabric. The feature fabric is from a charm pack. Yes, the Whirligig template is charm pack or 5 inch square friendly.
Sewing the pieces together
Sewing the off cut pieces together is very much like sewing the main Whirligig pieces together except they end up a bit smaller.
To begin you need a background and feature piece.
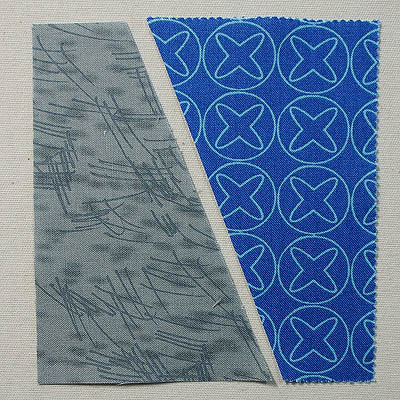
The pieces
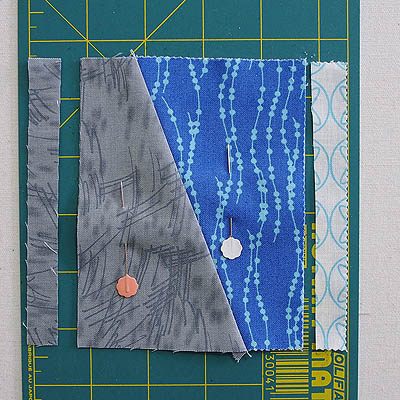
Lay the feature piece on top of the background piece with a corner peaking out at each end of the bias cut.
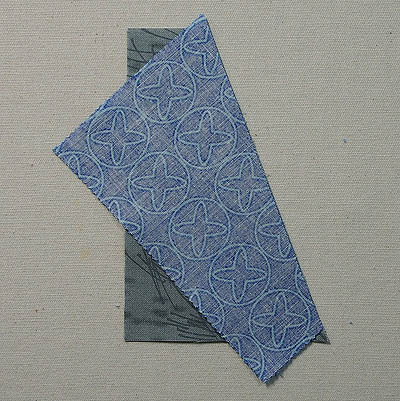
Pieces ready for sewing
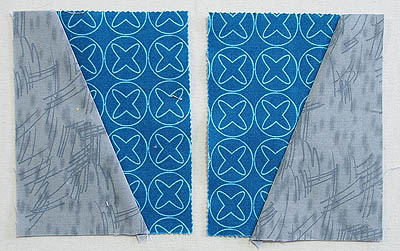
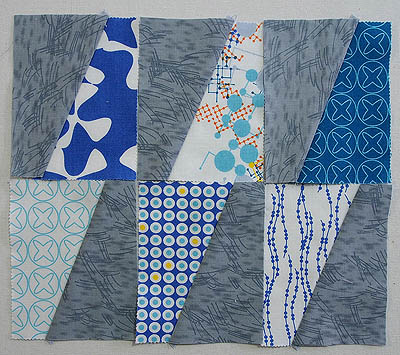
Sew together and press open. The piece measure 3 ⅞″ x 5″.
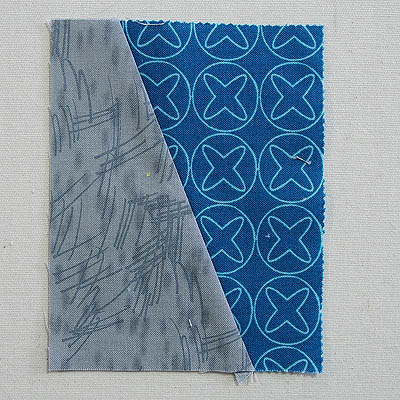
The off cut block
Chain sewing made quick work of piecing these 82 pieces together to make 41 blocks. And my cutting gizmo made quick work of cutting the pieces apart.
Chain sewing
Half the blocks go one way and the other half are a mirror image.
Mirror image blocks
Re-purposing the original block
I had 2 blocks left over from the original blocks that I made and so I thought why not cut them down to use in this design.
Original whirligig block
I just laid the smaller block on top of the larger block matching up the bias seam and cut off the extra fabric on each side. Now I have 2 more blocks. Woohoo!
Original block trimmed down
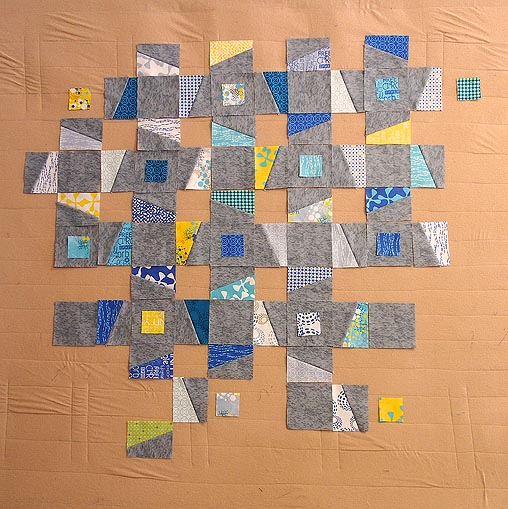
Designing with the off cut blocks
I started out with laying the blocks out like this and I thought how boring.
Rows of blocks – a bit boring for me
So I cleaned off the QUILTsocial project from my large design wall and starting throwing pieces up on it. Not really throwing rather placing gently.

On the design wall
I kept adding more and moving them around. Plus I added in some 2 ½″ squares from the same fabric line and some 5 inch background squares.
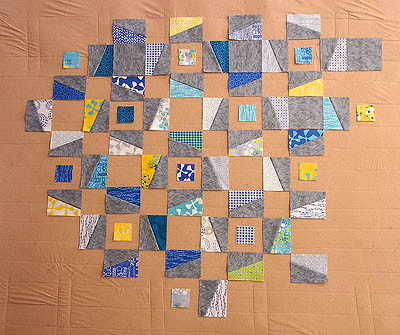
more blocks
And a few more grey background squares with 2 ½″ squares on top.
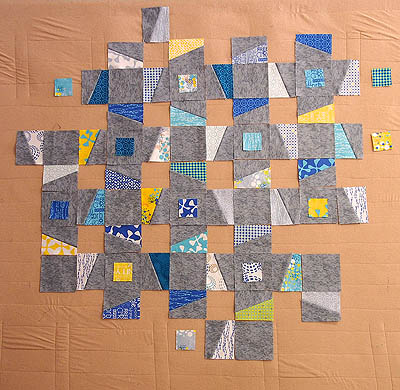
The design progresses
An image of the design so far can be seen at the top of the page. And I do know where it is heading but… I need to cut a lot more background squares and then do a bit of sewing to put it all together but I am loving what is on the design wall right now.
So now does this now become a UFO Spotlight project or remain a Stash Blasting Wednesday project. Hmmmmmm that’s a good question?
What do you think?
Happy Quilting!


Trackbacks/Pingbacks