


Hey Everyone, welcome back to Technique Tuesday.
This weeks tutorial is all about making paper pieced flying geese.
A couple of weeks ago I introduced you to the flying geese block on Stash Blasting Wednesday making it one way and then I showed you the no waste method on the following Technique Tuesday.
Here is the paper pieced method as promised back then.
I enjoy paper piecing and for those of us who like our points to match perfectly this is the only way to go. Paper piecing is very precise and as a result points are always perfect.
The paper piecing method does not work well if you are only making one unit but does work really well if you are making many in a row and also if they are a bit of an odd size as mine were in the stem of my maple leaf on my Purely Canadian quilt.
What gear do you need?
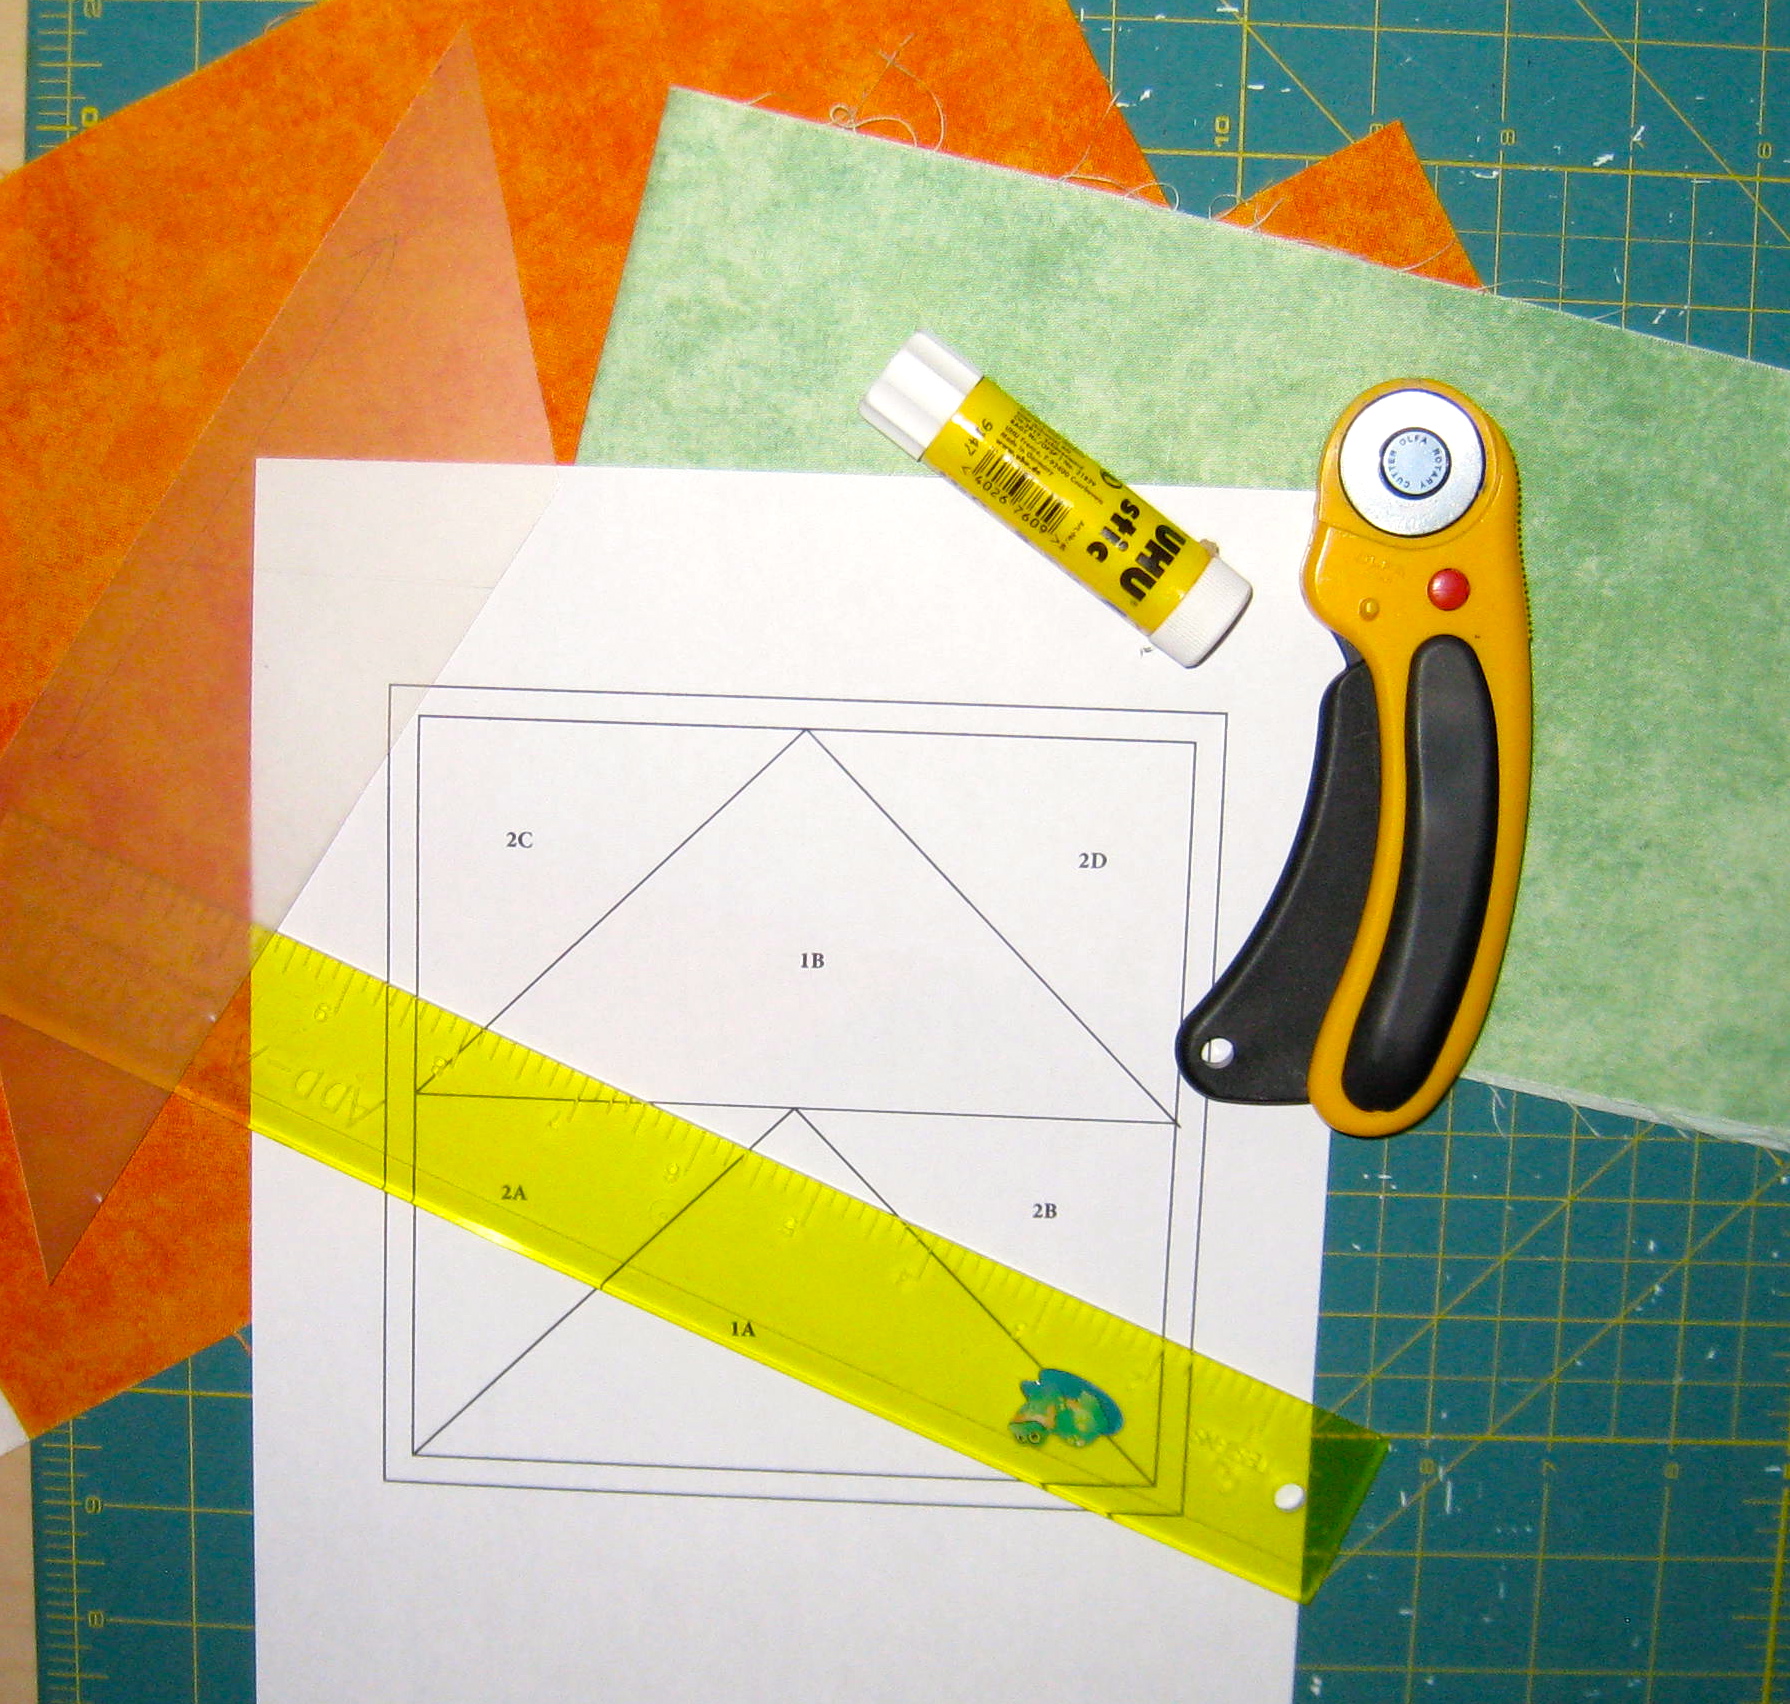
Assorted tools needed.
For paper piecing you will need your paper template – this can be printed on regular computer paper or you can use paper piecing paper found at your local quilt shop. Both are quite acceptable and the only difference is that the special paper is easier to rip off when you are finished.
There are some additional tools which are helpful including:
- a piece of template plastic about a foot long on one edge or a piece of box board from a cereal box,
- an add-a-quarter ruler,
- a glue stick (I find the UHU brand works great on fabric),
- rotary cutter,
- mat,
- fabric of course,
- plus the usual sewing supplies and machine.
Tip: When printing off your templates from a file on the computer it is essential to make sure that they print off the size needed. Many times they can shrink in the printing process. Same goes if you are photocopying a template – check to make sure the copy is the correct size.
Cutting
Press your fabrics and cut the pieces required.
For a 6 inch block cut:
Orange fabric: 1 – 6 inch square then cut on the diagonal once – this is the body of the goose
Green fabric: 2 – 4 ½″ squares then cut each on the diagonal once

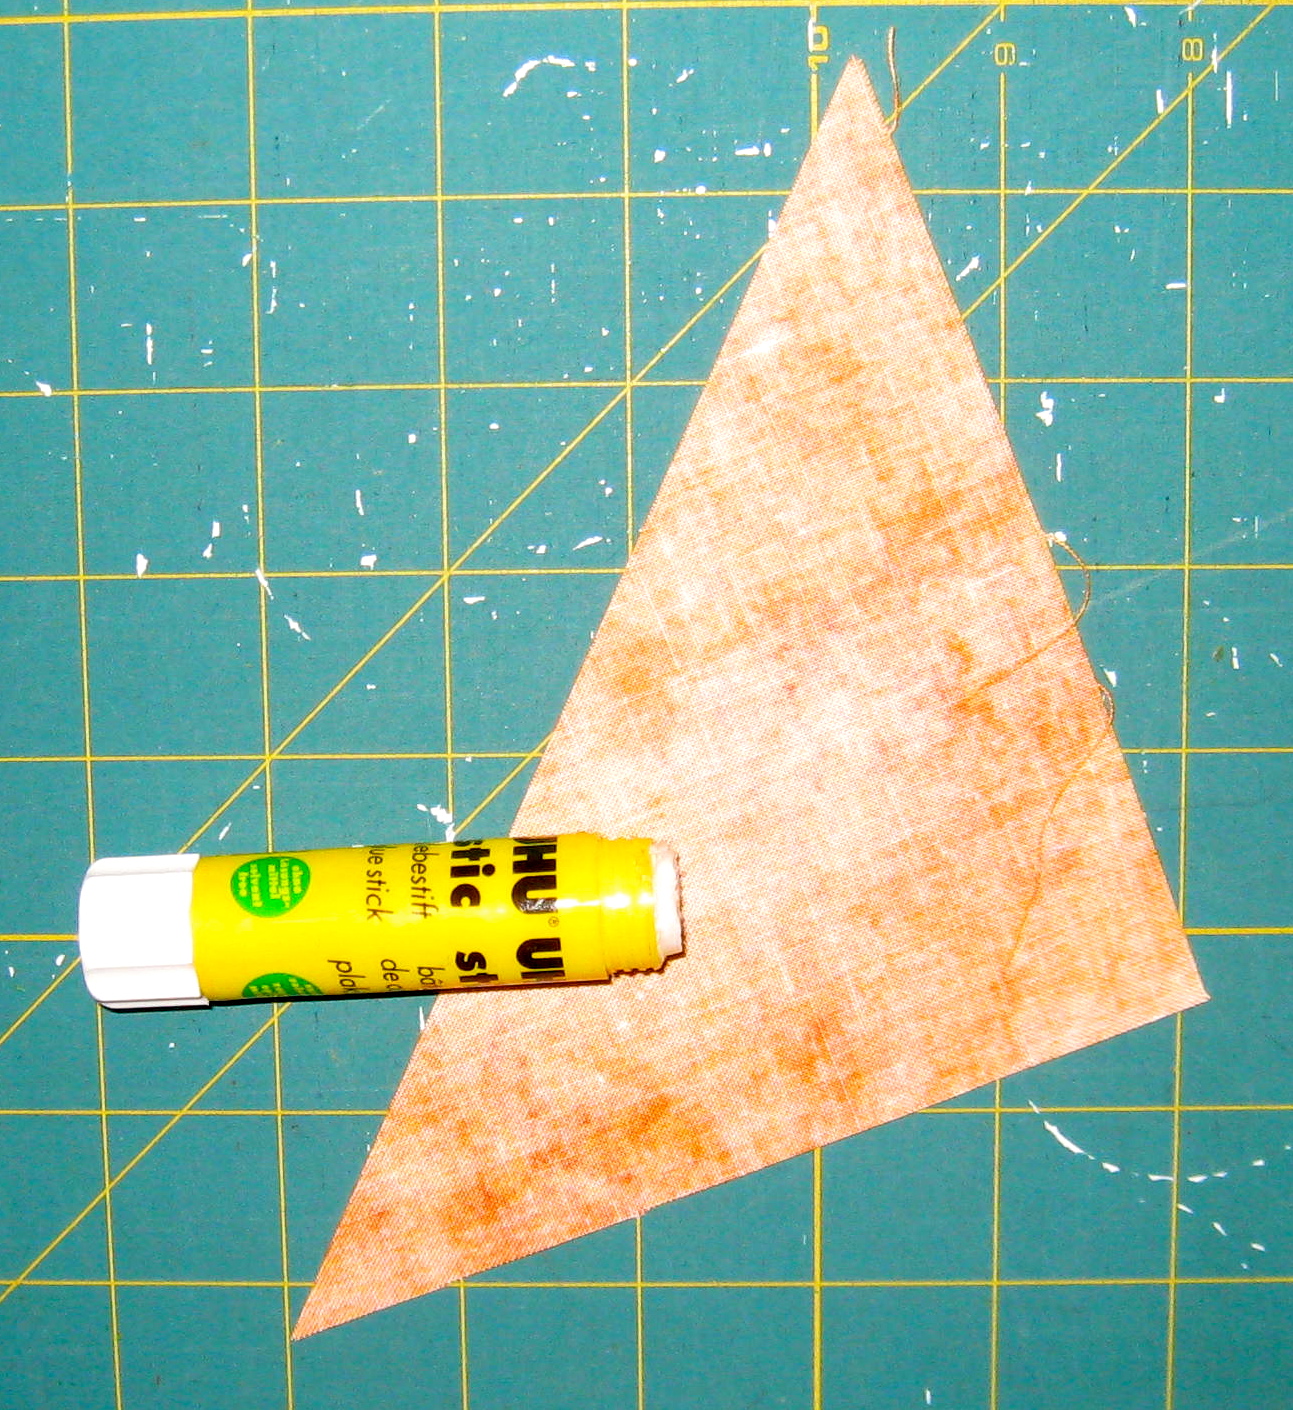
Triangles needed to make block.
The key is to make sure your pieces are large enough to cover their assigned area on the template with at least ½″ of overlap. With a ½″ overlap there is plenty of room for trimming and squaring off.
Building the Block
The template is numbered starting with one and usually in sequential order of how the pieces go on.
The first piece in this block is an orange triangle. Put a dab of glue on the wrong side of the triangle.
Put a dab of glue in the centre on the wrong side.
Place the triangle on the back side of the paper making sure to cover all of the lines for piece number one – there should be a good amount of overlap. The first piece will be facing right side towards you.
Tip: Hold the paper up to the light to make sure all of the area is covered.
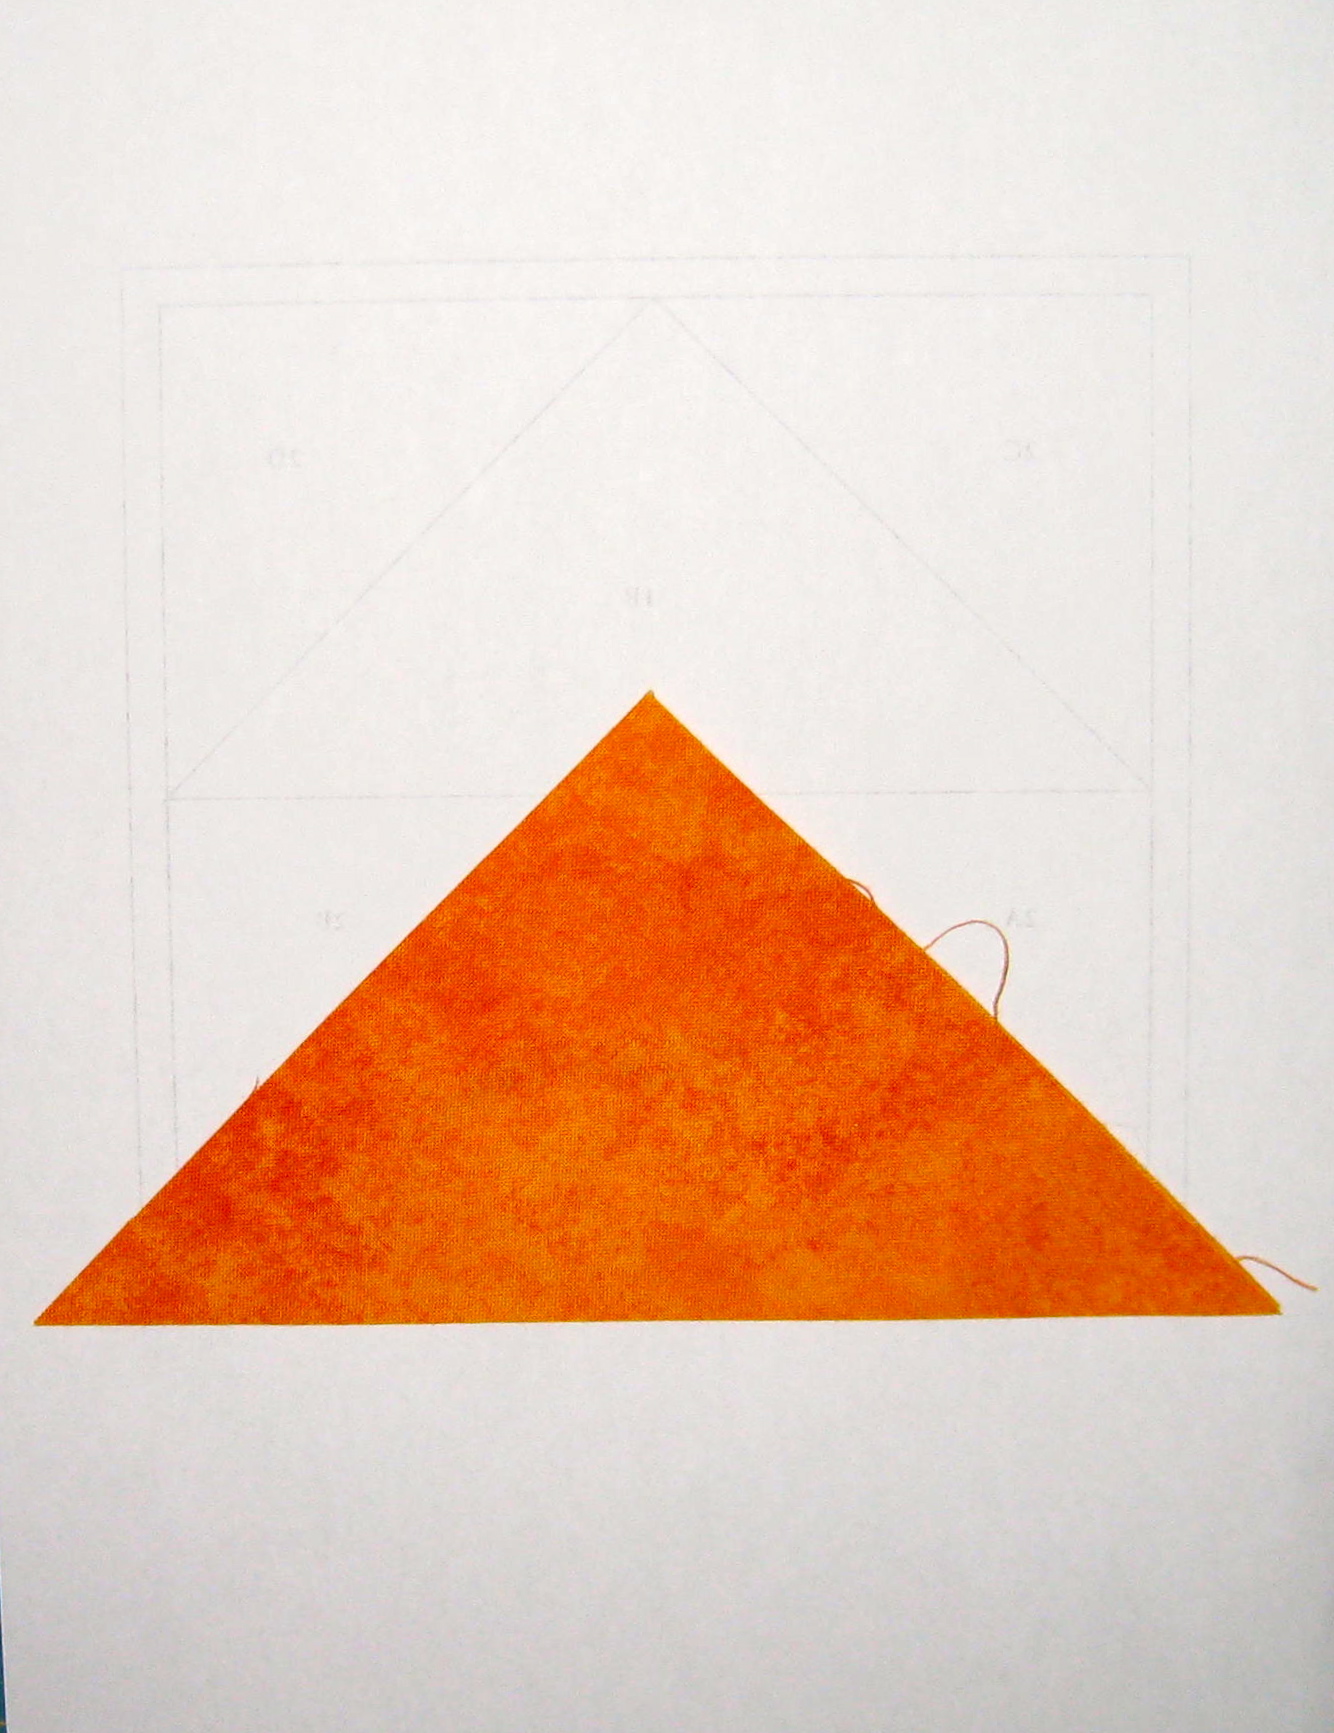
Place first piece into position on back side of paper.
Place piece #2 on top of piece #1 right sides together. Hold up to light to check positioning.
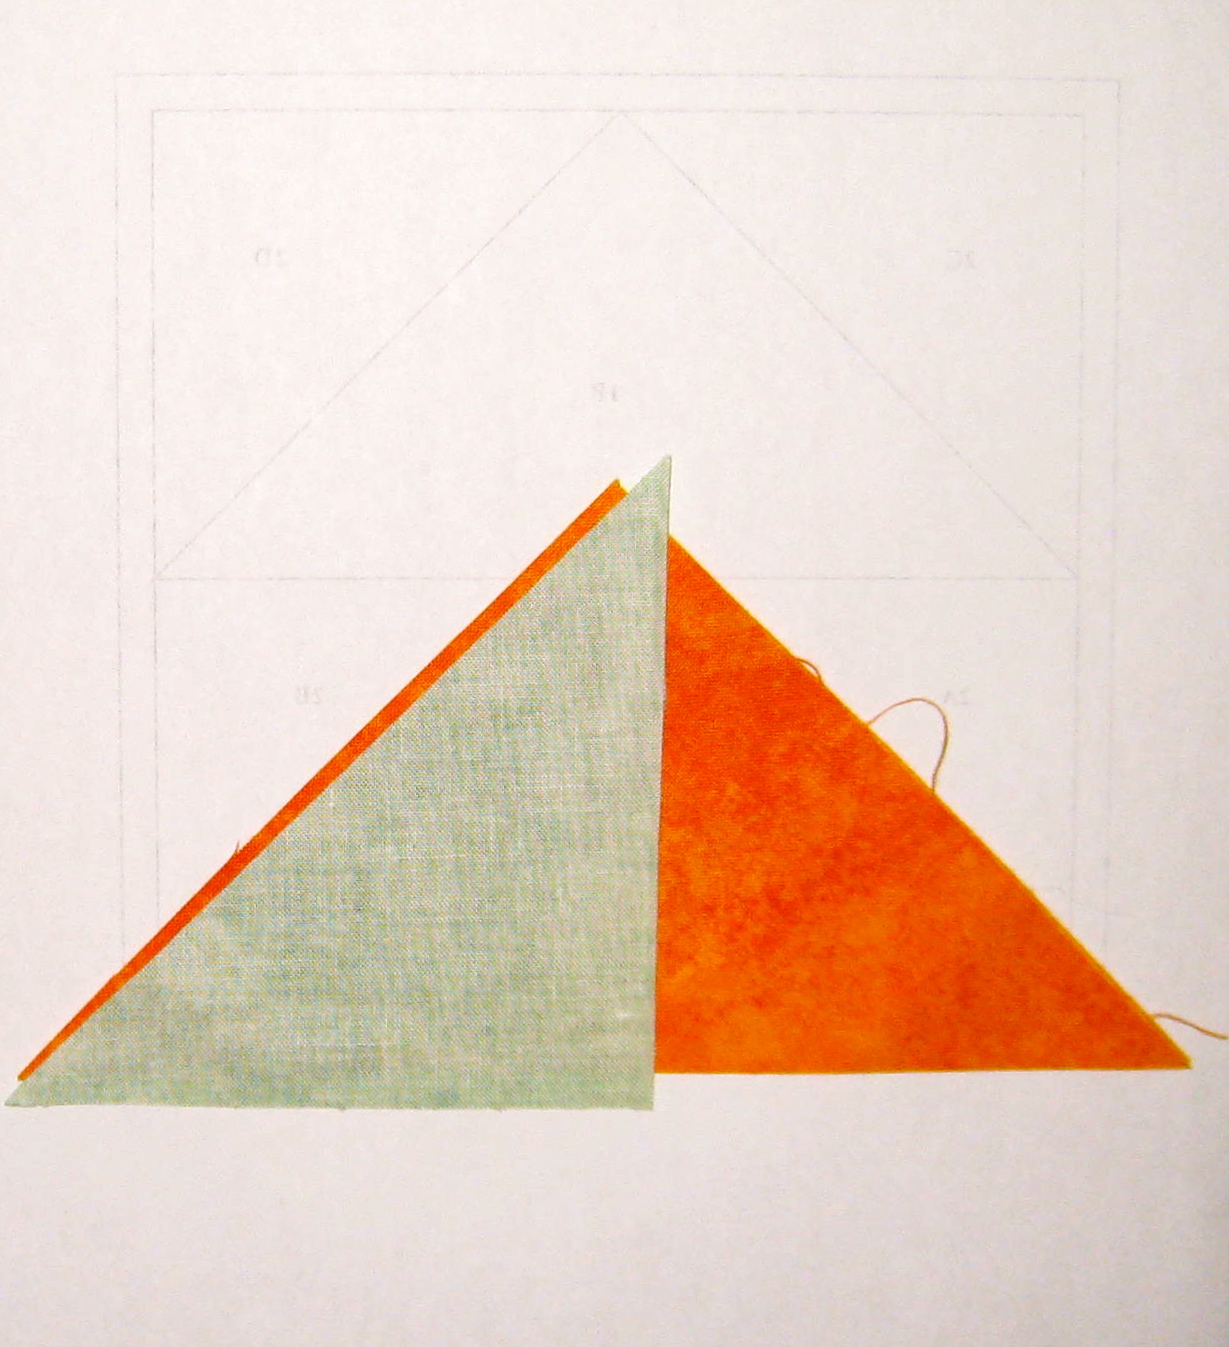
Second piece in position on top of first right sides together.
Turn paper over and sew along the line – it is okay to start a stitch before the line and end a stitch after the line. Tip: Using a small stitch length to make it easier to remove the paper when you are finished.
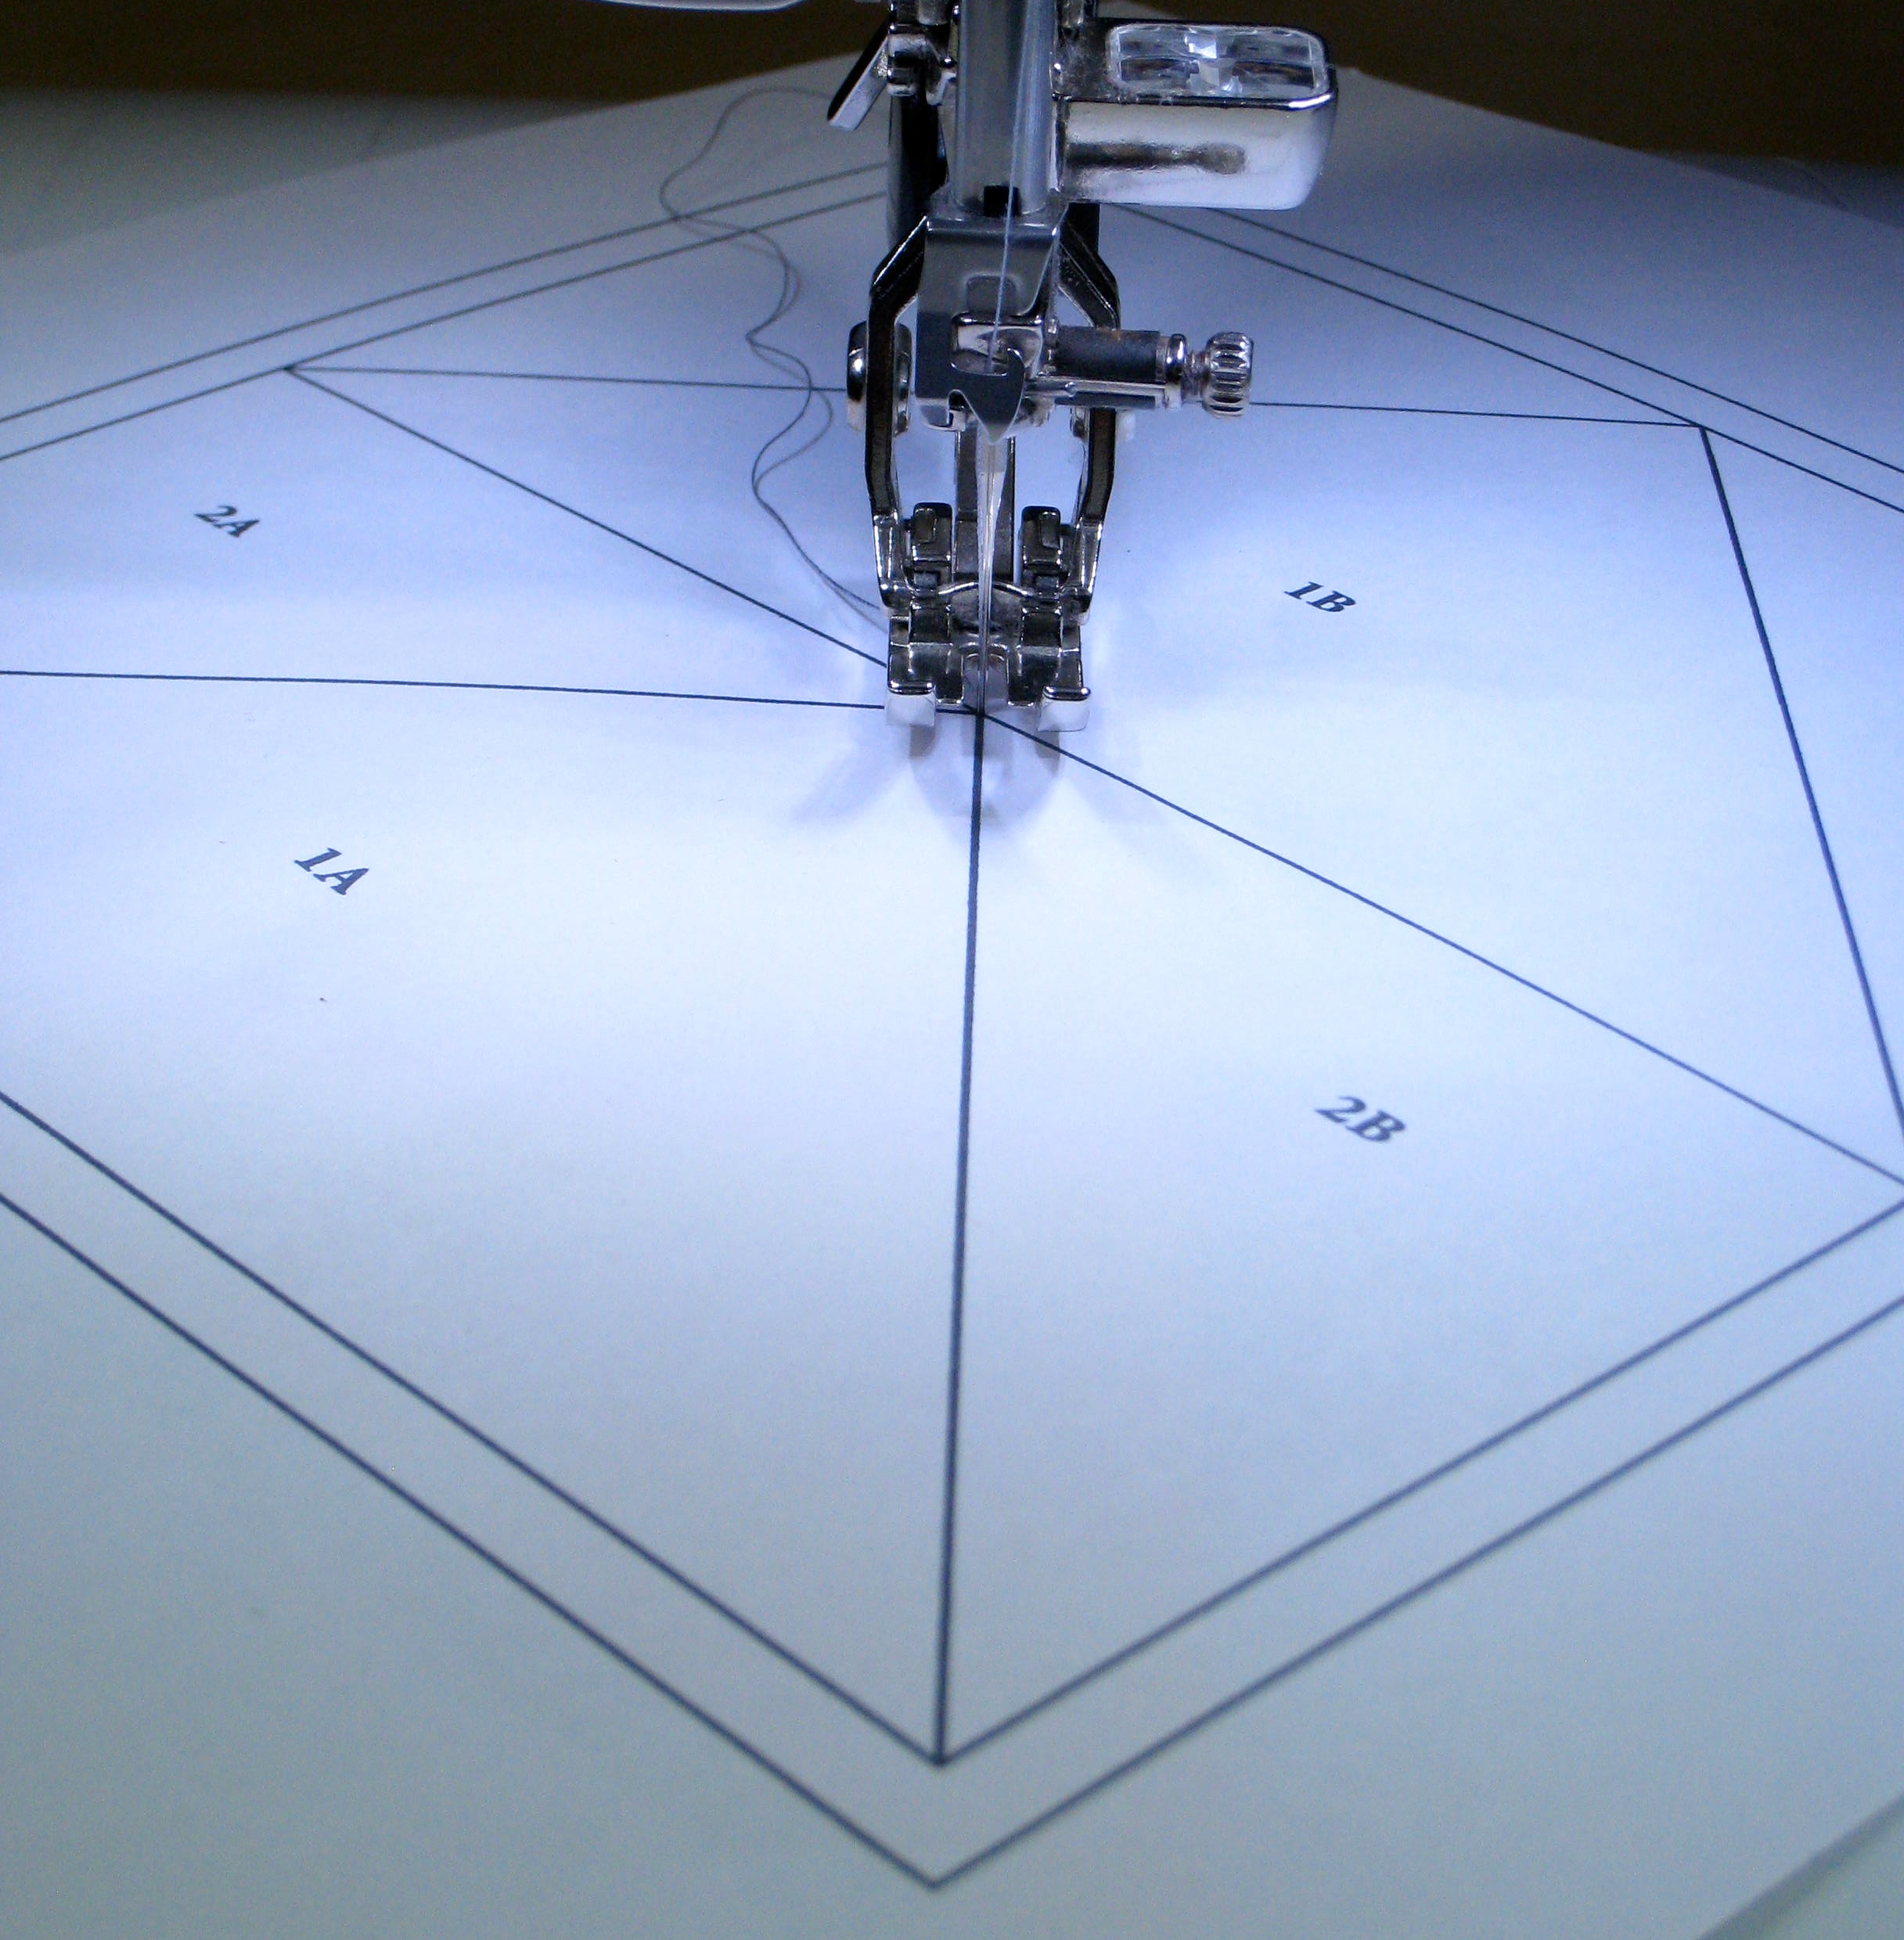
Sew along line.
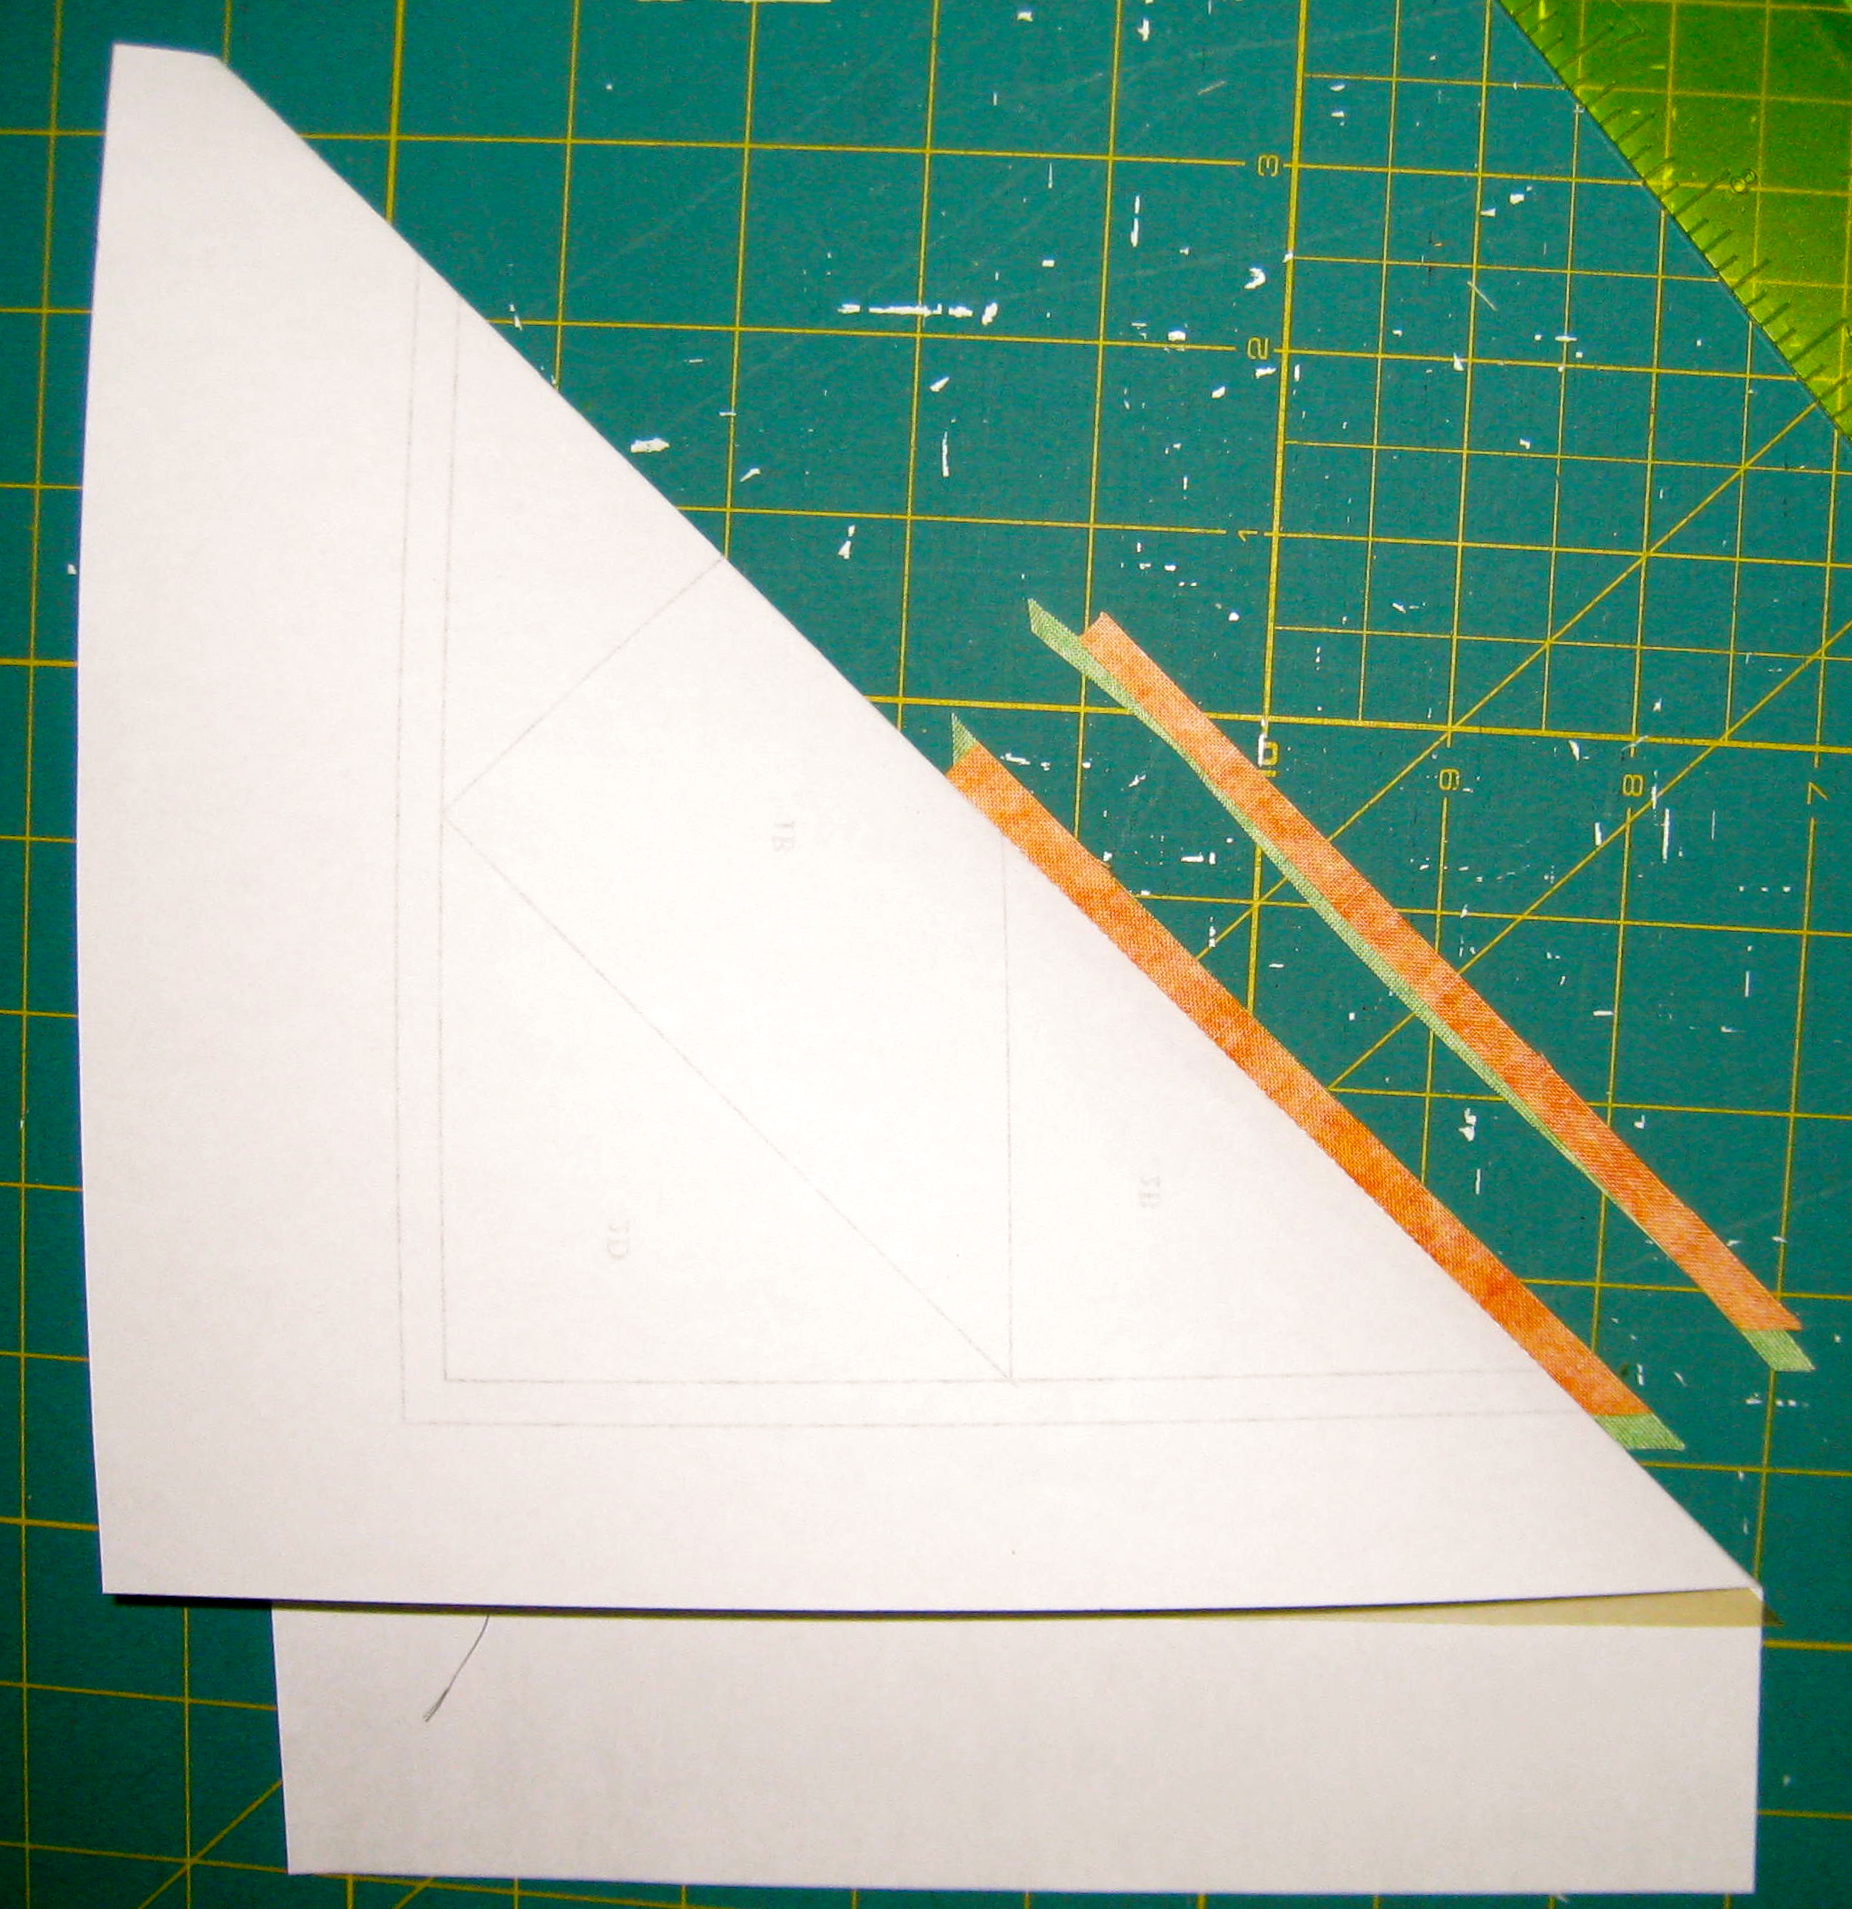
Place your piece on a cutting mat with the paper side up. Place the piece of template plastic along the line just sewn.
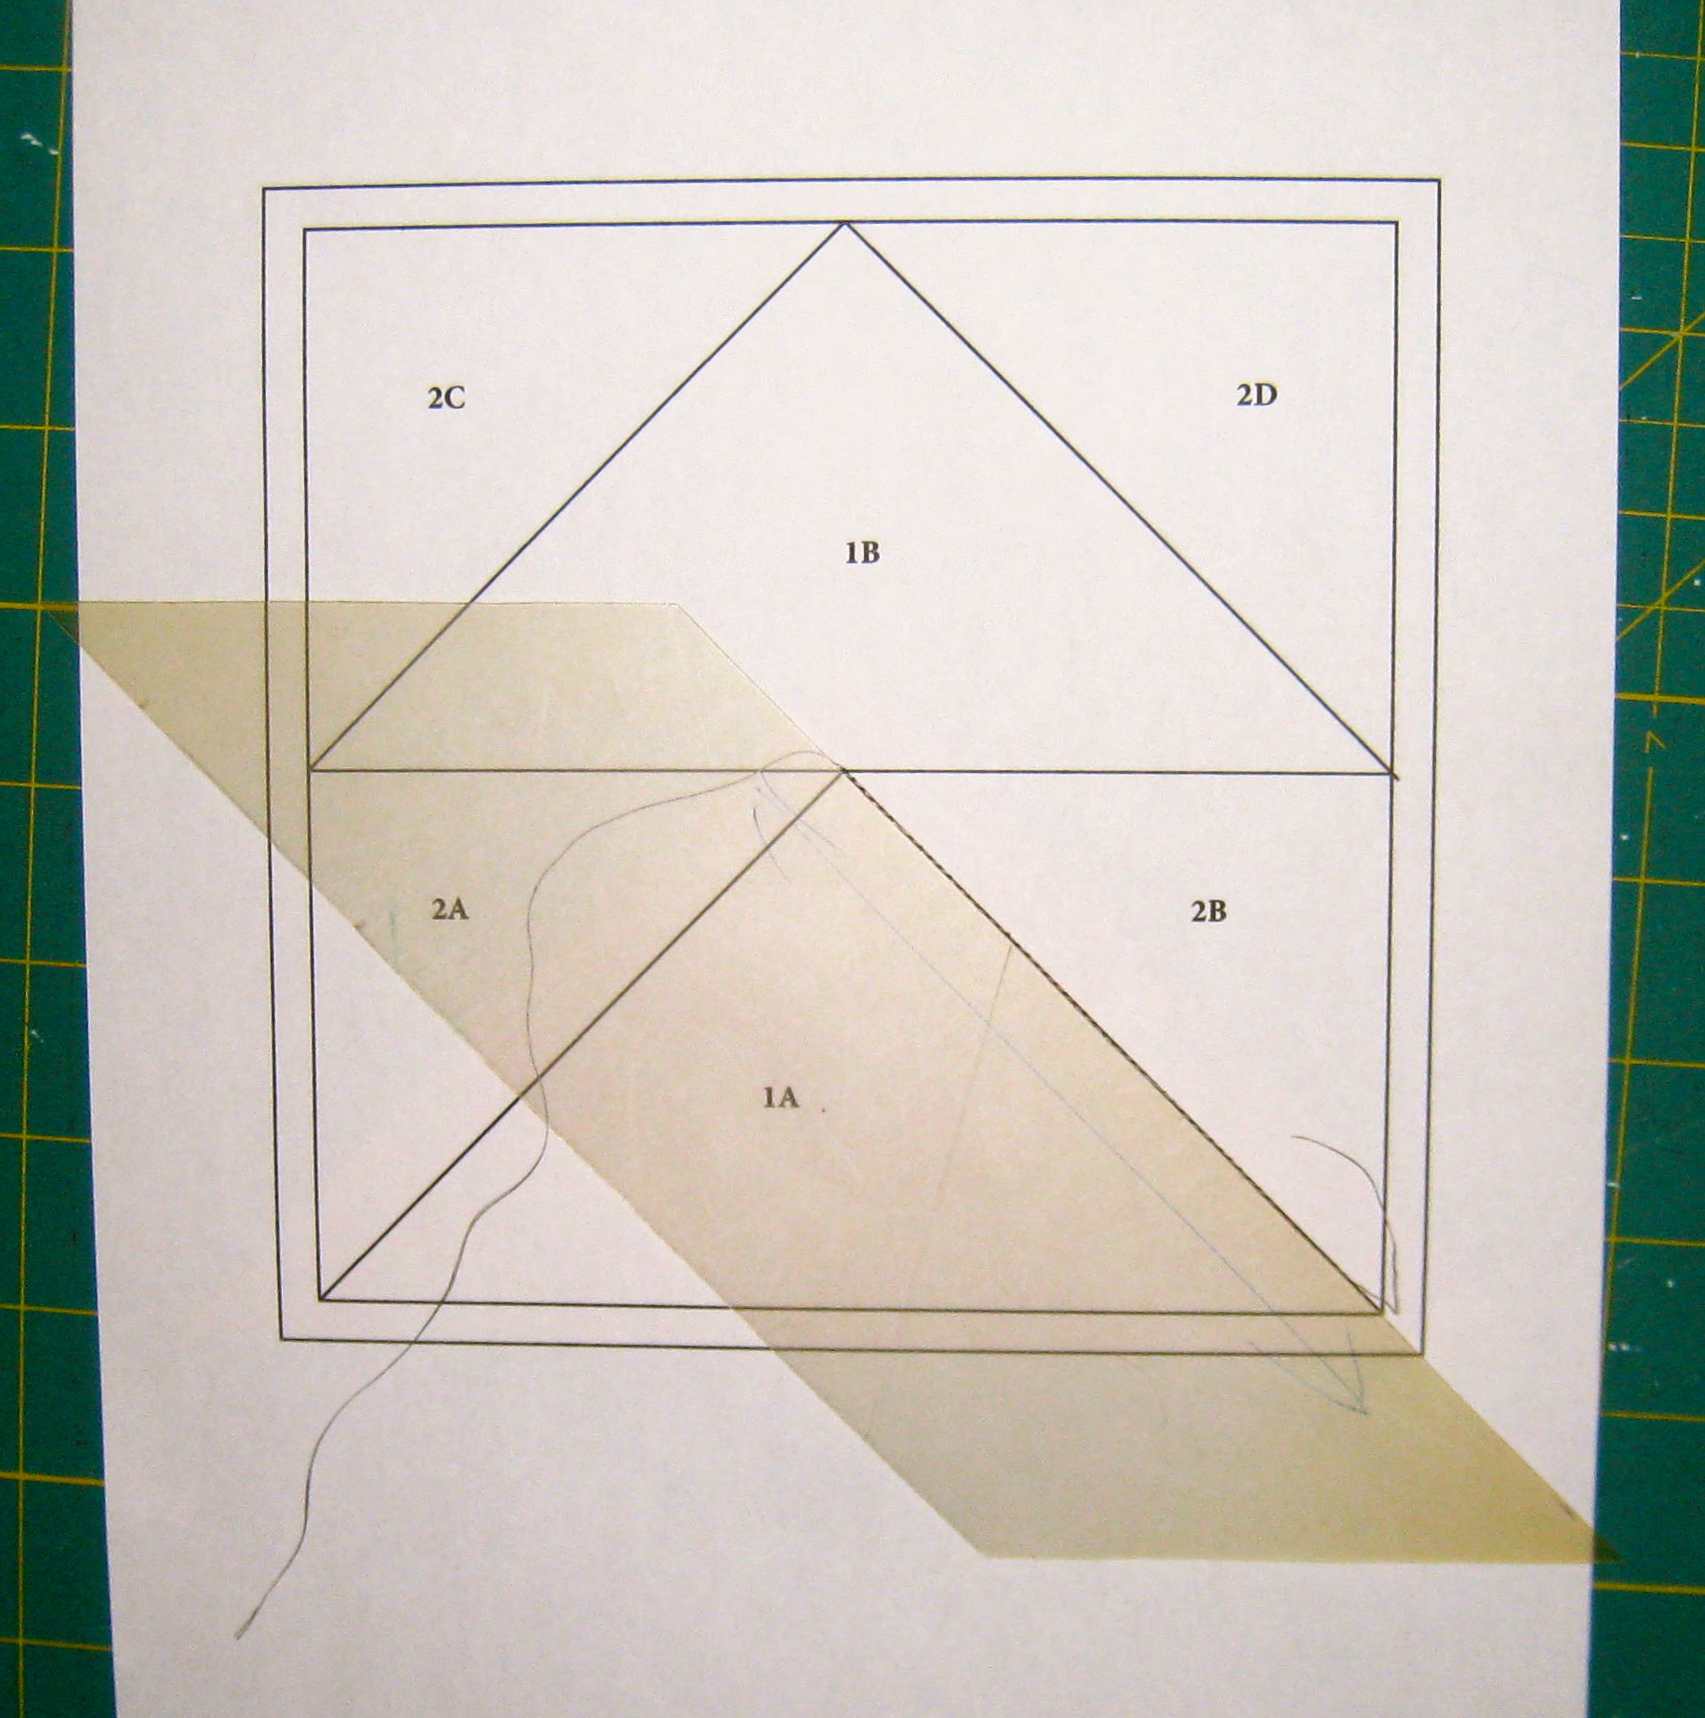
Place template plastic on line just sewn.
Fold the paper back over the plastic revealing the extra fabric underneath.
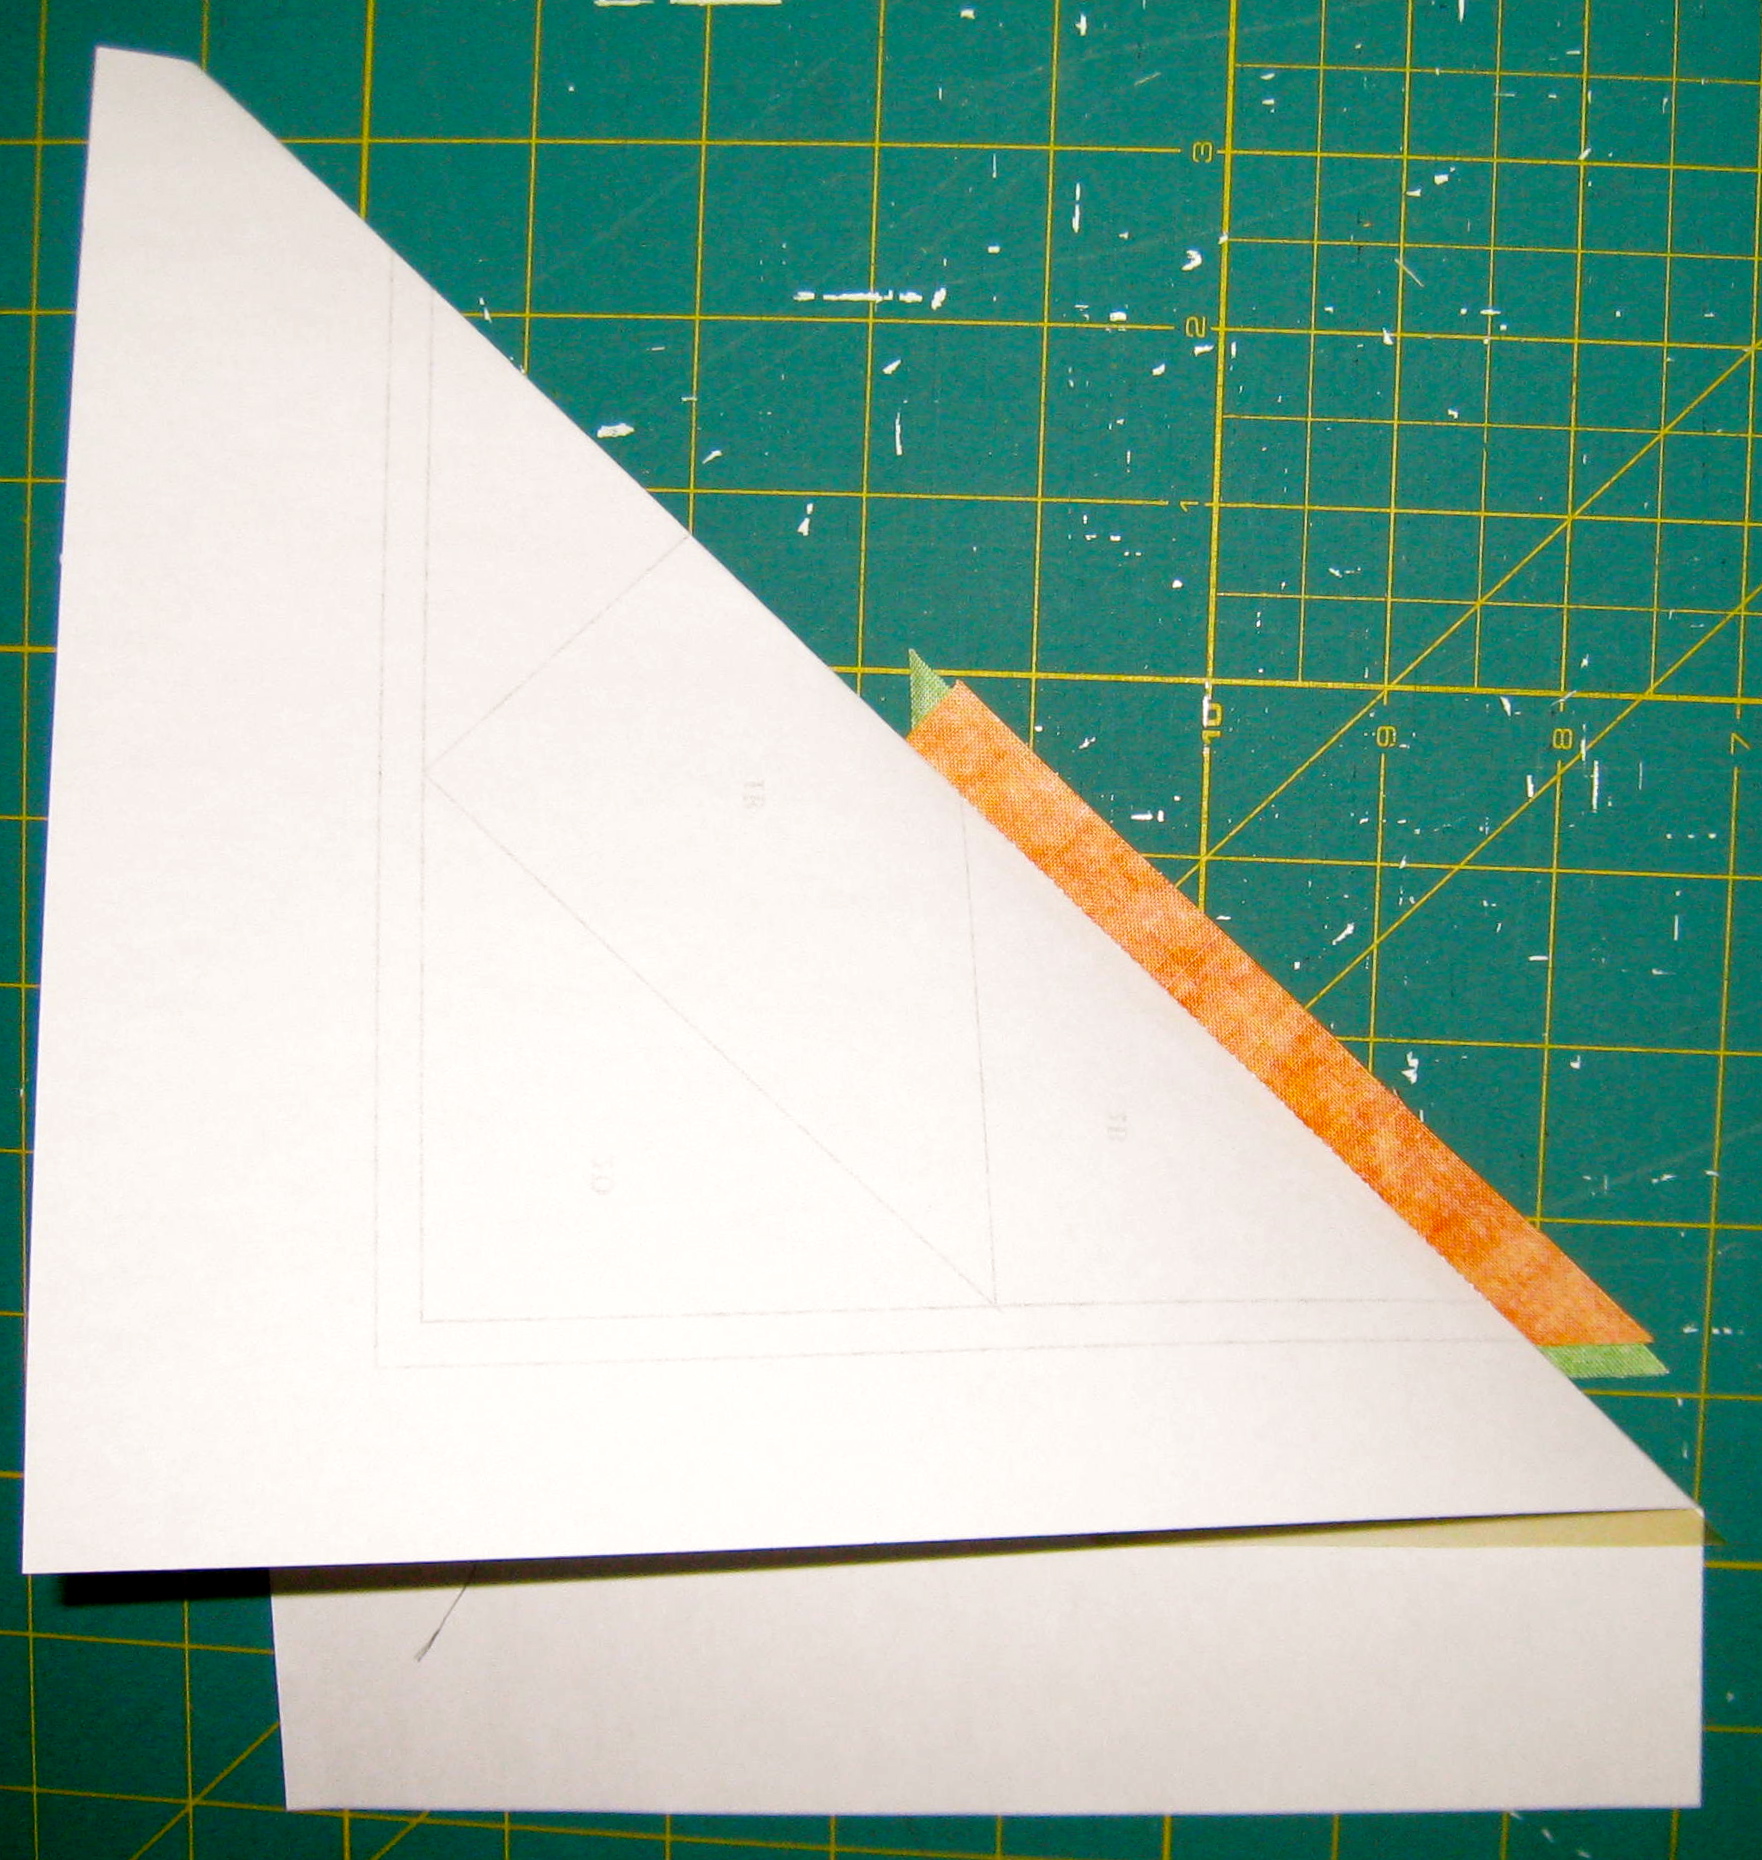
Fold paper back over template plastic.
Place the add-a-quarter ruler up against the folded paper. The template plastic will butt up along the lip on the ruler. This will give you a perfect quarter inch.
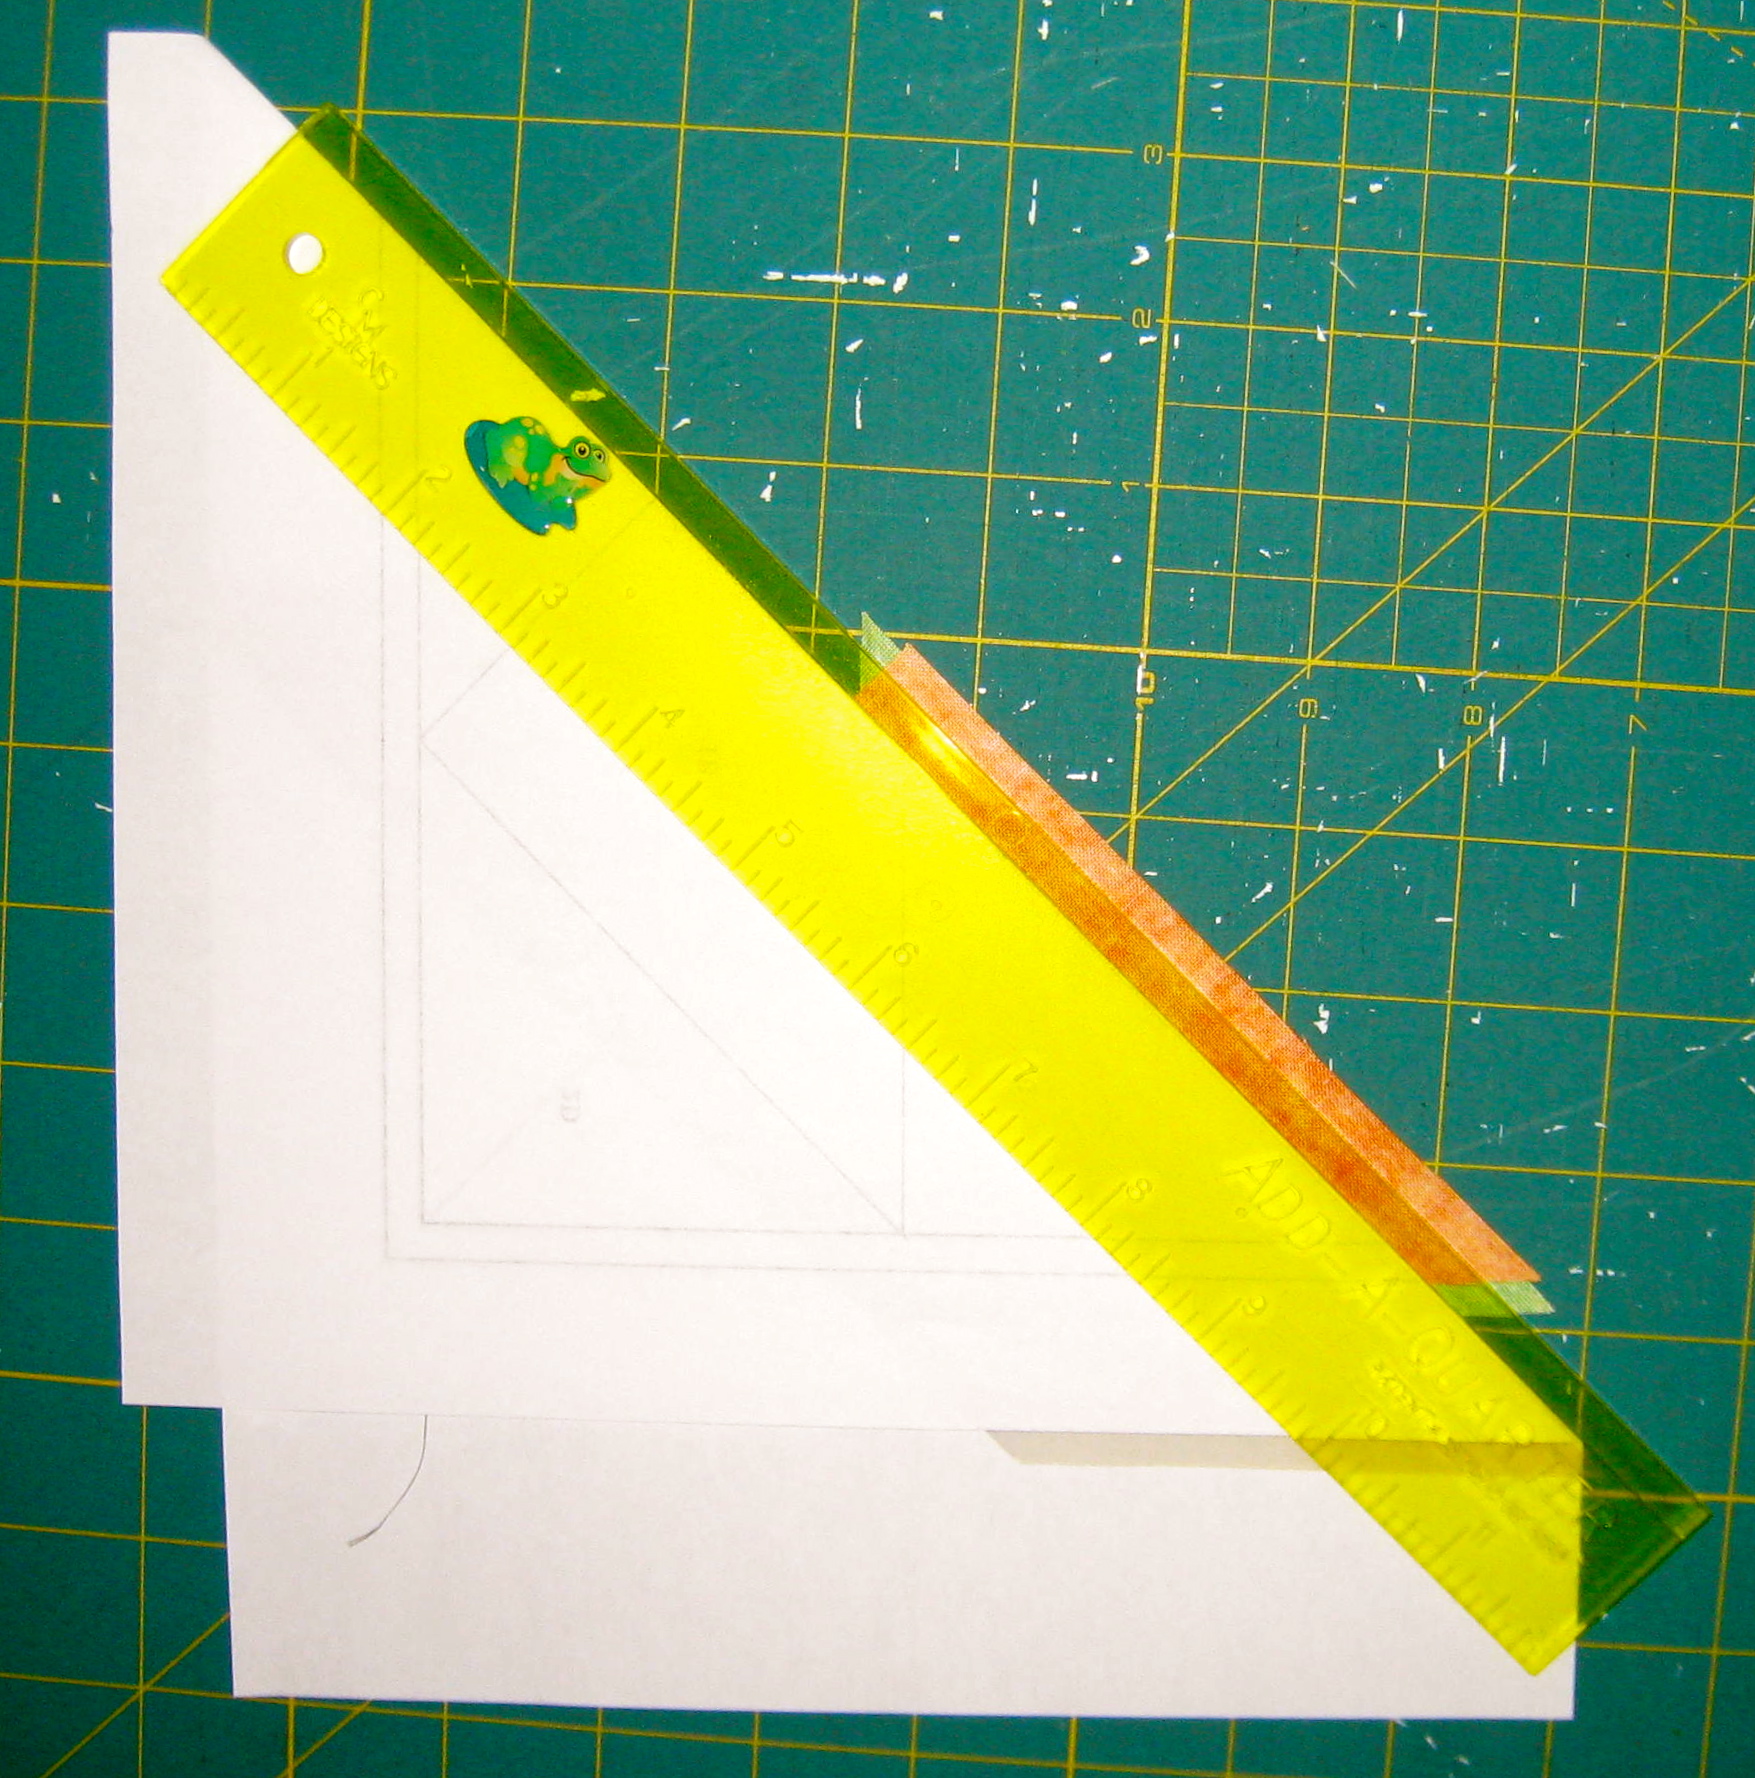
Place ruler on top of paper and template plastic.
Trim off excess fabric to create a ¼″ seam allowance.
Trim off excess fabric.
Press the piece away from the goose body.
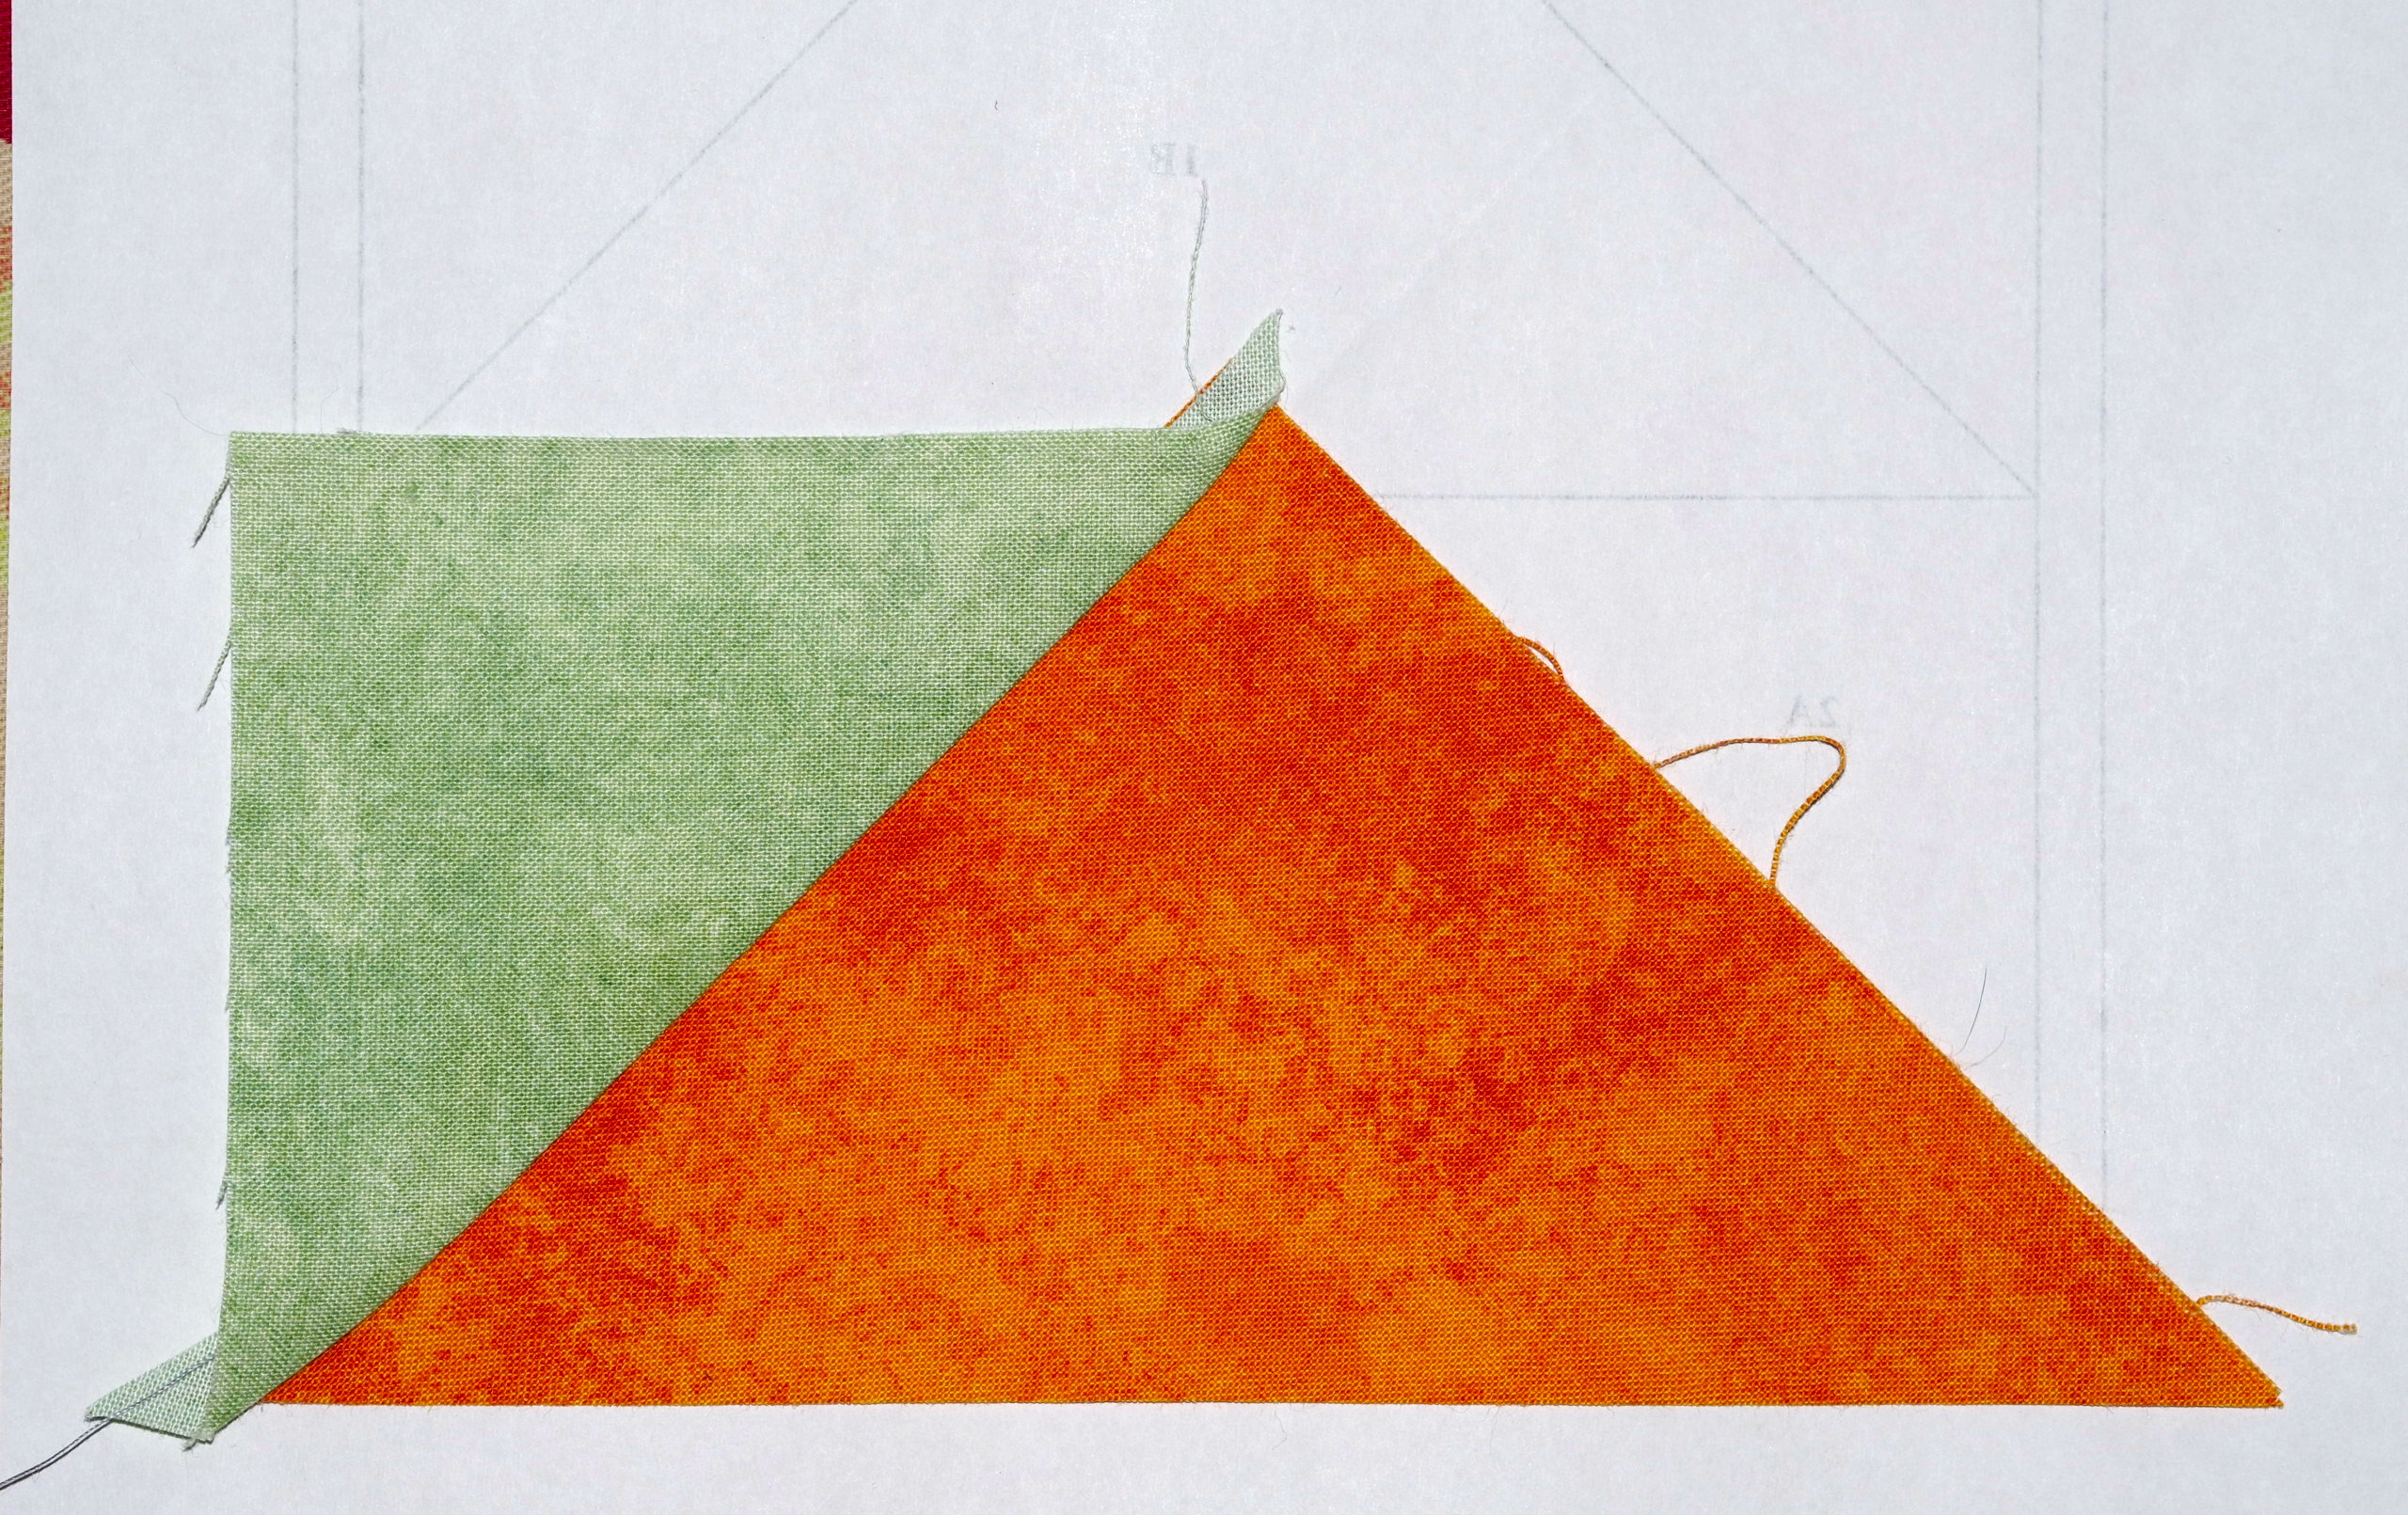
Press piece away from body.
Repeat this process with all remaining pieces.
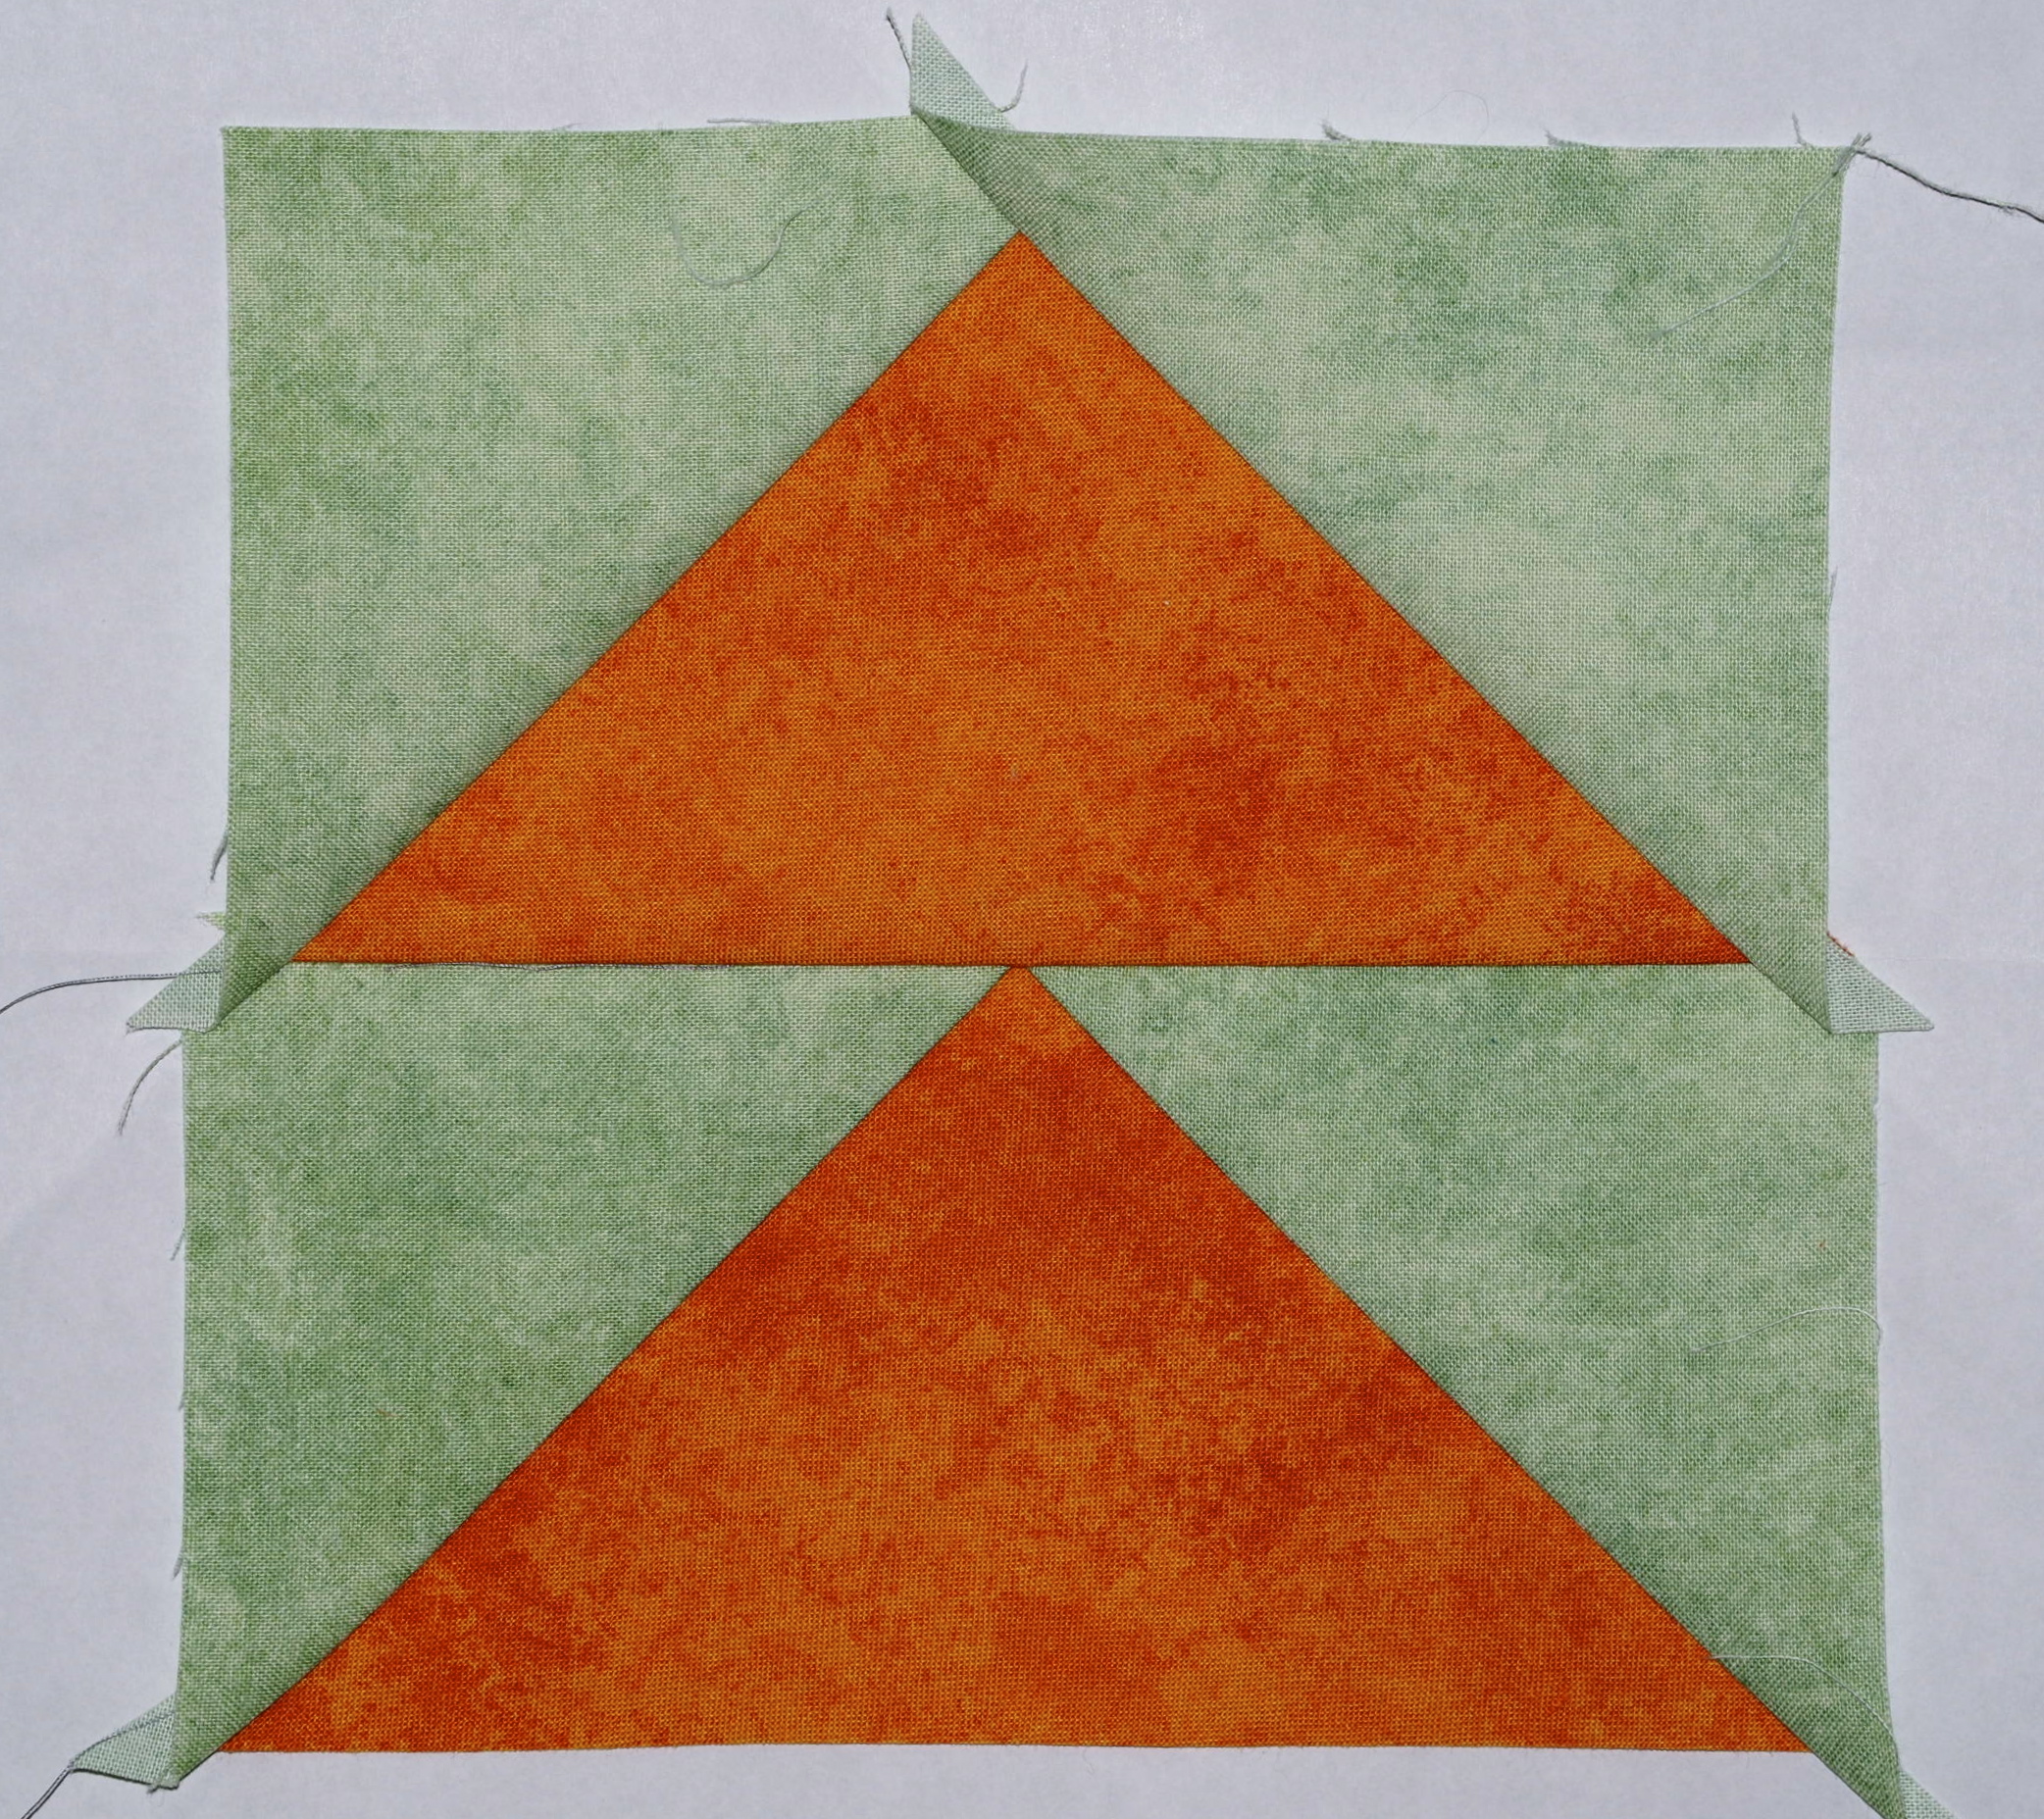
All pieces sewn in place.
Finishing
Once all the pieces are sewn in place it is time to square up the block. Use the same method as you did for trimming the ¼″ seam allowances.
Place template plastic on inside line of block. The template has a ¼″ seam allowance around it.

Place plastic on solid inside black line.
Fold paper over, position the add-a-quarter ruler and trim off excess fabric.

Fold paper over, position ruler and trim off excess fabric.
Repeat for the other 3 sides.
Block squared up to 6 ½″.
Tear off the paper starting at the last line sewn. I find it easier to go in reverse of how the pieces were sewn together.

Tear off paper starting at last stitch line.
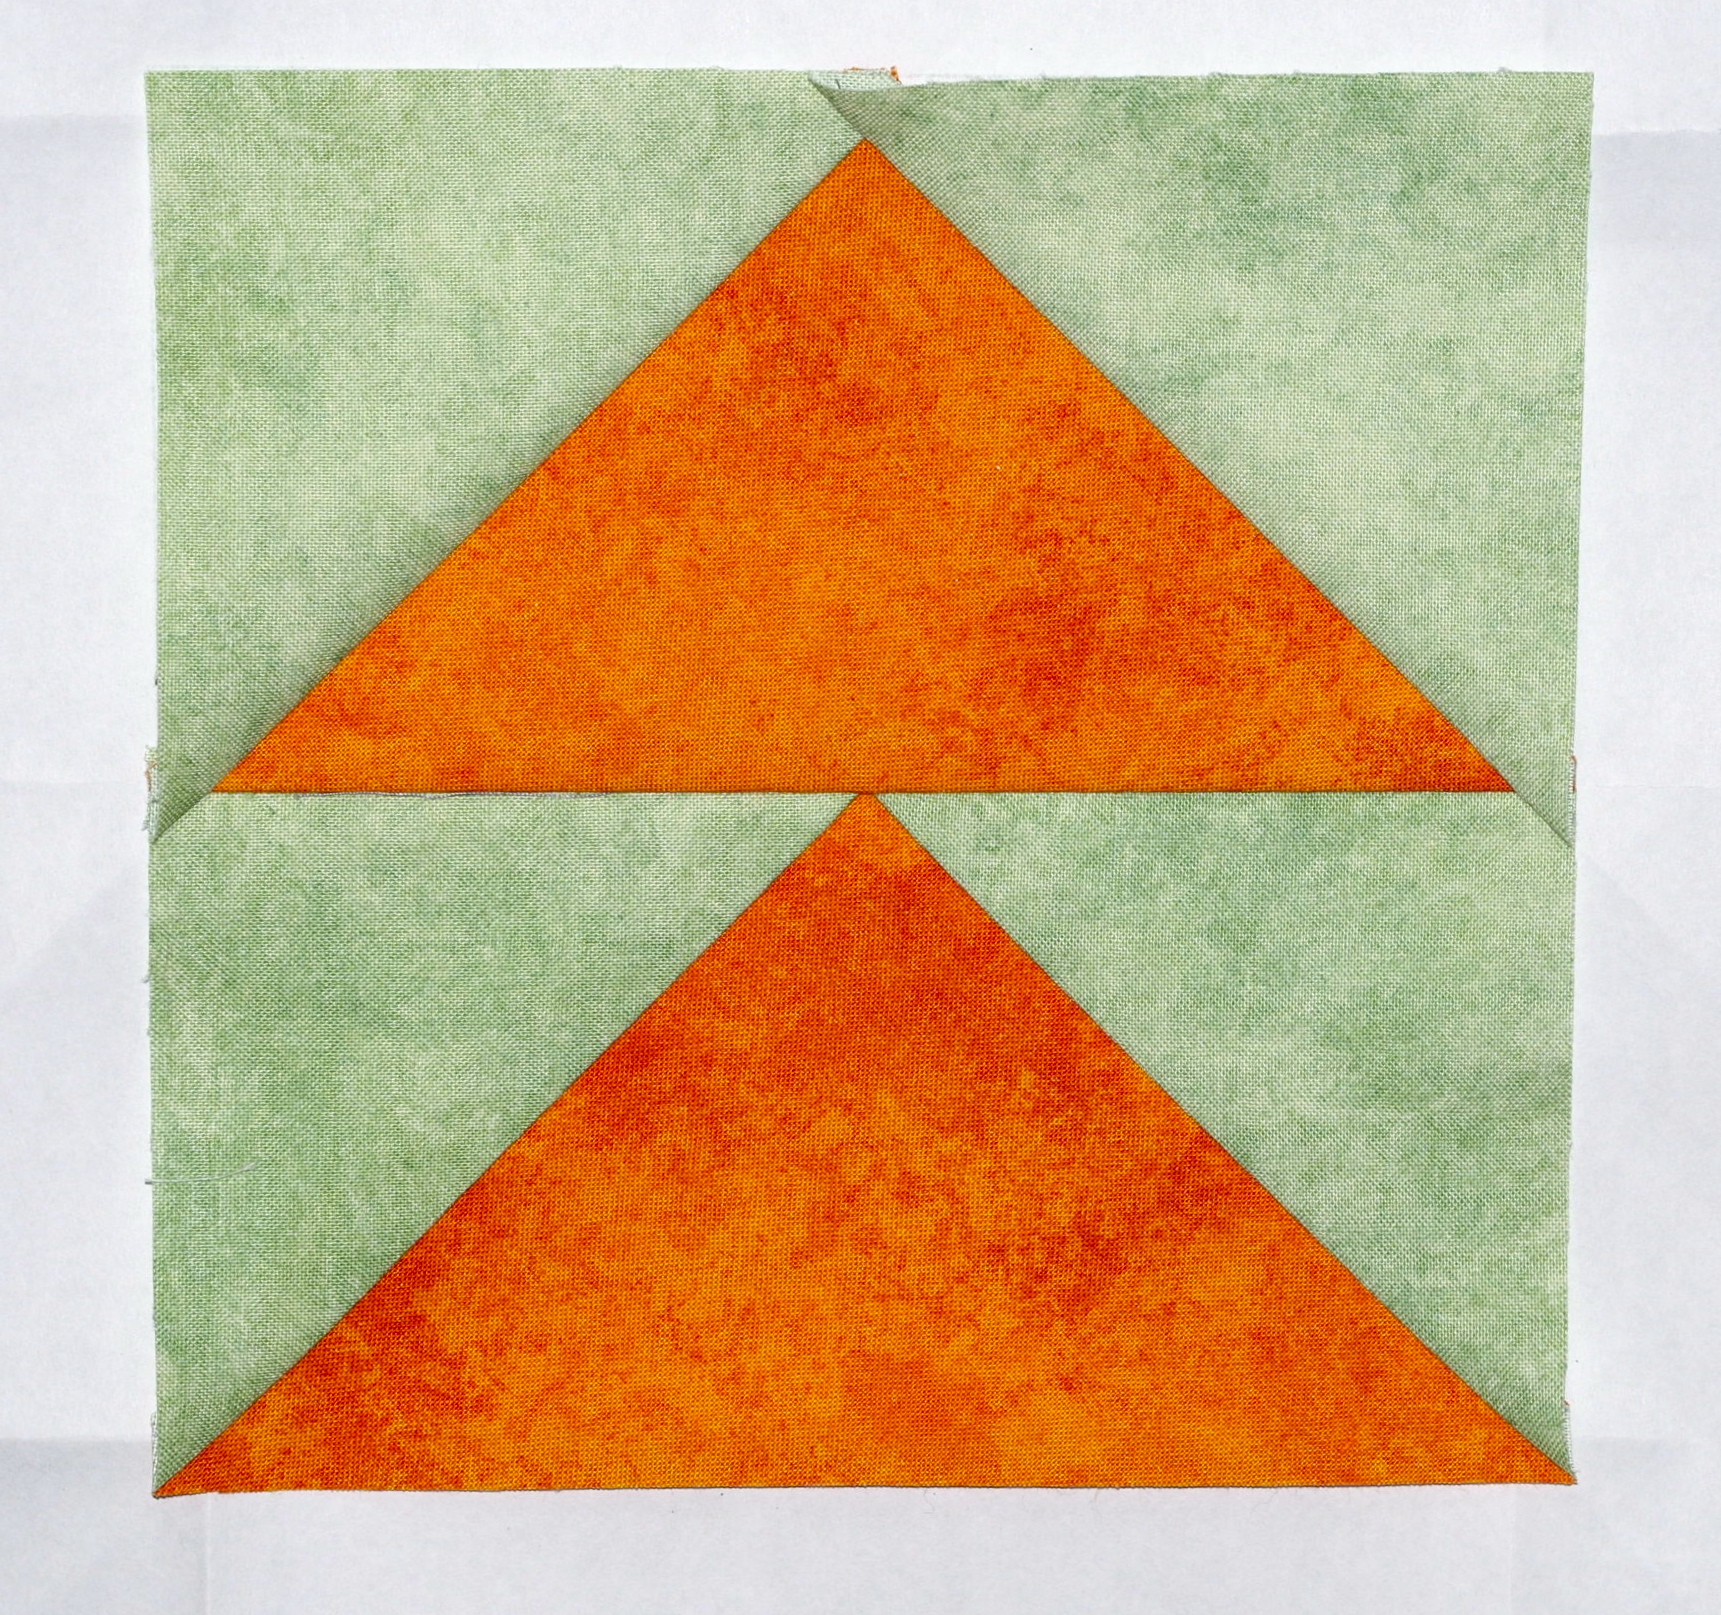
There you have it a paper pieced 6 inch flying geese block.
Flying geese block.
Happy Quilting!


Very clear instructions for the Flying Geese
pattern. I have tried these in other ways but this one was the best. Thank you.
Thank you Barb. So glad you found the tutorial helpful. Jen