

Hey Everyone, welcome back to Technique Tuesday.
Last Thursday I highlighted the Snowball Template from Creative Grids in honour of the snow that was forecasted – not quite sure it is an honour to have snow at the end of April though. Anyway the snowballs made with this little template will not melt away and should last quite awhile. And yes there was snow.
Either cut 5 inch squares from yardage or use pre-cut charm squares – I know we all have some of those. For my demo here I am using up some left over squares. There isn’t really much consistency between fabrics in the photos but you will know how to use the template by the end of the post.
Place the template on top of the 5 inch square with the straight edges aligned at the top, bottom and sides of the fabric.
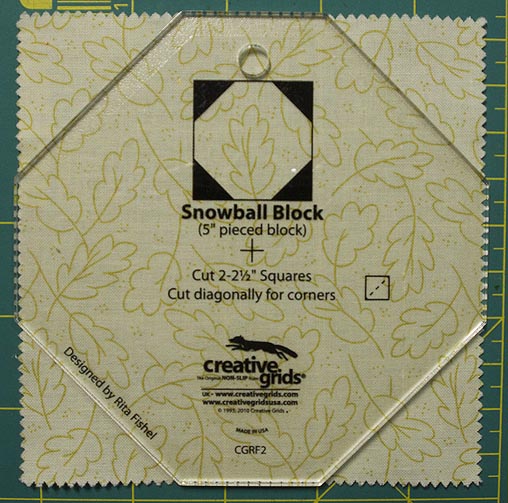
Template on 5 inch square
Cut off the corners with the rotary cutter – this is the small bit of waste which could be used in another project if so desired. I know there are many of you out there who keep these little bits.
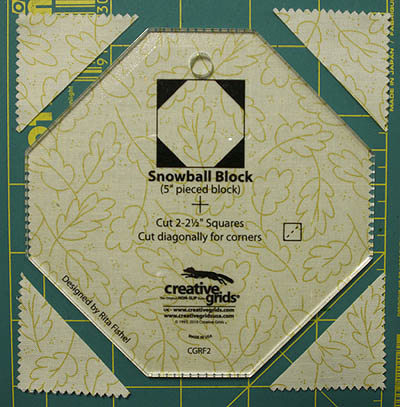
Cut off corners
Take away the template and the corners.
Cut two – 2 ½″ squares and then cut them on the diagonal once. These are for the corners. I used a light coloured fabric in the photo below but then changed my mind and decided there wasn’t enough contrast and switched to brown.
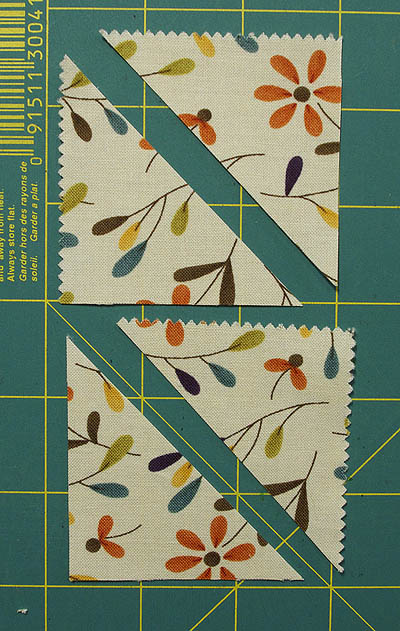
Two – 2 ½″ squares cut into triangles
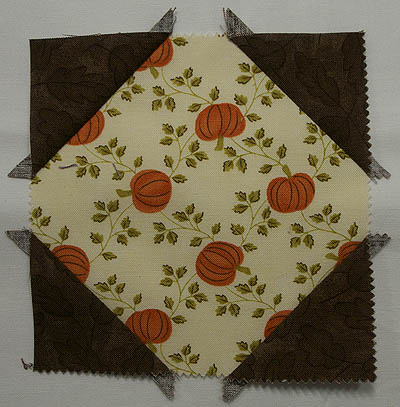
Place the triangles on each corner and sew in place with a ¼″ seam. The instructions included with the template say to use a scant ¼″.
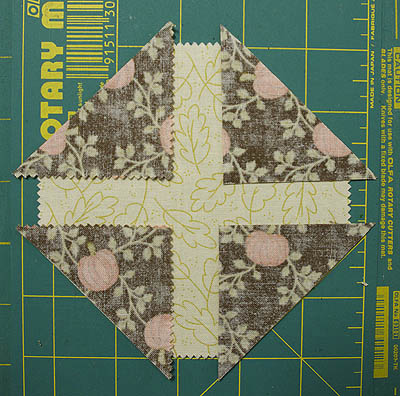
Triangles placed in the 4 corners
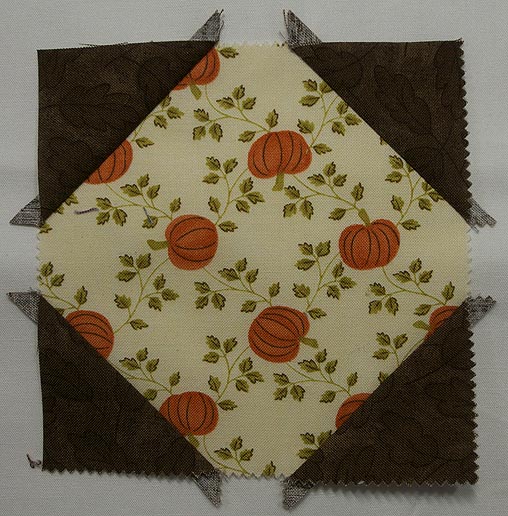
Press the triangles over to the corners and then trim off the dog ears which I haven’t done yet. Here’s the completed 5 inch snowball block.
Press over and the block is complete
That’s it – oh so easy!
Happy Quilting!


