
Hey Everyone, welcome back to Technique Tuesday.
The sidekick ruler from Jaybird Quilts comes with an instructional pamphlet on how to use it and cut three different shapes – diamond, triangle and half triangle. The pamphlet is super easy to follow and has both written and graphic instructions.
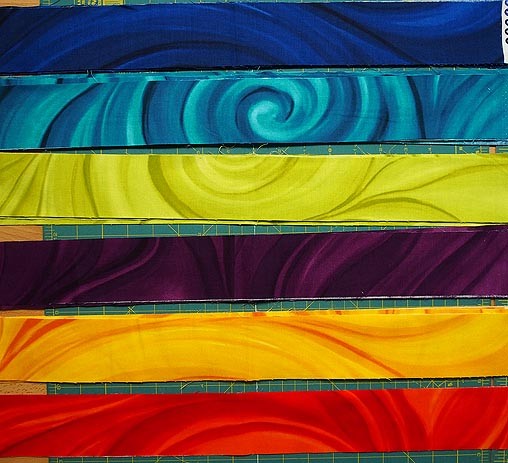
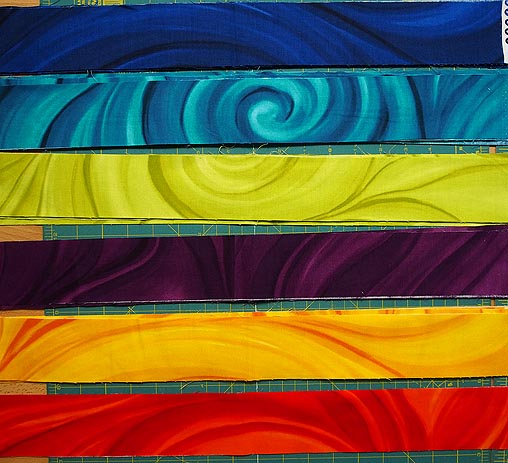
The ruler makes 4 different sizes of shapes from 1″ to 4″. When cutting strips for each of these sizes make sure to add a ½″ for the seam allowance. I have decided to make 2″ pieces since I already have a whole bunch of 2 ½″ strips cut from some kits that didn’t get used last fall in my Merging Traffic class. They are at the top of the page – such yummy colours.
This ruler is even jelly roll friendly.
Cutting the Shapes
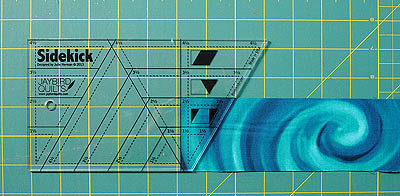
Triangle
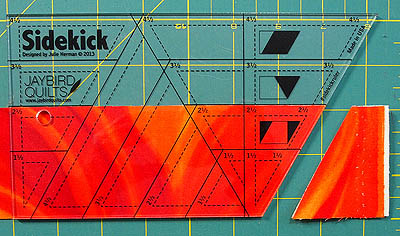
To begin line up the ruler on the right hand end of the strip.
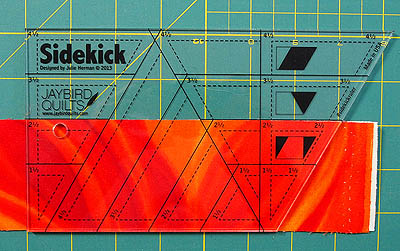
Ruler aligned to angle end of strip
Cut off the end so that the strip is angled.
End cut off
Then flip the strip around 180°. With the ruler wrong side up align it on the strip so that the 2 ½″ lines are along the diagonal edge and the bottom of the strip. Cut along the edge of the ruler to create a triangle.
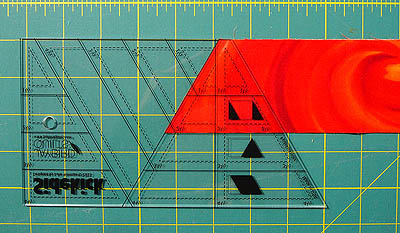
Ruler aligned for first triangle
For the next cut turn the ruler right side up and align the 2 ½″ lines on the diagonal edge and the top edge of the strip. Cut along the edge of the ruler.

Second triangle
Triangles cut from the orange fabric.
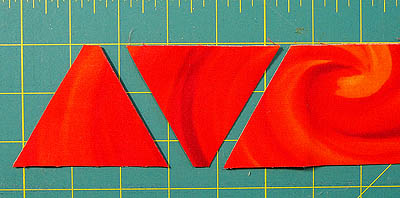
Triangles cut from strip
Diamond
Begin the same as the triangle and cut an angle at one end of the strip.
Then flip the strip around 180° and align the ruler so that the 2 ½″ lines are along the diagonal edge and the top of the strip. Cut along the edge of the ruler to create a diamond.
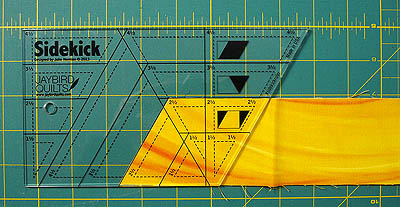
Cutting the diamond shape
Diamonds cut from fabric strip.
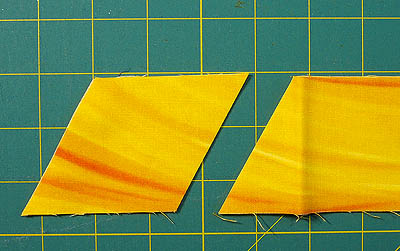
Diamonds
Half Triangle
This strip needs a straight edge to begin. The half triangle can be cut as a right half triangle or a left half triangle. To cut both at once the strips can be layered with wrong sides facing each other. When cutting single triangles the right half triangle needs the fabric to be right side up and the left triangle the wrong side up.
Line up the middle line with the straight edge of the strip and the 2 ½″ line at the top of the strip. Cut along the edge of the ruler to create the half triangle.
Align ruler on straight edge
Flip the ruler over still right side up and line up the ruler as shown below.

Ruler aligned along angled edge for second cut
There are both left and right half triangles cut.

Left & right half triangles
I really like it when a ruler has more than one shape and several sizes of those shapes that can be cut with it. So many rulers today are very specialized and can only be used for one creation. This one is definitely not one of those.
Tune in tomorrow to see how these pieces can be sewn together to create other shapes and blocks.
Happy Quilting!


Hola me gusta mucho sus trabajos, gracias por ayudarnos, aprender éstas cosa ta bonitos.
You are most welcome Olga. I am glad you are enjoying the website and blog.