


Hey Everyone, welcome back to Technique Tuesday.
Last Thursday I introduced the Hex N More ruler as my cool tool of the week. And it is rather cool as it cuts 4 different shapes and each shape in 4 different sizes.
Today I’m going to walk you through how to use the ruler to cut those 4 shapes.
All the shapes can be cut using strips of fabric or you could fussy cut the shapes as well depending on the fabric you have and the look you want.
For demo purposes I am going to use a different size for each shape so that you can see how the ruler works with all of its marked lines. I also haven’t used a very exciting fabric for these shapes because I needed one that the lines of the ruler would be visible in the photos hence the muted orange fabric. Not my favourite fabric and for some reason I seem to have metres and metres of it.
60° Triangle
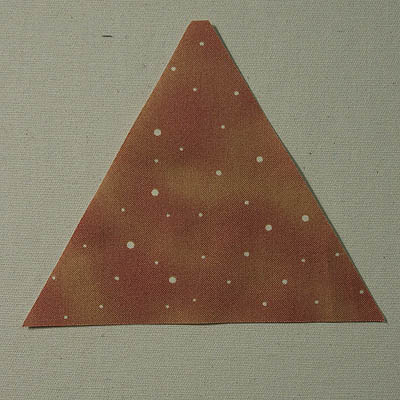
The triangle
This shape can be cut from either a 1 ½″, 2 ½″, 3 ½″ or 4 ½″ strip which includes the seam allowance.
Using a 4 ½″ strip place the bottom tip of the ruler on the bottom edge of the strip and cut along each side of the ruler.
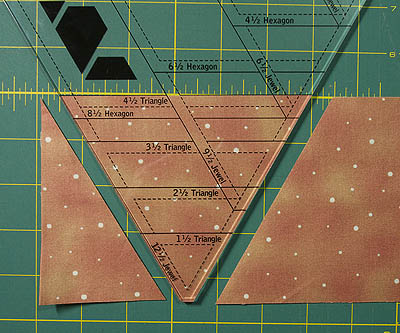
Cutting the triangle
Then flip the ruler over to cut the next piece. The tip of the ruler will be aligned with the top of the strip. Cut along the right side of the ruler for the second triangle.

Second triangle cut
Continue in this manner along the strip to cut more triangles.
Hexagon
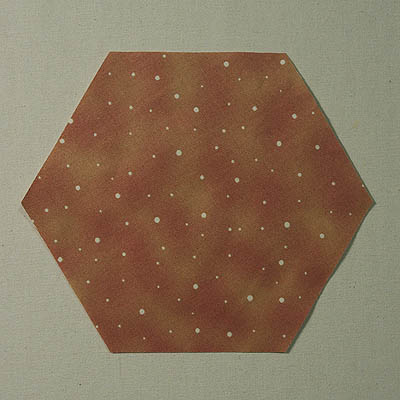
Hexagon
This shape can be cut from either a 2 ½″, 4 ½″, 6 ½″ or 8 ½″ strip which includes the seam allowance.
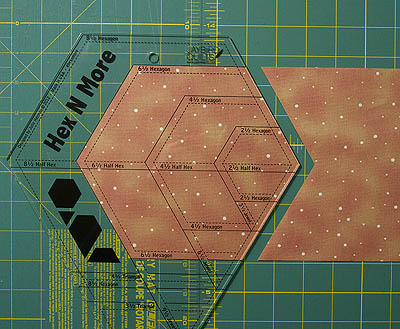
Using a 6 ½″ strip place the lines that mark the 6 ½″ hexagon on the top and bottom of the strip. Cut the excess fabric off at the right hand edge of the ruler.
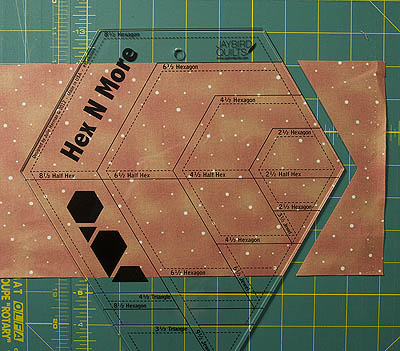
First cut at the right hand edge of strip
Turn the strip around so the cut edge is at your left. Place the ruler on the fabric as shown in the photo below with the 6 ½″ hexagon lines at the edge of the fabric. Cut along the right hand edges to make a hexagon.
One hexagon cut
Continue on down the strip to create more hexagons.
Half Hexagon
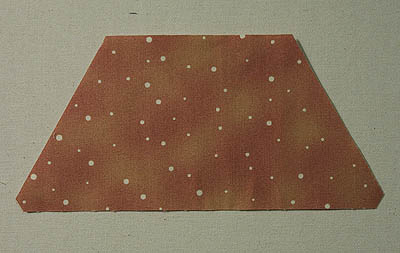
Half hexagon
This shape can be cut from either a 1 ½″, 2 ½″, 3 ½″ or 4 ½″ strip which includes the seam allowance.
Using a 3 ½″ strip place the solid line of the ruler that runs through the middle of the ruler on the bottom of the strip at the right hand side of the strip. Cut off the edge.
Cut off right hand end of fabric
Now flip the fabric over so that the wrong side of the fabric is facing up and the cut diagonal edge is on your left hand side. Place the middle line along the bottom of the strip with the diagonal line of the half hexagon along the cut edge of the strip. See photo. Cut along the right hand edge of the ruler.

One half hexagon cut
Continue cutting more shapes from the strip.
Jewel
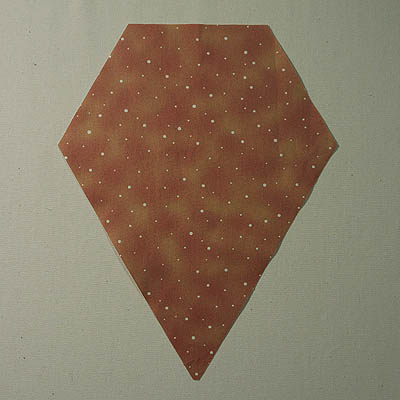
Jewel
This shape can be cut from either a 3 ½″, 6 ½″, 9 ½″ or 12 ½″ strip which includes the seam allowance.
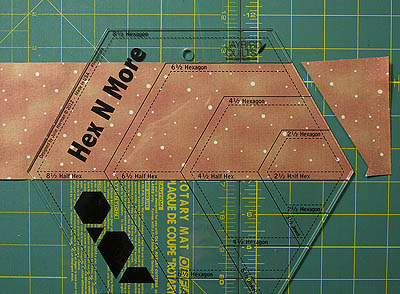
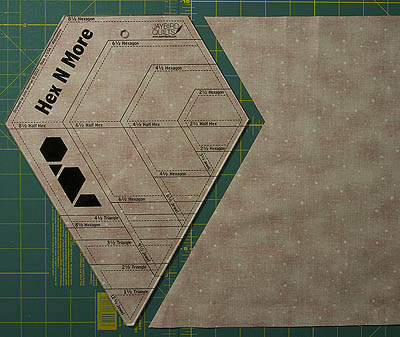
Using a 12 ½″ strip place the top of the ruler with the top edge of the strip and the bottom of the ruler with the bottom edge of the fabric at the right hand end of the strip. Cut off the excess fabric.

Cutting off excess fabric
Flip the fabric over to the wrong side with the cut edge at the left hand side. Align the ruler as above on the strip of fabric and cut away the excess fabric.
Jewel shape cut
Continue cutting until you have the desired number of jewels.
There is some fabric wastage with this ruler but not a lot and some of the waste are 60 degree triangles so may be useful somewhere else.
The ruler is clearly marked as to where each shape and size of the shape are to be cut. This makes it very easy for cutting – no guess work needed.
Each shape can be used alone or sewn together to create a masterpiece. The shapes also are compatible with the shapes from the sidekick ruler.
Another great ruler to add to the arsenal of rulers in your quilting toolbox.
Which is your favourite shape? Mine is the jewel shape.
Happy Quilting!


