

Hey Everyone, welcome back to Technique Tuesday. This week’s post is actually on time. Life should be back to normal, whatever the definition of normal is, now that Purely Canadian is finished. Although I am sure there will be another project come along to take the place of Purely Canadian so stay tuned.
Now that I have digressed I should get back onto the topic at hand – sandwiching a quilt. There is more than one way to do the job so I am going to show you how I do my sandwiching. What you will need: a quilt back, batting and the quilt top along with many, many, many curved safety pins. You will also need a large flat surface like the floor or a conference table. I find that I do all of my sandwiching on a table these days as when I lived in Australia my floor was all carpeted which isn’t very conducive to pinning the layers together as it ends up being pinned to the carpet as well – very hard to get it under the sewing machine with a carpet attached. Besides, spending all that time on the hard floor on your knees can be very painful.
To begin, make the backing 2 inches larger all the way around than the quilt top. For example, if your quilt top is 44 inches square then the backing would be 46 inches square. The batting is then cut to the same size as the backing. Press all pieces so they are wrinkle and crease free.

Press all layers including batting.
Start by laying the batting on the flat surface – I put the fuzzier side facing the table as that will be the side which will end up facing the quilt top. Once it is lying on the flat surface all smoothed out and flat then the quilt backing is layered on it with the wrong side of the backing facing the backing. I start by lining up one edge of the backing with an edge of the batting and smooth it out to the other side where the edges will meet.

Backing being placed on top of batting.
Once the backing is smoothly positioned on the backing from edge to edge – remember they are the same size so the edges should all meet – then the whole piece needs to be flipped over so the batting is facing up and the backing is on the table. Make sure everything has remained smooth once flipped over. Some extra smoothing may be required. If it is a big project then a second pair of hands can be very helpful with this step.

The backing and batting layered together smoothly.

Quality control by Frostie.
Lay the quilt top on the batting with the right side of the quilt top facing up and making sure to have 2 inches of batting showing all the way around the quilt top. Smooth out the quilt removing any wrinkles, bumps etc so that it lies nice and flat on top of the other two layers.

The backing/batting is 2 inches larger than the top all the way around.

Quilt top, batting & backing all layered together.
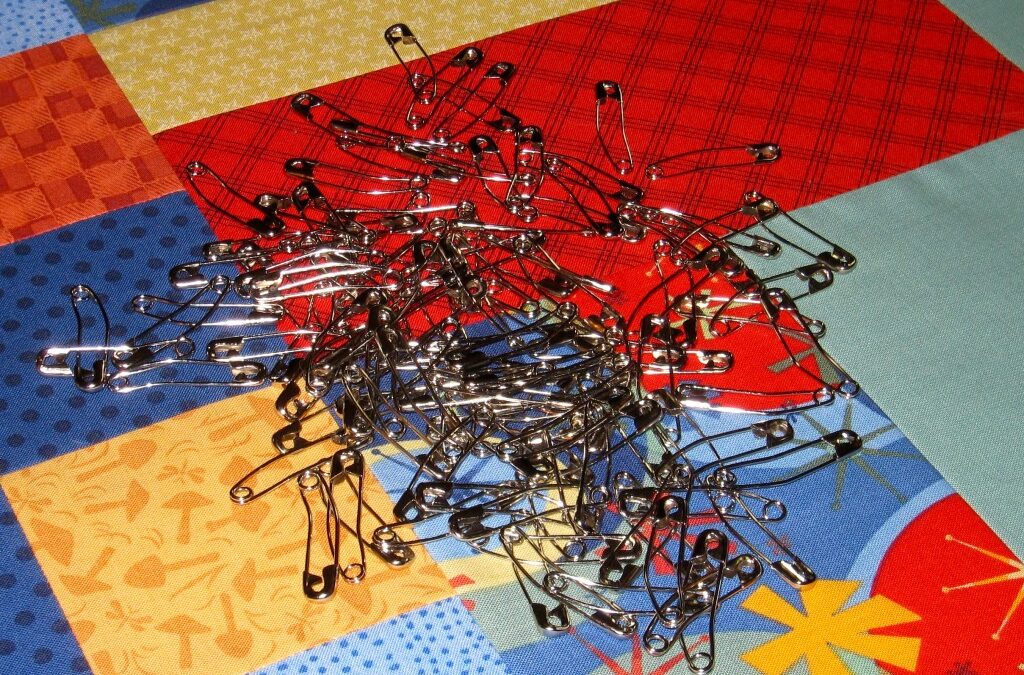
Using a multitude of curved safety pins (like these ones), begin pinning at the centre of the quilt and working out to the inner edges of the quilt stopping before the borders. I pin the borders after the centre just in case there was any movement of the layers and more smoothing needs to be done. I will usually pin the vertical borders first and then the horizontal borders.
My rule of thumb is to space the safety pins approximately a fist-width apart. This will be enough to ensure that the layers do not move or shift as they are being pulled, turned and tugged through the machine as they are being quilted.

Pins a fist-width apart.

Safety pins in place.
When my table isn’t large enough for my quilt (like that never happens!!) I find I do have to get creative and place the pins in sections. I still lock down the centre of the quilt first and then re-position the quilt on the table to work my way out to the edges of the project. Remember that as you move the quilt around un-pinned, you may need to smooth out the layers before continuing to pin.
Once the quilt is pinned then it is time to quilt it but that is a whole other topic for another time.
Until next week, Happy Quilting.
![]()
Disclosure Note: I buy and use the products mentioned in this post and write about them without influence from the designer or any other commercial interests. I have included links to the products on Amazon.com and may receive a small commission if you purchase from these links. This doesn’t cost you any more to purchase these items but it does help me maintain this website, so I hope that you will please use these links.


