

Hey Everyone, welcome back to Technique Tuesday.
There are many different ways to make a hanging device for your quilt. Some take more time than others and some require a bit of hand sewing.
The most traditional method is a hanging sleeve. A not so traditional method is hanging tabs. Both of these methods require hand sewing which I know some of you are just not into.
The triangle hanging tabs do not require any hand sewing but do have a draw back in that they only work on smaller pieces and pieces with binding. That’s okay because I intend to only make small pieces from now on – well at least until the next big piece.
These tabs are so easy. All you need is 4 squares, folded in half with wrong sides together and pressed flat. The size of square will be determined by the size of the piece. I usually use the same fabric as the backing so that they blend in and don’t stand out. I also use 4 squares because I always put a rod at the bottom of the quilt as it hangs much straighter than with just one at the top.
These squares are a different fabric so they can be seen easier in the photos. The squares for this piece I cut at 3 ¾″. They can be smaller but I like to have a fair bit of the rod under the triangle for better stability.
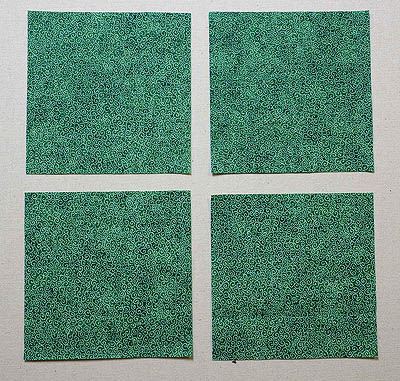
4 – 3 ¾″ squares
Fold squares in half with the wrong side together.
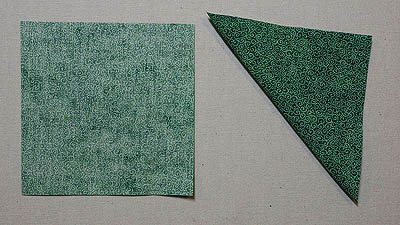
Square folded in half
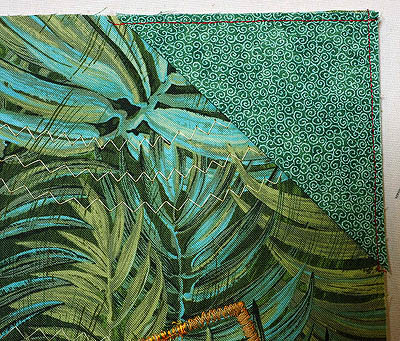
Place a triangle at each corner of the back of the quilt with raw edges matching. This is the back side of my April Stitch Along piece.
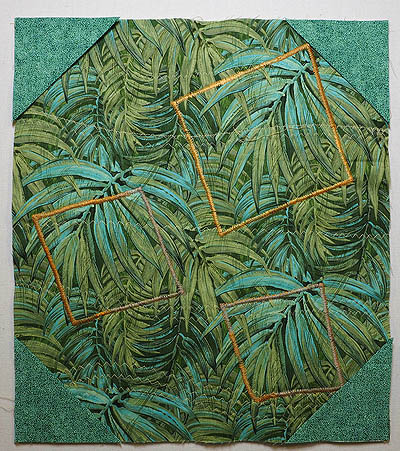
Triangles at all 4 corners
Close up of triangle even with raw edges
Pin in place.
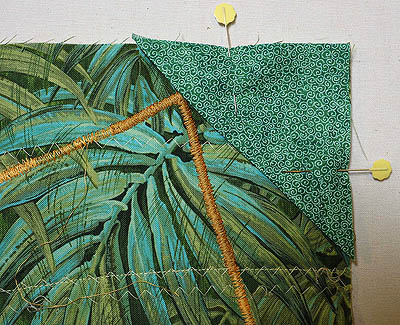
Pin in place
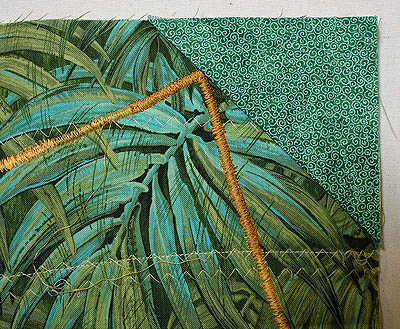
Sew the triangles to the quilt with an ⅛″ seam just as you would with a hanging sleeve. Here I used red thread so you could see the seam allowance and stitching. Normally I would use a neutral coloured thread. This stitching will be covered up by the binding and will not show.
Stitched in place with an ⅛″ seam
The hanging triangles are complete once the binding is sewn on. Note that on this piece the triangles are made with the same fabric as the backing and blend in. Need some help with binding then check out my blog posts on how to make binding and how to attach binding.
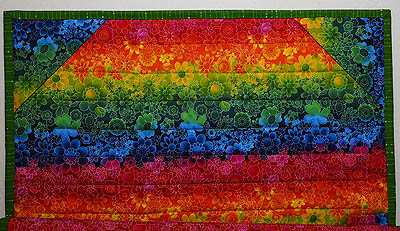
Another piece with hanging triangles and binding in place
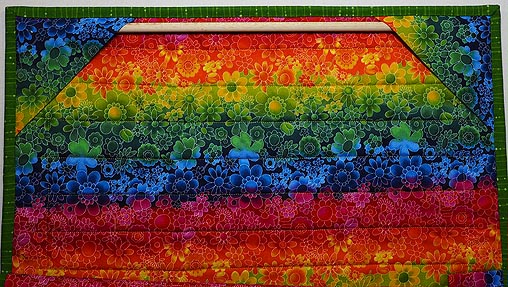
The great thing about these triangle hangars is that they will work to hang your piece in any direction – so if you are not sure which way you are going to display the piece then add them to all 4 corners so you have the option of hanging the piece in 4 different orientations. This is one of those such pieces which I will reveal the front to you in another blog post and once Michael has photographed it for me. Hopefully I can get him off the mountain bike long enough to do so.

Rod in place and ready to hang
Quick and easy hanging tabs – why I only started using them now is beyond me.
Happy Quilting!


How cool! What a wonderful alternative to traditional sleeves. I am typically working on art quilts and, for some, this is a great solution for finishing the “hanging sleeve”.
Kathy, this hanging method is a great alternative to sleeves and so much faster to attach with no hand sewing needed.
Cool idea cannot wait to try this thank you
Donna they work great on smaller sized pieces.
Is there a maximal width to using this technique on?
Carol, I tend to use it on small pieces – no more than 30 inches. I have used it on a piece a little over 40 inches but then put a small sleeve in the centre for the rod to go through to ensure there was no buckling of the piece while hanging.