
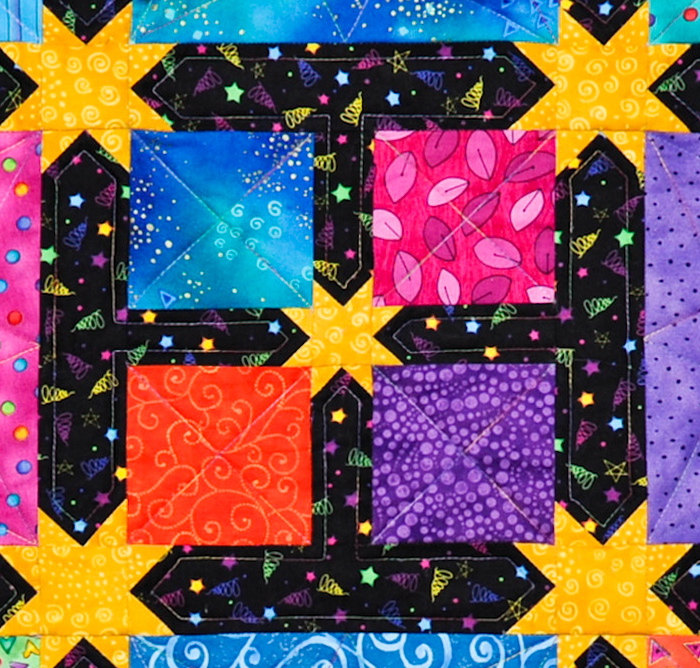

Hey Everyone, welcome back to Technique Tuesday on Wednesday. Yesterday I was up at Thimbles & Things in Orillia teaching my Animal Party quilt. We had lots of fun so, of course I thought I would share a couple of my tips for making the perfect star points in the sashing of the 4-patch blocks. One of my students decided that all those points and small pieces were just too much for her and she opted just to put a square in the middle of the block which also looks great. The stars are not as hard as they look – a bit fiddly yes because of the tiny 1 inch pieces required – the look though is so worth the effort.
Tip number one for making these little guys is to sew just to the right of the line that has been drawn diagonally across the back of the square. This allows there to be just a tad bit more fabric in the triangle that is pressed over to the corner resulting in the star point meeting with the corner of the rectangle underneath.

Sew just to the right of the pencil line.
Tip number two is to leave all the excess fabric under that star point – just gives it a bit more stability and allows it to lie nice and flat. This means there will be three layers of fabric at the corners.

Leave all excess fabric under star points.
Tip number three is when sewing the centre of the star to the points sew with the star points piece on top. This means that where the two seams of the star points cross are on top and can be sewn through to ensure that points will be perfect on the other side.

Sew with the star points on top to see where the seams cross.
Until next week, Happy Quilting!
![]()


Trackbacks/Pingbacks