

Hey Everyone, welcome back to Technique Tuesday. Last week I talked about sandwiching the three layers of a quilt and this week I am going to talk about how to make the binding needed to bind those three layers once they have been quilted.
Like everything in quilting, there is more than one way to bind a quilt so I am going to walk you through how I bind my quilts since it works so well for me.
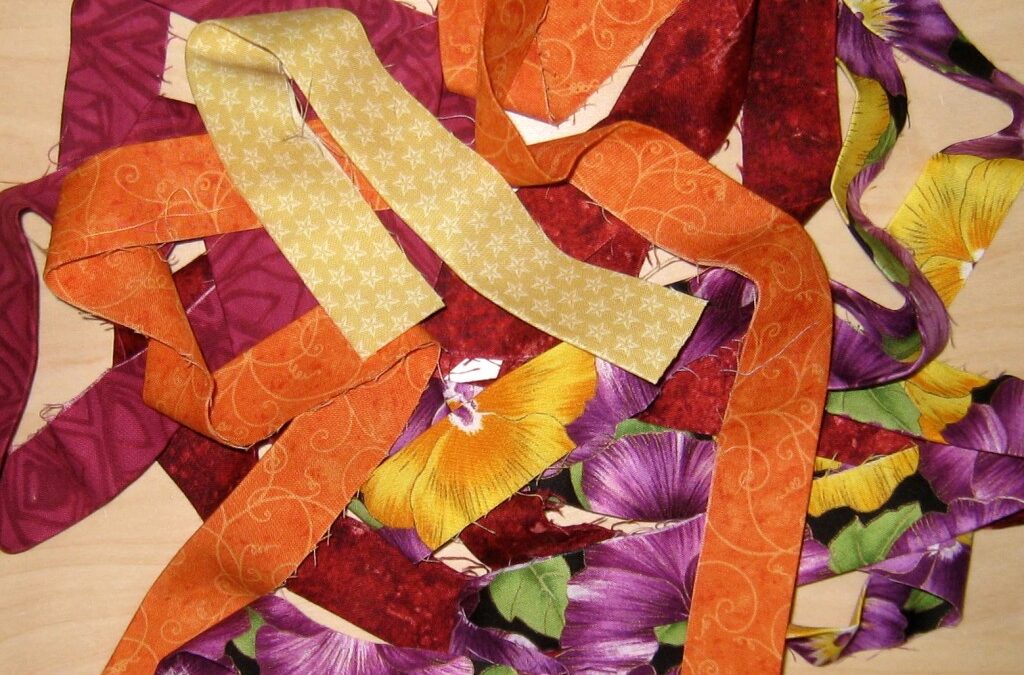
The first thing to do is to pick the fabric you are going to bind the quilt with – it can match the border or it can frame the quilt by being a contrasting fabric to the border. If you are going to use a contrasting binding it is best that the fabric you choose has been used somewhere in the quilt. I often do the latter as I like the effect of the contrasting border but it also depends on the quilt and what look you are wanting to achieve.
Once the fabric has been picked you need to cut it into strips. How do you know how many strips to cut?
There are fancy ways to figure this out by measuring through the middle and so on but I just add up the lengths of the four sides, divide by 40* to get the number of strips I need.
*[40 is the average Width Of Fabric (WOF), in inches, that you buy off a bolt at the quilt shop. Actually, I use 40 instead of the exact width of the fabric to ensure I have enough binding to overlap the ends when I attach it to the quilt – but that’s another post, check in next week for those details.]
For example:
If the quilt is 70 x 80 then the perimeter of the quilt is 70 + 70 + 80 + 80 = 300. Dividing by 40 equals 7.5 strips. I would then round up to 8 which will be plenty to bind the quilt.
If you decide to use up bits and pieces of scrap fabrics from your stash then the length of each strip may vary. You will just need to make sure that the total length of your strips equals the sum of (2 x Length + 2 x Width), which in our example here is 300 inches. The length of each strip isn’t terribly important since we are going to sew all the strips together into one long continuous strip.
I cut my binding strips 2 ¼ inches wide and the full length of the WOF. Using a 2 ¼ inch strip makes the binding nice and full when attached to the quilt. Certainly you can use other widths of strips for your binding – just remember that you will have to figure out what seam allowance will be needed to sew them onto the quilt so that you end up with the desired effect of a wider binding and not have a narrow binding on the front and a wide binding on the back of the quilt.
You don’t need to cut off the salvage prior to sewing because the strips are going to be sewn together on the bias. As a result, the salvage will be cut off when the seam allowance is trimmed to a ¼ inch.
Now to make the long continuous strip.
Begin by placing 2 strips right sides together at a right angle to each other, leaving a ¼ inch overlap in both directions.

Place 2 strips together at right angles.
Draw a line from the upper inside corner to the lower outside corner. Sew along this line.

Draw the sewing line.
Cut off the excess fabric a ¼ inch from the sewing line.

Trim off excess fabric to ¼ inch.
Press open the seam allowance – pressing it open will mean less bulk in the binding.

Press seam open.
Fold the binding in half with the wrong sides of the fabric together and press – I use steam for this in order to make a nice flat piece with a sharp fold.

Press binding in half.
Now you will have one very long continuous piece of binding unless you are making a pot holder, in which case it may well be short!
Next week I will go through the process of attaching the binding to your quilt.
Tip: Always set aside the fabric you want to use for the binding of each project so that you have it available when it is time to make the binding.
There is nothing worse than going to your cupboard thinking there is another piece of that fabric only to discover that you used it in something else and it is no longer available to buy. We have great intentions of finishing each project right away but the reality is a lot of our projects end up as UFOs (unfinished objects) and may not be finished for several months.
Until next week, Happy Quilting.
![]()


