Hey Everyone, welcome back to Technique Tuesday.
Before the Santa Sacs I made a few personalized bags with appliqué designs on them. Michael’s niece and nephew were recipients of these and this past weekend I made a couple more for their parents to hang on the mantle as well.
The bags themselves are made pretty much the same way as the sacs just smaller. These bags are approximately 13 x 19 inches as opposed to the sacs which are 19 x 29 inches. They can hold a lot more loot than the bags. Both the sacs and the bags have a box bottom giving them a bit more shape making it easier to fill them.
The bags of course need handles so they can be hung from the mantle. At one time I had a horrible time wrapping my head around how to put handles onto a bag without sewing them to the inside or outside and having the ends show. When doing this the ends have to be finished and everything has to be all neat and tidy.
By burying the ends of the handles between the outer bag and inner bag there is no need to have a tidy finish on the handles.
Cutting
To begin decide how long you want the handles to be. I cut each handle 20″ x 4 ½″.
Making the Handles
Step 1
Fold the piece in half with rights sides together and sew a ¼″ seam along the raw edges to make a tube. If you are making a few then chain sewing will help speed up the process.
Step 2
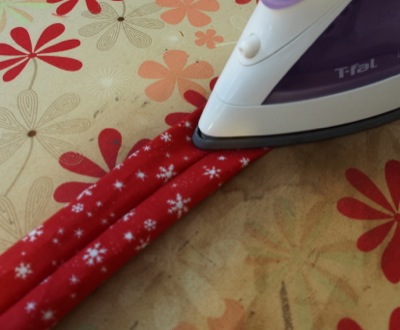
Turn the tube right side out. The Fabric Tube Turning Tool is ideal for this job. Press the tube so that the seam is in the middle of one side.
Step 3
Topstitch with matching or contrasting thread a quarter inch from each edge. I used matching thread for mine. This step is optional. I like the look of the top stitching.
Attaching the Handles
Step 1
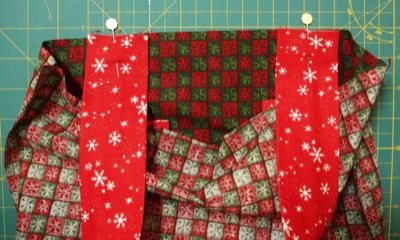
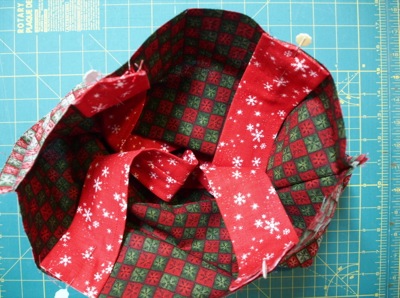
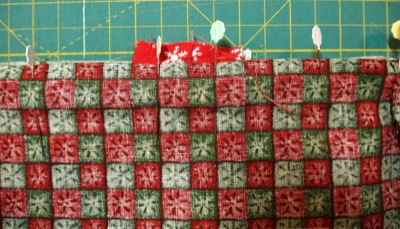
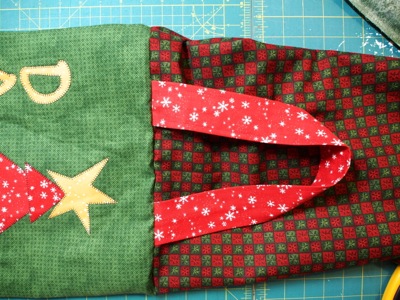
Pin to the inside of the inner bag making sure to place the ends evenly from the seams and centre. The side of the handle with the seam on it should be against the bag.
Step 2
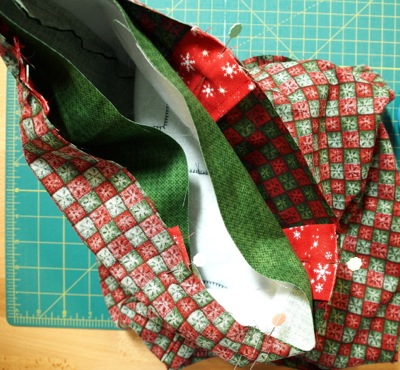
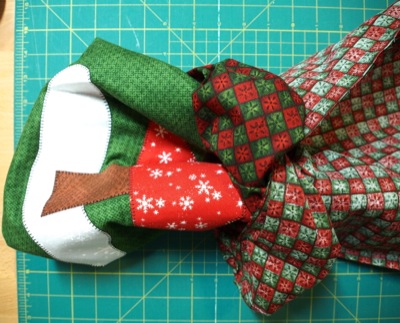
Place the outer bag inside the inner bag so that the handles are between the two bags.
Step 3
Pin everything together matching the bag seams. Now I pull the handles up and repine in place so that they are overhanging the bag edge about a ¼″ – this just gives them a bit more strength.
Step 4
Sew the bags together. Where the handles are I sew over them and then reverse sew back over the stitch line and then forwards again along the stitch line to make sure they are secure. Oops I forgot to take a picture.
Step 5
Pull the bag through the bottom opening in the inner bag. The handles will be attached.
Step 6
Sew up the hole in the bottom of the inner bag either by hand or machine.
Step 7
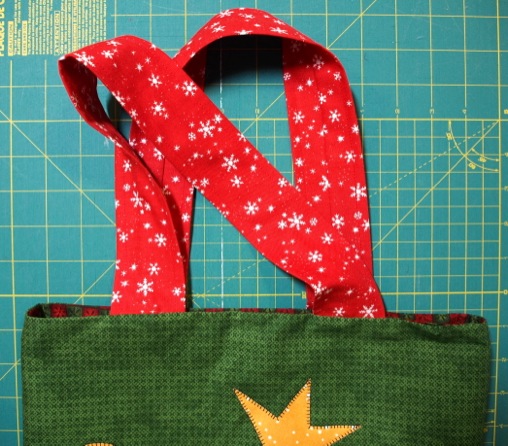
Press the top of the bags to lie flat and the bag is ready to hang.
The end product.
Happy Quilting!


