

Hey Everyone, welcome back to Technique Tuesday. Today my topic is about how to make a design wall and, in particular, a portable one. I needed one in a hurry this fall for a demonstration I was doing at Country Concessions.
Naturally, I checked out what was available commercially but I just wasn’t happy with the fact that they seemed very flimsy, small and difficult to pin to. My prime considerations were that I wanted something light and very portable yet substantial. I also required the ability to pin into it.
I already knew that fabrics stick really well to flannel – who remembers those flannel fabric sticky toys from when we were kids? So, I just needed a way to support the flannel.
Off I went to Home Depot to see what I could come up with. No Home Depot near you? That’s okay, just check out your local hardware/lumber store.
I asked about cork board and was pointed in the direction of the lumber. Here I found sheets of pink styrofoam insulation in all different sizes and thicknesses.

One piece of pink styrofoam endorsed by the Pink Panther
I chose a piece 2 x 8 feet and 1 inch thick at a cost of $14.

The shelf tag at Home Depot.
Looking at this piece of board a problem became quite apparent to me – it would not fit in my car and strapping it to the roof rack was not an option being so light it would fly away as I drove down the 400 towards home.
{Editor’s Note: it wouldn’t fly away, ’cause I’m sure Jen would have tied it down, but it certainly would have snapped into pieces and THEN flown away. So, okay, maybe it would have flown away!}
I asked a nice man about getting it cut and he said they don’t cut this stuff and then he said just a second. I stood there while he left and then returned. Upon his return I told him it won’t fit in my car and I need it cut in half. He kindly pulled out his pencil and tape measure and drew a line perfectly in the middle then cut it in half with his x-acto knife. Now I had the 2 pieces that I needed to build the wall.
Once home I taped the design wall together with a piece of Gaffer’s tape. (Duct tape will work just fine, too, and it comes in many different colours now.) Only tape one side so that the tape can act as a hinge letting you fold it in half.
This design wall measures 48 x 48 inches square. A perfect size to travel with and will accommodate designing for smaller quilts and wall hangings. As well, it is a perfect size for those who limited space (you can easily fold it and store it under a bed or dresser).

Tape the two pieces together length wise.
To cover it I used a piece of cotton batting as it is easy to wrap around the styrofoam as well as material will stick to it without having to be pinned.

Cotton batting will work to cover it with.
Cut the piece of batting approximately 4 inches larger all the way around than the design wall. So 52 inches square will work for this design.

Place board in centre of batting with about 4 inches of batting showing all the way around.
Place the batting down on a flat surface and then fold over the edges and pin to the back of the styrofoam board. Do two opposite sides then the other sides as it will be easier to mitre the corners.

Fold extra batting around to back of design wall.
I used small applqiue pins with a head on them.

Small appliqué pins with heads.
To make the corners nice and smooth I created mitred corners.

Make a mitred corner for a nice smooth look.
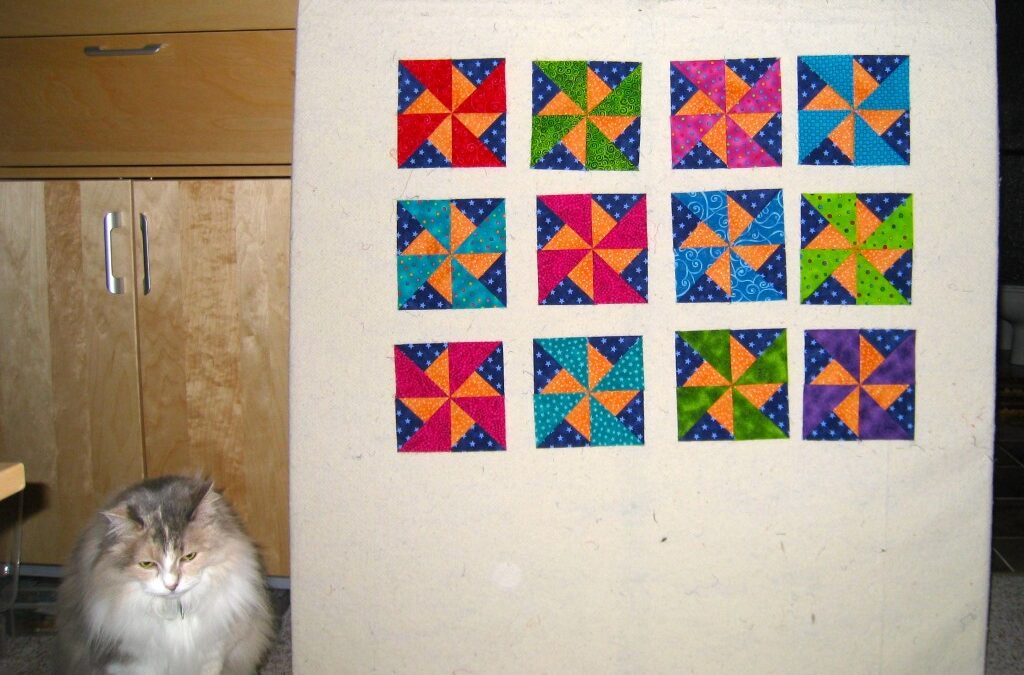
A simple and inexpensive design wall that is portable and will fit in the back seat of your car. Great to take to retreats and classes when a design wall is required.

A lightweight portable design wall.
Another bonus is that it folds in half for easy transport and storage.

Wall folded in half.
Looking for a larger design wall for bigger projects that is still light weight yet more permanent for your studio? Stay tuned as I have built one of those as well – but that is another post.
Until next week, Happy Quilting!
![]()


Thanks Jen!
I really enjoyed your ‘Colour Magic Workshop’.
I am going to build one of those ‘Portable Design Walls”
If I wanted to attach one to my wall over my sewing table; do you have any ideas how you would go about that, with the least possible damage to the wall?
Thanks Peggy! Sorry for taking so long to get back to you, I’ve been doing a bit of research and thinking about how to best do this. I’ve come up with three ways that could work:
1/ Velcro makes a removable picture hanger that should work really well. Note that we haven’t tried this, but the design board is super light so this should work well. You can get them from Amazon here.
2/ Install 2 drywall anchors and then push a screw through the top-left and top-right corners of the design wall and screw into the drywall anchors. Make sure you put some wide washers (at least an 1″ diameter) under the screwhead so you don’t crush the design wall or have it pull off by accident. This is the most invasive approach, for sure.
3/ You can get magnetic quilt hangers from the Magnificent Quilting Company. You install a couple magnets, or a magnet bar (depending on the type you get) on the wall, and then glue a metal rod to the back of the design wall. This way you can hang the design wall with the magnetic quilt holder while you are using it and then between projects, take the design wall down and hang a quilt on the wall.
So, there you go. Three different ways to go about it. Option 1 is totally non-invasive and you would barely notice the Velcro pads when you have the design wall put away. Option 3 lets you show some of your art when you aren’t using the design wall and Option 2 is pretty permanent but the strongest attachment.
Hello, from one Jen to another! I’m visiting from Linkedin. I really like your portable design wall idea. I could use one of these, too. Have a super day!
Thanks Jen and Welcome! It’s a really great little design wall that is great for taking to classes. In the near future I’m going to do a post on the jumbo wall my husband came up with for bigger projects, so stay tuned.