

Hey Everyone, welcome back to Stitch Along Sunday and Technique Tuesday.
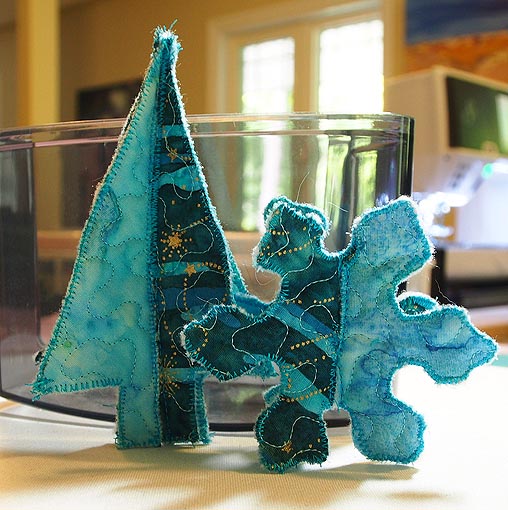
For the Technique Tuesday part I am going to show you how to make these 3-D ornaments by slipping two pieces together.
This is the last week for July’s stitch along. I have to admit that I wasn’t quite getting what Ruth said in the rules for week 4 but then when I saw her final post for July the brain clicked in and I understood how to make the ornaments.
To refresh your memory on getting ready for this stage of the project check out what I did in Stitch Along Sunday – July Week 3.
To begin I cut a slit in the top of one tree and the bottom of the other tree each to about the halfway point.
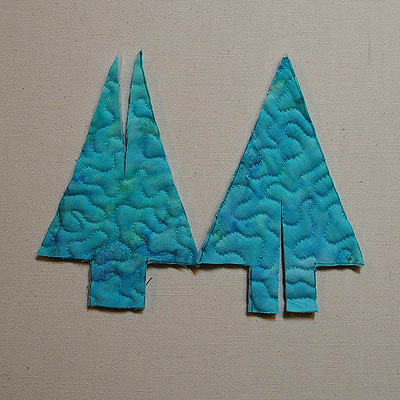
Slits cut in each tree
Then I zigzagged around all of the edges. I used my open toe foot and a fairly wide zigzag which was quite close together but still found that I had issues covering all of the edges. I think if I were to do it again I would use a free motion zigzag stitch like Ruth did as I suspect I would have a bit more control that way of where the stitches were going.

Zigzag stitch around each shape
Once the stitching was done I put the two trees together like this using the slits.
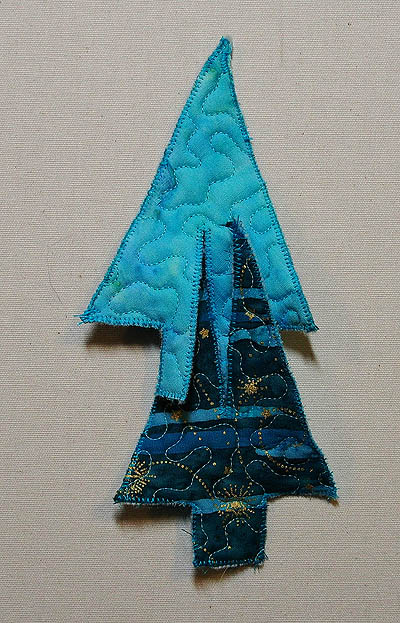
Trees being slid together
Trees all the way together.
Trees slid all the way together
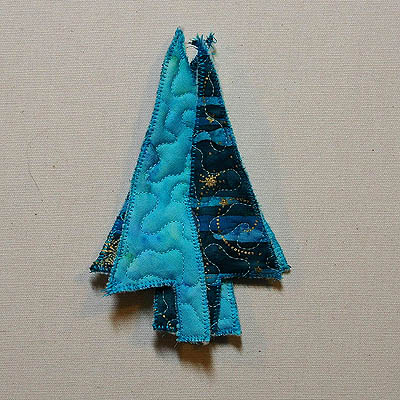
Finally I stitched the trees together along the slits with just a straight stitch. I did try a zigzag at first but found that the straight stitch worked much better.
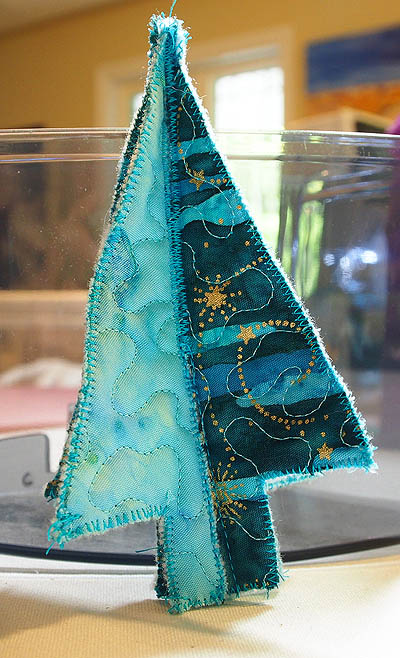
Completed tree
I also think that my pieces were a bit too small. I need to do some tweaking next time and I will also make the shapes just a bit bigger for easier handling. The tree was about 5 inches in height and the snowflake only 3 inches.
Anyway I now have two ornaments ready for the festive season.
Happy Quilting!


The ornament’s are very cute and can’t wait to make some. Thanks
Thanks Juna. They are very cute. Have fun creating some for yourself. Jen