

Hey Everyone, welcome back to Free Motion Friday.
I had a reader ask the other day if I could explain how to do free motion satin stitch. I said sure not a problem I can do that.
Regular Satin Stitch
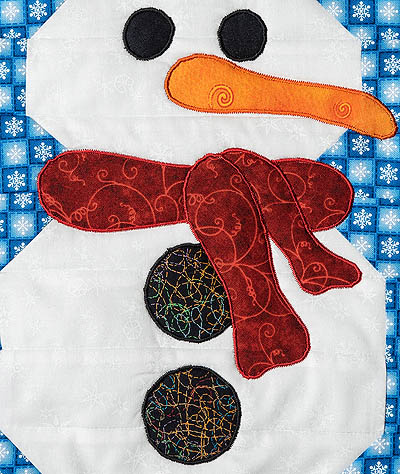
Satin stitch on snowman trivet
Normally satin stitch is created with a very tight zigzag stitch. The stitch length is placed very short – 1.0 or shorter depending how dense of satin stitch you want. If I want a really dense satin stitch then I will go as low as 0.5 for a stitch length.
The stitch width can be as wide as the foot opening permits. Some machines are only able to go as wide as 5.0 while others can create stitch widths up to 9.0. I am not fond of really wide satin stitches and usually set my machine between 2.5 – 3.5 depending on what I am stitching around.
Regular satin stitch is a very uniform, even and defined stitch. Here is an example of satin stitch on the snowflake postcard I created for a postcard exchange last December. The stitch width looks to be about a 3.0 and the length about 1.0.
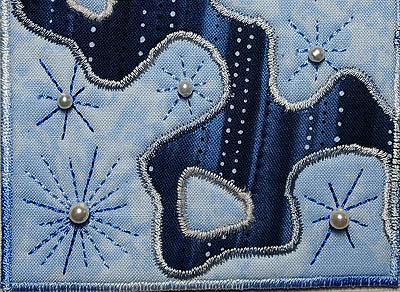
Regular satin stitch
This stitch is sewn with the feed dogs up – they move the fabric along under the foot. When the stitch length is so short it is best just to let the machine move the fabric and do it’s thing. No point rushing anything otherwise you can end up with gaps in the stitching from pushing the fabric along – looks a lot like skipped stitches.
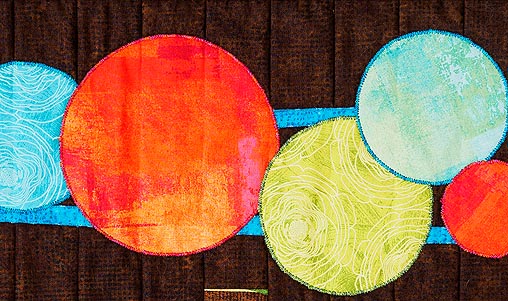
Satin stitch is a very common stitch for stitching down the edge of appliqué shapes and pieces as seen here on my modern linear lines mug rug.
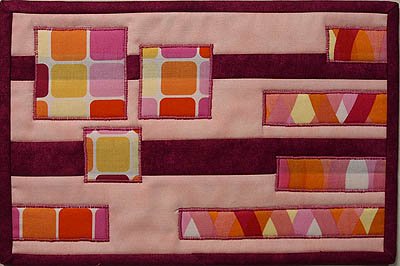
Satin stitch on the mug rug
Free Motion Satin Stitch
This form of satin stitch is very organic looking – not nearly as even or uniform as it cousin above. A free motion foot is used, the feed dogs are dropped and there is no setting limits on the stitch length and width – you are in control of it all rather than the machine.
This is one of my favourite stitches to do.
The machine needs to be set to free motion and the feed dogs released. I use an open toe free motion foot just because I can see better with it but a closed toe works to. The machine also needs to be set on zigzag stitch so that the needle moves side to side rather than up and down.
This is a form of free motion zigzag – the stitch that I use to stitch down my Bargello Sunflower petals. The difference is I make it a little more uniform – not as jagged, closer together and smaller.

Close up of stitching on the bargello sunflower quilt
The Stitch
To begin I’ve got my needle position just inside the appliqué shape. Remember I am in control of where my needle and fabric go since the feed dogs are down and this is free motion stitching.
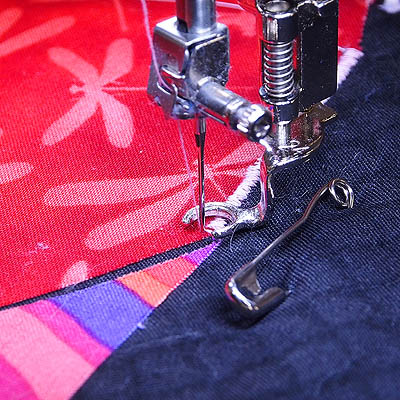
Needle in position ready to stitch
Beginning to stitch I move forward about a ¼″ with close stitches that are not too wide. You can see in the photo below that the stitching is not tight together at this point.
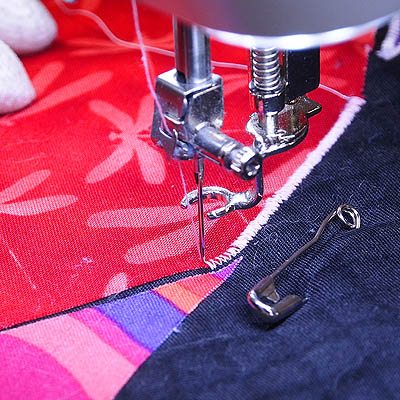
Stitch forward a quarter inch
Then I stitch backwards over what I just stitched. No need to turn the fabric or anything as the fabric will move backwards very easily since the feed dogs are down. As you can see the satin stitch is beginning to fill in.
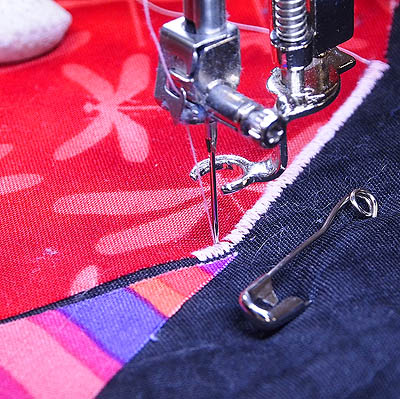
Stitching backwards over the last ¼″ of stitching
I change directions again and move forward over what I just stitched creating a nice dense satin stitch.
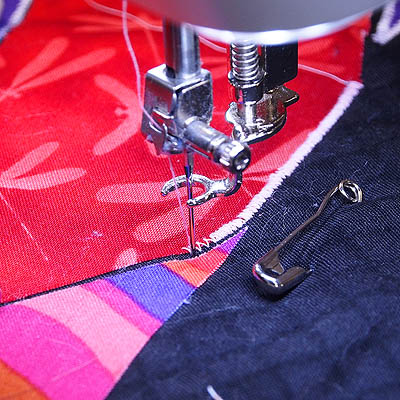
Moving forward over what was just stitched and creating a new section of stitching
And continue on in this manner around the shape. As you can see in the photo below the stitching is fairly dense and not as even as a regular satin stitch. Just a different look giving a more artsy feel.
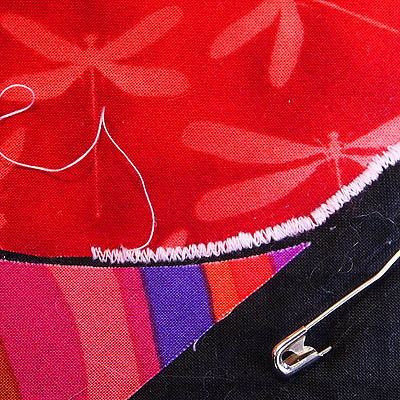
Satin stitch in progress
I could also go really slow so that I only have to stitch once rather than go back and forth over an area but I find going slow doesn’t always create as dense a stitch as I want so I go back and forth.
I find this type of satin stitch a bit faster to do than the regular one but it is still time consuming. Those shapes on my Funky J quilt take a lot of time to stitch around. And this version still uses just as much thread as regular satin stitch.
Here’s a quick little video demonstrating how I do the free motion satin stitch.
Just a different way to do satin stitch that looks a little more free form and organic.
Because it is free motion it does take practice to get the hang of it just like any other free motion quilting.
I like this stitch because I am in control of the stitching not the machine – it’s fun to doodle with thread and needle.
I hope you will give it a try the next time you need a satin stitch.
Happy Quilting!


Thank you Jen. I did try the free motion satin stitch but didn’t like that couldn’t get it dense. Now I know the “secret” will try it again. Thanks once more. I enjoy reading you blog.
You are most welcome Nancy. Have fun.