

Hey Everyone, welcome back to Free Motion Friday.
I was thinking how could I create cross hatching with the free motion foot. Most of us tend to use the walking foot to do cross hatching. Since this is Free Motion Friday I needed a way to do it with the free motion foot.
Cross hatching is when a line is stitched from one corner to the other corner of an area and then more lines are stitched an equal distance from the first line on either side to cover the area. The whole process is repeated from the opposite side so that the lines cross each other and diamond shapes are formed between the lines.
Instead of stitching a straight line with the free motion foot I put a bit of a wobble into it creating a slightly wavy line hence giving the cross hatching a very interesting effect.
Oh I must also put an apology in here – my photos are not very well exposed – I did it myself and didn’t have my photographer here to help so they did not come out quite right, certainly not to the photographer’s standards.
To begin draw a line across the area from one corner to the other. I used the Clover Chaco Liner to make the lines.

Draw a line from corner to corner to begin
Stitch down the line waving slightly back and forth over it ever so slightly.

Stitch along the line using it as your guide
Draw another chalk line on the other side of the line just stitched. I chose to have a 1 ½″ space between the stitching lines but any distance can be used depending how far apart you want your stitching lines to be and the size of the piece being quilted.

Draw a line parallel to the stitching line
Sew along that line in the same manner. It is a good idea to turn the piece around and sew from the opposite end that the line beside it was sewn from. This helps to keep the quilt square. Also note that if you do not have a ruler available for some strange reason or an erasable marking pen then a piece of masking tape will do the job. The only thing is with the wavy line the stitching would go into the tape but it is easily removed.

Stitching along the masking tape line
Draw the rest of the lines 1 ½″ apart from each other and sew along them.

Add the rest of the lines – all of the lines can be drawn at once or in stages
Draw all the lines going in the opposite direction and across the stitching lines already made.

Stitching done in one direction and lines drawn ready for stitching in the other direction
Sew along all of these lines to create a wonky cross hatching design.

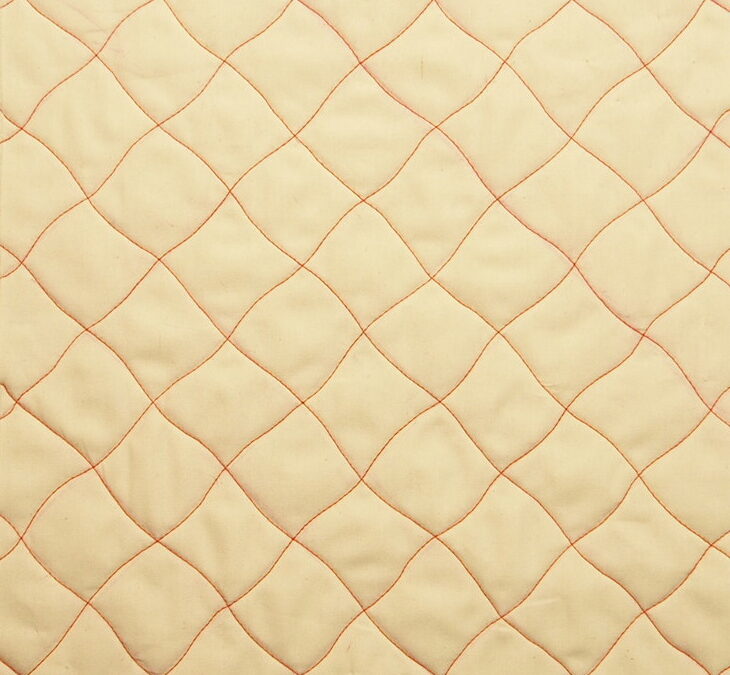
All stitching done
I love the effect of the wavy lines. How about you?
Happy Quilting!


That looks good Jen. It would be a nice way to quilt the front and back of a bag!
Thanks Brenda and yes it would look great on the front and back panels of a bag. You will have to try it.
I love that effect too, right now I am doing wavy lines on a queen size quilt and it is taking so long I am not going to cross-hatch. The day is coming that I will bite the bullet and machine quilt too!
Oh Juliet I commend you for hand quilting a queen size quilt. I have to say I have never done hand quilting, not my thing. I do like hand sewing the binding on though as I find it quite relaxing.