
Hey Everyone, welcome back to Technique Tuesday. Last week on Stash Blasting Wednesday I introduced you to the flying geese block – a very popular and versatile quilt block. As promised I said I would teach a different method of making this block and here it is.
Video Tutorial
I also have something special for you this week. After last week’s lengthy post describing how to make the flying geese blocks, Michael suggested that I start creating a video demonstration to go along with my Technique Tuesday posts.
Here is our very first Technique Tuesday Video Tutorial! Of course, if reading and pictures are more you thing, the written description follows right after the video.
Please let me know which style of delivery you prefer – video or written?
Sizing
Choose two fabrics for the block. I have chosen red and white fabrics to continue with my primary colour theme started last week.
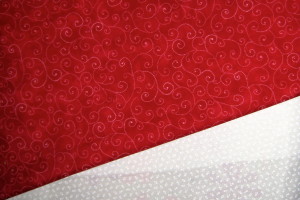
Choose two fabrics for the block.
This no waste method can be used to make just about any size of flying geese block you would like. How does it work you ask? Very easy but there is a tiny bit of math involved.
The body of the goose (the large triangle) is a specific size. For this method a square needs to be cut from the fabric and it needs to be 1 ¼″ larger than the intended finished size of the block.
The size of the wings of the goose are determined by dividing the body size in half and then adding a ⅞″ to that number.
Today’s example is based on a 6 inch finished block:
The body of the goose is 6”. To determine the size of square add 1 ¼″ to the 6” which equals 7 ¼″. The square of fabric for the goose body needs to be cut 7 ¼″.
The wings of the goose is determined by dividing 6 in half which equals 3 and adding ⅞″ to the 3 which gives a measurement of 3 ⅞″.
Here is a handy little table to help with other sizes.
| Block size | Goose Body | Wings |
| 4″ | 5 ¼″ | 2 ⅞″ |
| 6″ | 7 14’ | 3 ⅞″ |
| 8″ | 9 ¼″ | 4 ⅞″ |
| 9″ | 10 ¼″ | 5 ⅜″ |
| 10″ | 11 ¼″ | 5 ⅞″ |
| 12″ | 13 ¼″ | 6 ⅞″ |
Cutting
White fabric: Cut ONE (1) – 7 ¼″ square
Red fabric: Cut FOUR (4) – 3 ⅞″ squares
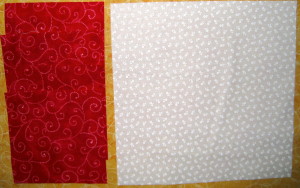
Cut fabrics into squares – 4 red of the wings and 1 white for the body.
Putting it Together
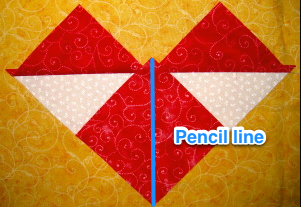
Draw a pencil or chalk line on the wrong side of the wing squares from corner to corner.
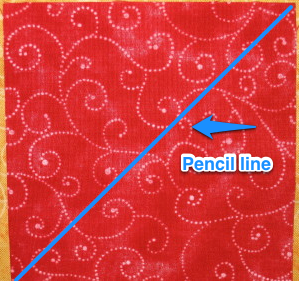
Draw a pencil or chalk line from corner to corner.
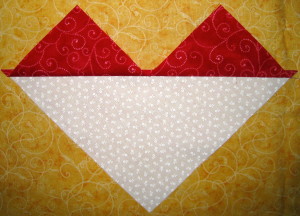
Place a wing square on one corner of the body square and one on the opposite corner.
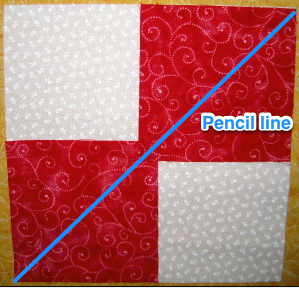
Make sure pencil lines are aligned.
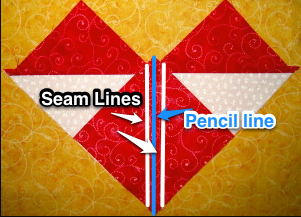
Sew a ¼″ seam down both sides of the pencil line.
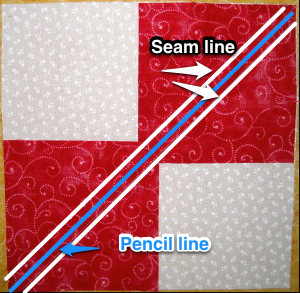
Sew a ¼″ seam on both sides of pencil line.
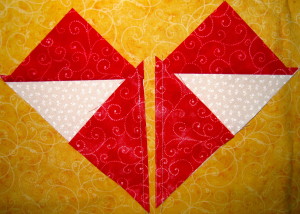
Cut apart along the pencil line.
Cut apart along the pencil line.
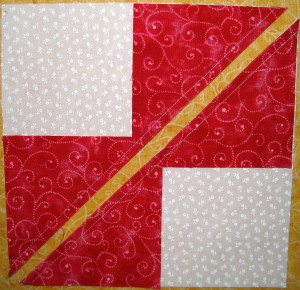
Press wings away from body.
Press wings away from large square.
Place one of the remaining wing pieces on the remaining corner of the large triangle in the piece you just made. The pencil line should run between the other two wing pieces.
Place red square on corner of white square.
Sew a ¼″ seam down both sides of the pencil line.
Sew a ¼″ seam on both sides of pencil line.
Cut apart.
Cut apart.
Press wings away from body. Clip off dog ears.
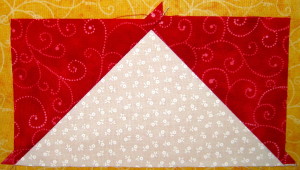
Press seam towards wing.
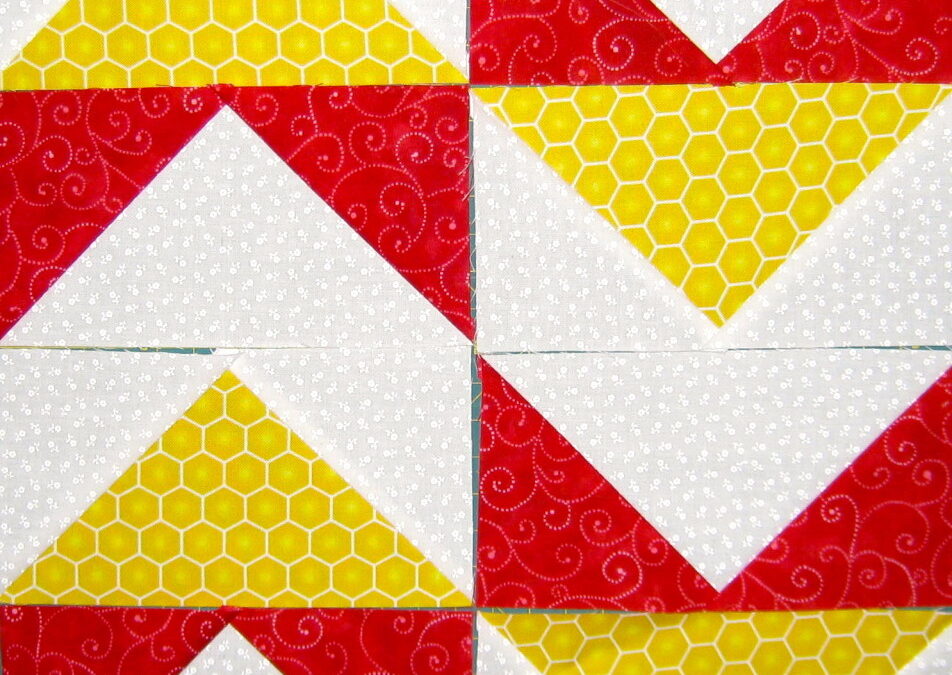
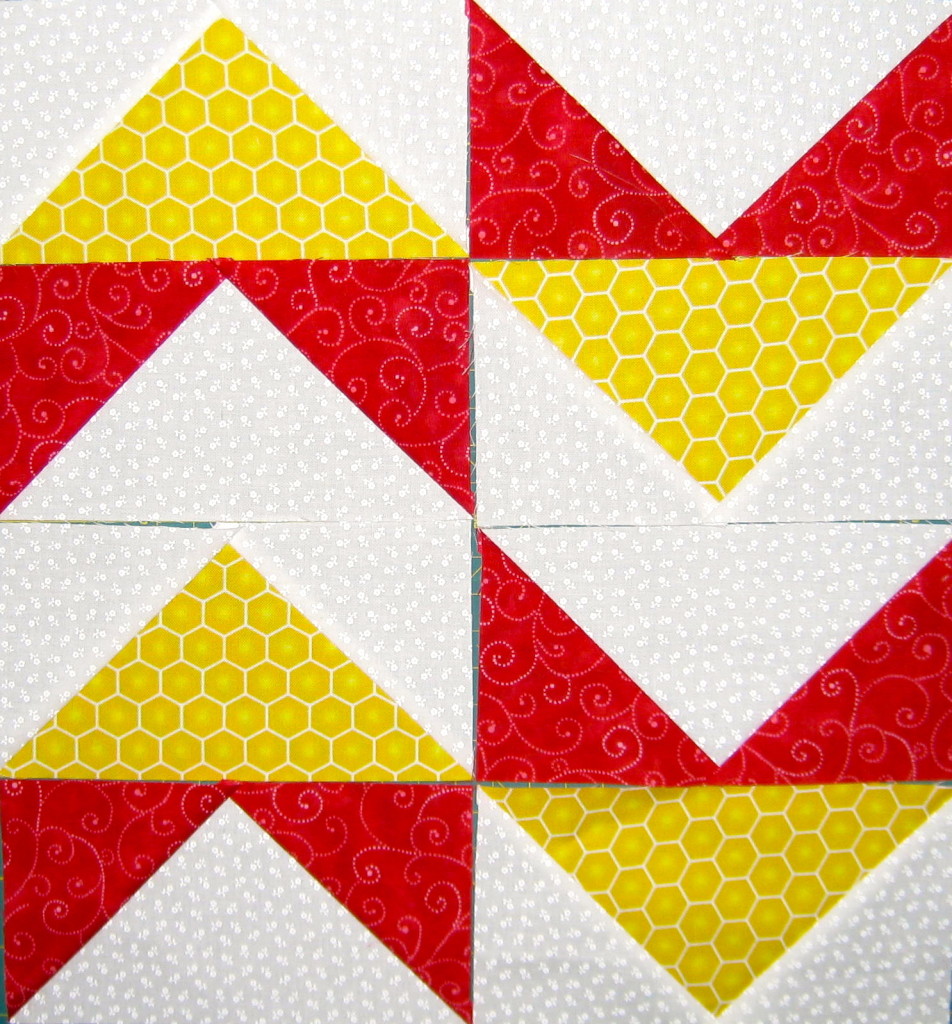
One large square and four small squares will yield 4 flying geese units. Sew together in whatever configuration needed.
A square
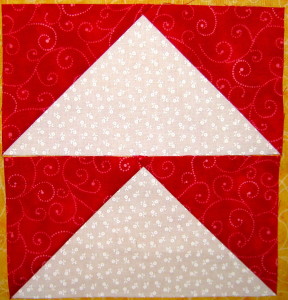
Arrange in a square.
or a line of geese
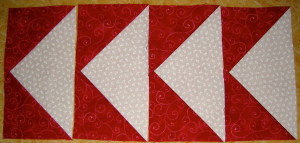
A line of geese flying south – aren’t they smart.
There you have it a simple and easy way to make multiple flying geese units.
Please be sure to tell me how you liked the video tutorial, too!
Happy Quilting!


Love the video – great job! You’re so lucky to have someone help you with those.
Thanks Ruth. Video’s are pretty intense, aren’t they. I think Michael spent about 3 hours on it after the actual capture to get it edited and online. I’m going to have to start preparing Technique Tuesday on Monday’s so that it can come out on time in the morning.