

Hey Everyone, welcome back to Stash Blasting Wednesday.
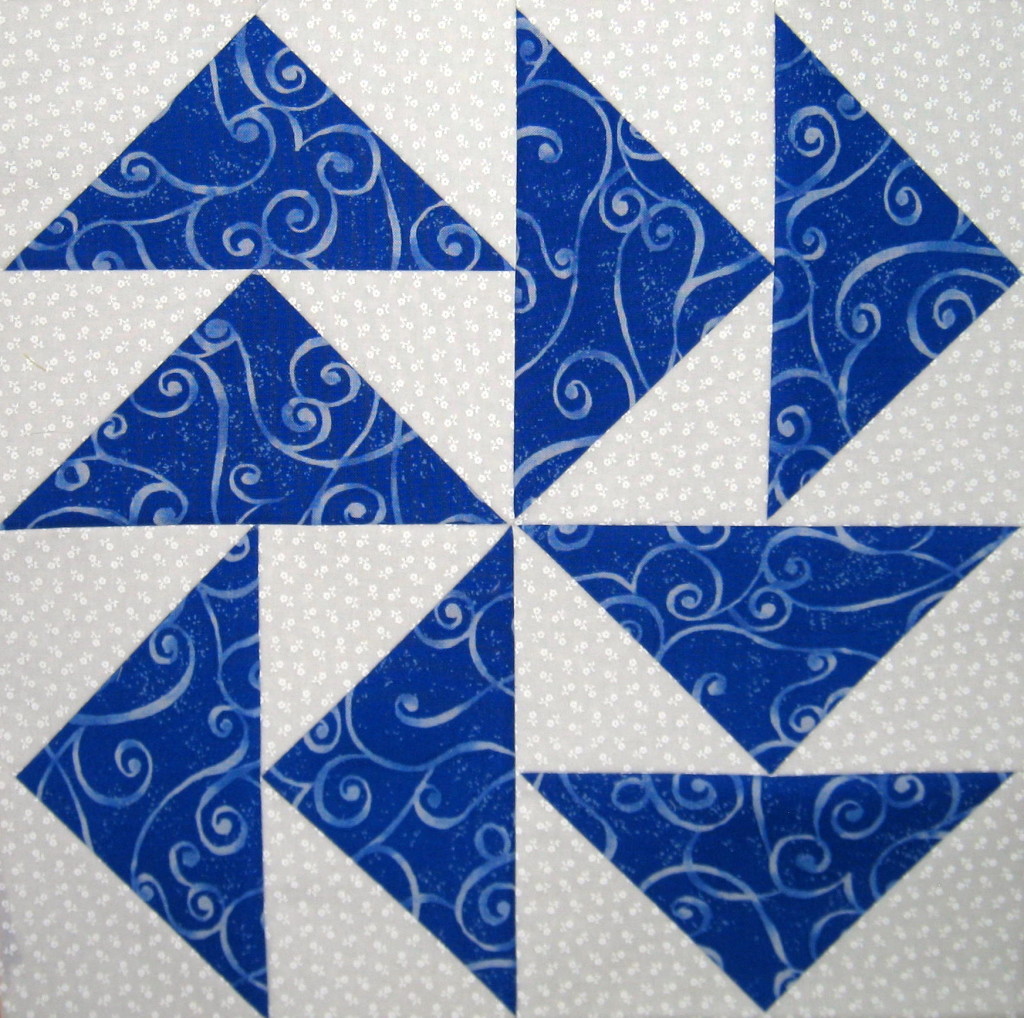
To continue on with the 2-grid block theme this week’s block is the Flying Geese block. A very well known and prominent block in the quilting world.
I chose to stick with the 6 inch block like all the ones before. No point changing the size now otherwise they won’t all fit together in that cuddle quilt I am making. How are your cuddle quilts coming along?
This block uses 2 fabrics – I chose a blue swirl and white to go with it. While white isn’t really colour, I will leave that discussion for another day on Colourful Friday.
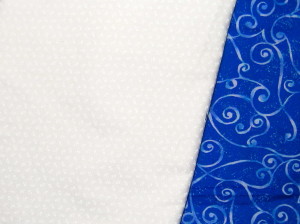
My fabrics.
Cutting the Pieces
Note: all measurements include a ¼″ seam allowance
For one 6 inch block cut:
- from blue fabric: 2 each of 3 ½″ x 6 ½″ rectangles
- from white fabric: 4 each of 3 ½″ squares
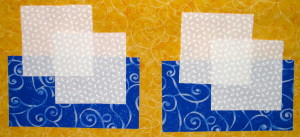
Pieces cut – enough for one 6” block.
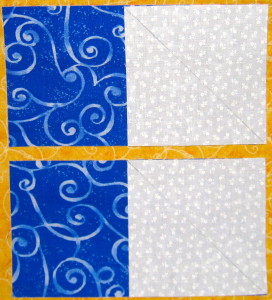
If you wish to make the configuration in the photo at the top of the page then 4 of these blocks need to be made.
Putting the Block Together
Note: all seams are a ¼″
Draw a line from one corner to the opposite corner with a pencil on the wrong side of the white squares.
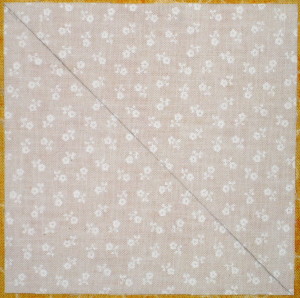
Draw pencil line from corner to corner.
Place the white square on one end of the blue rectangle right sides together. The white square should be oriented so that the pencil line goes from the top middle of the blue rectangle to the bottom right corner.
Place white square on blue rectangle right sides together – careful with proper pencil line placement.
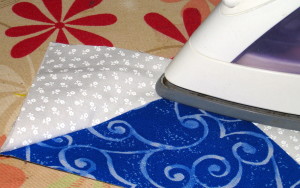
Sew the square and rectangle together. The stitching line should be just a smidgen to the right of the pencil line. This will ensure that the white fabric meets the corner when pressed over.
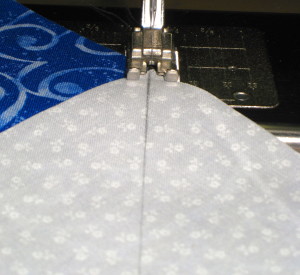
Stitch just to the right of the pencil line.
Press the white fabric over to the corner to form a triangle. You may wish to trim the extra fabric underneath – I have left it in to give the corner a bit more stability.
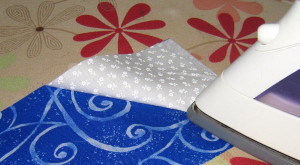
Press white fabric towards corner.
Place the remaining white squares on the other end of the blue rectangle right sides together. The white squares will overlap. The pencil line will once again go from top of rectangle down to bottom left corner.
Place second square on other side of rectangle.
Sew together. The stitching line should be just to the right of the line.

Stitch just to the right of the pencil line.
Press the white fabric over to the corner to form a triangle.
Press white fabric to corner.
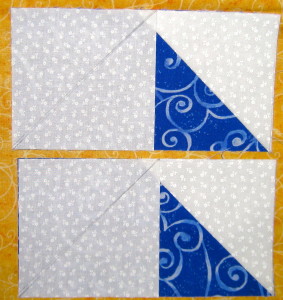
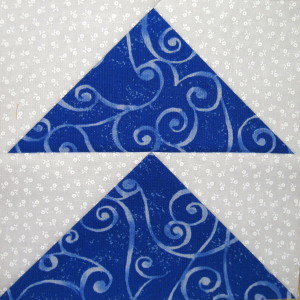
Lay out the two geese sections.
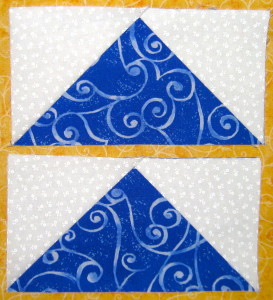
Two geese sections.
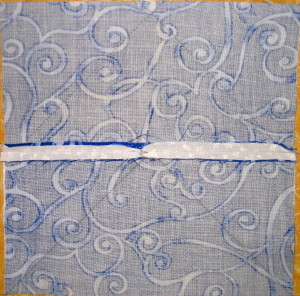
Place the two geese right sides together.
Place the two geese sections right sides together.
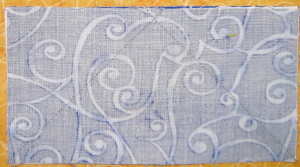
To ensure that the points are maintained make sure to sew with the stitching lines facing up – this will help you see where the stitching lines cross and the point is on the other side. Sew through where the lines cross.
Sew through middle of where the other 2 stitching lines cross.
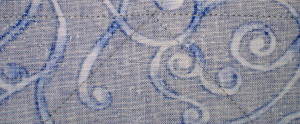
Press open. Due to the extra fabric in this block press this seam open to create less bulk.
Press seam open to reduce bulk.
And there you have it – a Flying Geese block ready to fly south to some sunshine and warm weather. I think I’ll join them.
Tune in next Tuesday for a different method to make Flying Geese.
Happy Quilting!


Trackbacks/Pingbacks